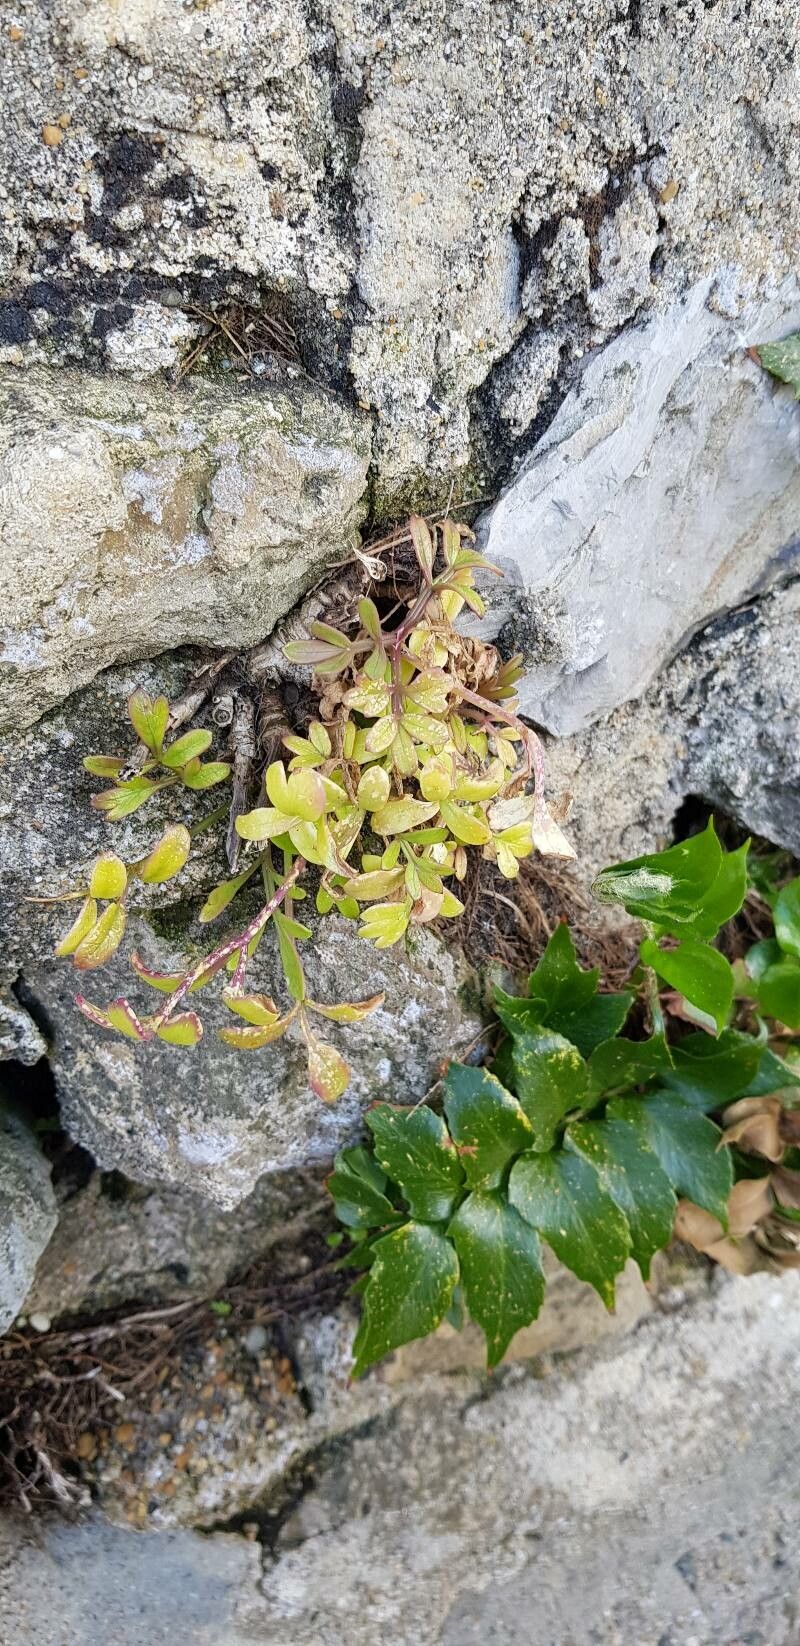
Hey there, fellow garden enthusiasts! I’m so excited to chat with you today about a truly delightful plant: Apium prostratum, also known as Australian wild celery or native celery. If you’re looking for a culinary herb with a gorgeous, sprawling habit and a flavor that’s a little more nuanced than your everyday celery, you’re going to love this one. Growing it from cuttings or divisions is incredibly rewarding, and I’m here to walk you through it. Don’t worry, it’s not one of those fussy plants that makes beginners want to throw in the trowel!
The Best Time to Start
Personally, I find the late spring to early summer to be the sweet spot for propagating Apium prostratum. This is when the plant is actively growing, full of vigor, and has plenty of healthy stems to work with. You’ll want to select cuttings from the newest, most vigorous growth. Waiting until after the plant has established itself for the season gives you the best chance for success.
Supplies You’ll Need
Here’s a quick rundown of what you’ll want to have on hand:
- Sharp pruning shears or a clean knife: For taking precise cuttings.
- Rooting hormone (optional but recommended): Helps cuttings develop roots faster.
- Well-draining potting mix: A good starting point is 50% perlite and 50% peat moss or coco coir. For division, a good quality potting soil is fine.
- Small pots or trays: For rooting cuttings.
- Clear plastic bags or domes: To create a humid environment for cuttings.
- Watering can or spray bottle: For gentle watering.
- Gloves (optional): If you prefer.
- Labels: To keep track of what you’ve propagated.
Propagation Methods
Let’s get our hands dirty! Here are the two methods I find work best for Apium prostratum.
Stem Cuttings
This is my go-to for multiplying plants, and it’s quite effective with our native celery.
- Select healthy stems: Look for non-flowering stems that are about 4-6 inches long. I like to choose stems that are a bit bendy but not woody.
- Make the cut: Using your clean shears or knife, make a clean cut just below a leaf node. This is where the magic happens, where roots are most likely to form.
- Prepare the cutting: Gently remove the lower leaves, leaving just a few at the top. This prevents leaves from rotting in the soil. If the remaining leaves are very large, you can even cut them in half to reduce water loss.
- Apply rooting hormone (optional): Dip the cut end of the stem into your rooting hormone powder or gel. Tap off any excess.
- Pot them up: Fill your small pots with your well-draining potting mix. Make a hole with your finger or a pencil and gently insert the cutting. Firm the soil gently around the base to ensure good contact.
- Water and cover: Water the soil thoroughly but gently. Then, place a plastic bag over the pot or pop on a clear dome to create a mini-greenhouse. This humidity is crucial!
Division
If you have an established Apium prostratum plant that’s looking a bit crowded or just needs a refresh, division is a wonderful option.
- Gently remove the plant: Carefully lift the entire plant out of its pot or dig it up from the ground. Try to disturb the roots as little as possible.
- Inspect the root ball: You’ll often see distinct clumps or sections of the plant that are already separated at the root level.
- Make the divisions: Using your hands or a clean, sharp knife, gently pull or cut the root ball into smaller sections. Each section should have at least a few stems and some healthy roots.
- Pot them up: Pot each divi sion into its own container with fresh, good-quality potting soil. Water them in well.
The “Secret Sauce” (Pro Tips)
Here are a few things I’ve learned over the years that can really make a difference:
- Bottom Heat is Your Friend: If you’re struggling to get cuttings to root or want to speed things up, a seedling heat mat can work wonders. Just place your pots on top for consistent warmth, which encourages root development.
- Don’t Drench, but Don’t Let Them Dry Out: This is a delicate balance. For cuttings, you want the soil to be consistently moist, not soggy. A gentle mist with a spray bottle is often enough to keep humidity up and soil damp. If using the plastic bag method, you’ll see condensation; that’s a good sign.
- Observe and Be Gentle: Once your cuttings are potted, resist the urge to constantly poke and prod. Gently tug on a leaf after a few weeks – if there’s resistance, you’ve got roots!
Aftercare & Troubleshooting
Once your cuttings have rooted (this can take anywhere from 3-6 weeks, sometimes longer), you can start to introduce them to slightly less humid conditions. Gradually remove the plastic bag or dome for increasing periods over a week. Continue to water regularly, allowing the soil to dry slightly between waterings. For divisions, treat them much like you would a newly potted plant – keep them adequately watered and in a spot with good light.
The most common issue you’ll encounter is rot. If you see stems turning mushy and black, or leaves wilting dramatically despite seemingly moist soil, it’s usually a sign of too much moisture. Make sure your soil is draining well and air circulation is good. It’s better to err on the side of slightly drier than waterlogged.
A Little Encouragement
Growing plants is a journey, and propagating is one of the most satisfying parts of that journey. Be patient with your new Apium prostratum plants. Not every cutting will make it, and that’s perfectly okay. Each attempt is a learning experience. Enjoy the process, celebrate the successes, and soon you’ll have a wonderful supply of this delicious native herb to enjoy in your kitchen and garden! Happy propagating!
Resource:
https://identify.plantnet.org/k-world-flora/species/Apium%20prostratum%20Labill.%20ex%20Vent./data