Hello fellow garden enthusiasts! Today, we’re diving into the world of one of my absolute favorite woodland beauties: Trillium discolor. If you’re captivated by those elegant, nodding flowers and the promise of a shady, naturalistic corner in your garden, then propagating your own makes for a truly delightful endeavor.
Why Propagate Trillium discolor?
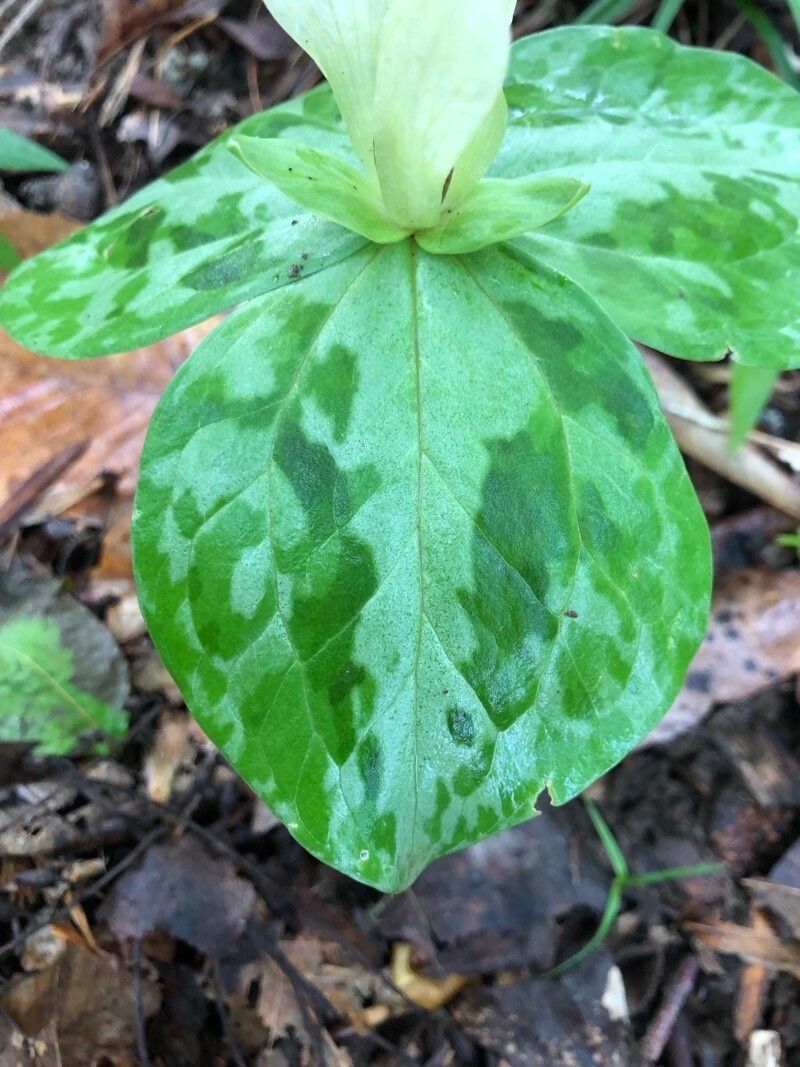
There’s something incredibly special about nurturing a plant from a tiny beginning to a thriving specimen. Trillium discolor, also known as Yellow Trillium or Mobile Trillium, offers such a unique charm with its delicate, crinkled yellow petals. While it’s not the absolute easiest plant to start from scratch, with a little patience and the right approach, it’s absolutely achievable. The reward of seeing your own little trilliums blossom is immense.
The Best Time to Start
For Trillium discolor, the absolute golden window for propagation is late summer into early fall. This is when the plant has completed its flowering and fruiting cycle, and the rhizomes are storing energy for the next season. Waiting until the foliage starts to yellow and die back is key.
Supplies You’ll Need
Getting your supplies ready makes the whole process smoother. Here’s what I always have on hand:
- Sharp pruning shears or a clean knife: For making precise cuts.
- Well-draining potting mix: A blend of peat moss, perlite, and compost is excellent for woodland plants. Many growers also swear by a mix containing leaf mold.
- Small pots or seedling trays: With good drainage holes.
- Labels and a marker: To keep track of what you’ve potted.
- A spray bottle: For gentle watering.
- (Optional, but recommended) Rooting hormone: A powdered or liquid form can give extra encouragement.
- (Optional, but helpful) A heated propagator or heat mat: Especially if your propagation space is on the cooler side.
Propagation Methods
Trillium discolor is most successfully propagated through division of its rhizomes. While growing from seed is possible, it’s a very slow process, and they often take years to flower.
Division of Rhizomes:
- Carefully excavate: In late summer or early fall, when the foliage has died back, gently dig up your Trillium discolor plant. Try to disturb the roots as little as possible.
- Clean the rhizome: Gently brush off as much of the old soil as you can to clearly see the rhizome structure.
- Identify growth points: Look for distinct buds or “eyes” on the rhizome. These are the areas where new shoots will emerge.
- Divide with care: Using your sharp pruning shears or knife, carefully cut the rhizome into sections, ensuring that each section has at least one healthy bud or eye. If the rhizome is particularly tough, you might need a bit of strength, but avoid crushing it.
- Plant your divisions: Pot each division in your well-draining potting mix. Plant them so the top of the rhizome is just below the soil surface, or barely covered.
- Water gently: Water the newly potted divisions lightly with your spray bottle. You don’t want to saturate the soil, just enough to settle it around the rhizome.
- Label and place: Label each pot with the date and any other identifying marks. Place them in a cool, shaded location.
The “Secret Sauce” (Pro Tips)
Over the years, I’ve learned a few little tricks that seem to make a difference.
- Less is More with Water: After the initial gentle watering, I find it’s best to let the soil dry out slightly between waterings. Trilliums are woodland plants and don’t like soggy feet, especially when they’re trying to establish. Just aim for consistently moist, not wet, soil.
- Patience with the Dormant Season: Even though you’re potting them in fall, don’t expect much to happen until spring. These divisions need time to settle and develop their root systems during the cooler months. Think of it as their cozy winter nap.
- The Power of Leaf Mold: If you can get your hands on some good quality, well-rotted leaf mold, mixing it into your potting medium really seems to give trilliums a head start. It mimics their natural woodland soil environment perfectly.
Aftercare & Troubleshooting
Once your divisions are potted, treat them gently. Keep them in a shaded spot, protected from harsh sun and drying winds. Water as needed, allowing the soil to dry a touch between waterings.
The most common sign of a problem is rot. If you see your rhizome becoming mushy or developing a foul smell, it’s likely too wet. Unfortunately, once rot sets in, it’s hard to save, so preventing it with good drainage and careful watering is key. If a division doesn’t show any signs of life by late spring, don’t despair – some simply need a bit more time to wake up!
Happy Gardening!
Propagating Trillium discolor is a journey, not a race. Be patient with your little divisions. It might take a season or two for them to truly show their glory, but the connection you’ll feel to your garden will be so much richer for it. Enjoy the process, and happy growing!
Resource:
https://identify.plantnet.org/k-world-flora/species/Trillium%20discolor%20Hook./data