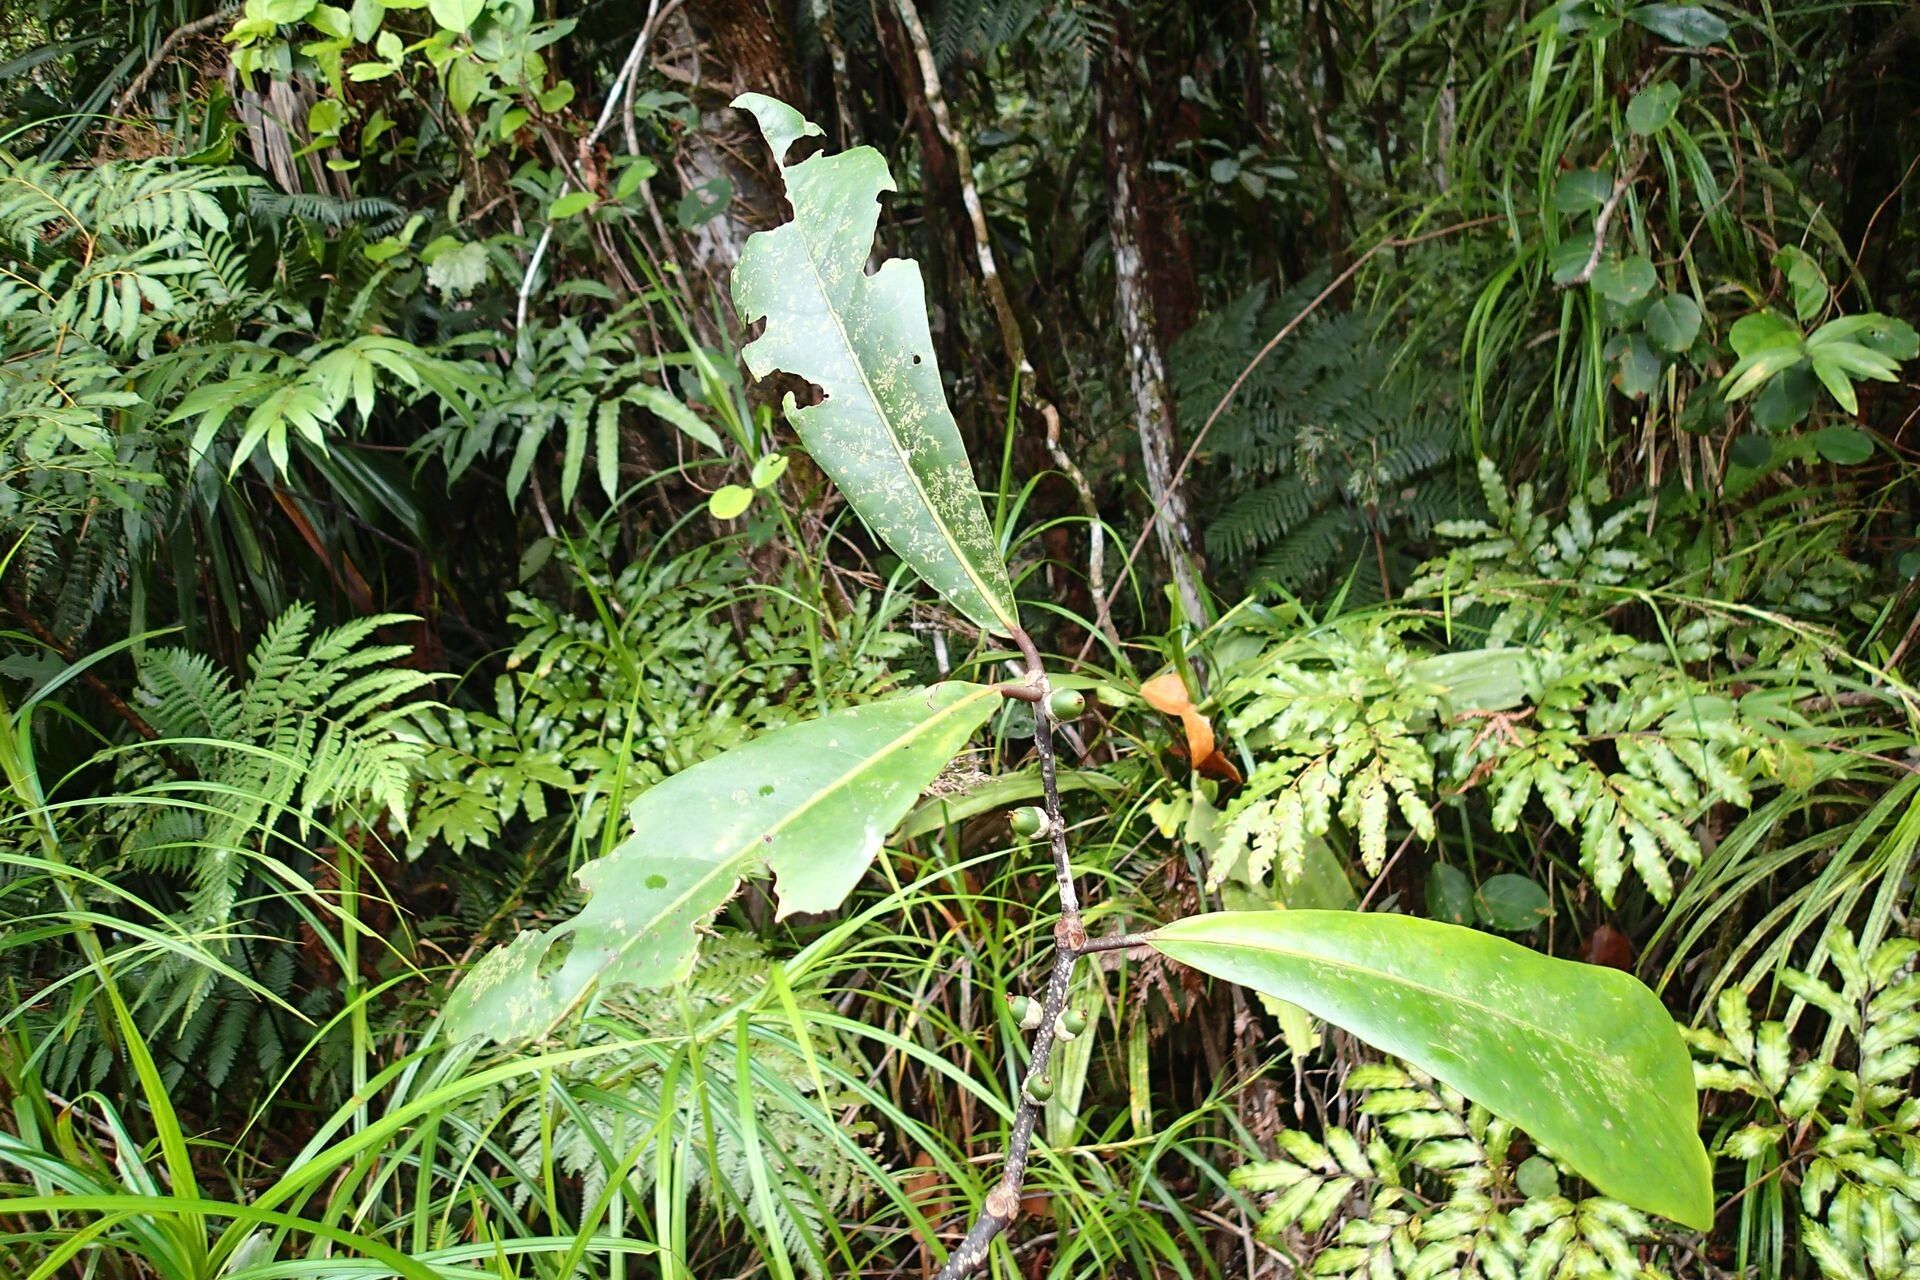
Hello, fellow plant lovers! Today, we’re diving into the fascinating world of Balanops vieillardii. If you haven’t encountered this stunner before, imagine glossy, deep green leaves that catch the light beautifully, often with a striking splash of red or cream variegation. It’s truly a showstopper, adding elegance and a touch of the exotic to any indoor jungle.
Propagating plants like this is one of my favorite ways to expand my collection – and share cuttings with friends! It’s incredibly rewarding to watch a tiny piece of a plant transform into something new. Now, regarding Balanops vieillardii, I wouldn’t say it’s the absolute easiest plant for a complete beginner, but with a little patience and the right approach, you’ll be successful. Don’t let that deter you!
The Best Time to Start
When it comes to getting the best results, spring and early summer are your golden ticket. This is when the plant is naturally in its active growth phase. New growth is typically more vigorous and more likely to root successfully. You’re essentially working with the plant when it’s feeling its best and has plenty of energy to spare.
Supplies You’ll Need
Gathering your supplies beforehand makes the whole process smooth sailing. Here’s what I always have on hand:
- Sharp, clean pruning shears or a knife: Essential for making clean cuts.
- Finely potting mix: A good blend would be equal parts perlite, peat moss, and orchid bark. This provides excellent drainage, which is crucial.
- Rooting hormone (optional, but recommended): A powder or gel to give your cuttings a little boost.
- Small pots or trays: Clean ones, of course! Tiny nursery pots or even reused yogurt containers with drainage holes work fine.
- Clear plastic bag or propagator: To create a humid environment.
- Watering can with a fine rose: For gentle watering.
- Labels and a marker: To keep track of what you’ve propagated and when.
Propagation Methods
For Balanops vieillardii, stem cuttings are generally the most reliable and rewarding method I’ve found.
- Select Your Cuttings: Look for healthy, mature stems that aren’t flowering. You want stems that are firm but not woody. About 4-6 inches long is ideal. Make a clean cut just below a leaf node (where a leaf attaches to the stem). This is where the magic of rooting happens!
- Prepare the Cuttings: Gently remove the lower leaves, leaving just a few at the top. This prevents them from rotting in the soil. If your leaves are very large, you can even cut them in half to reduce water loss.
- Apply Rooting Hormone (Optional): Dip the cut end of the stem into your rooting hormone, tapping off any excess.
- Plant Your Cuttings: Make a small hole in your prepared potting mix with a pencil or your finger. Insert the cutting, ensuring the leaf nodes are buried. Gently firm the soil around the stem.
- Create a Humid Environment: Water the potting mix gently until it’s evenly moist but not soggy. Then, cover the pot with a clear plastic bag or place it in a propagator. This humidity is key for preventing your cuttings from drying out before they develop roots.
- Placement: Place your pots in a bright spot with indirect light. Avoid direct sun, which can scorch delicate cuttings. A spot on a shelf near a window or on a heated propagator mat is perfect.
The “Secret Sauce” (Pro Tips)
Here are a couple of tricks I’ve learned over the years that really make a difference:
- Bottom Heat is Your Friend: If you can, use a heated propagator mat. This gentle warmth from below significantly speeds up root development and increases your success rate, especially if your home isn’t super warm. It mimics the ideal conditions the plant would find in its native, warmer climate.
- Don’t Fuss Too Much: While checking on them is good, avoid excessive watering or disturbing the cuttings. Let them be! Too much attention can sometimes do more harm than good. They need time to establish their root system without being fussed over.
Aftercare & Troubleshooting
Once you start to see new leaf growth or feel a gentle tug when you lightly wiggle the cutting, you know roots have formed! This usually takes anywhere from 4 to 8 weeks.
- Acclimatization: Gradually introduce your new plant to your home’s environment. If it was under a plastic bag, slowly start airing it out by opening the bag a little more each day for a week.
- Watering: Water when the top inch of soil feels dry. Avoid letting it sit in water.
- Fertilizing: Wait until you see significant new growth before feeding it with a diluted liquid fertilizer, perhaps once a month during the growing season.
Now, what if things don’t go as planned? The most common culprit is rot. If your cutting turns black and mushy at the base, it’s a sign of too much moisture and not enough air circulation. Unfortunately, these cuttings are usually a lost cause. It’s a good reminder to ensure your mix is well-draining and you’re not overwatering. Sometimes, a cutting just doesn’t have what it takes – don’t get discouraged! We’ve all been there.
A Little Encouragement
Propagating plants is a journey, and every cutting you take is an act of hope and a connection to the natural world. Be patient with your Balanops vieillardii, give it the right conditions, and enjoy the process. Watching that tiny stem unfurl new leaves is one of the most satisfying triumphs in gardening. Happy propagating!
Resource:
https://identify.plantnet.org/k-world-flora/species/Balanops%20vieillardii%20Baill./data