Hello fellow garden enthusiasts! Today, we’re going to talk about a plant that might not be on everyone’s radar yet, but absolutely deserves a spot in your heart (and your garden!): Dielsantha galeopsoides.
Your New Favorite Garden Companion: Introducing Dielsantha galeopsoides
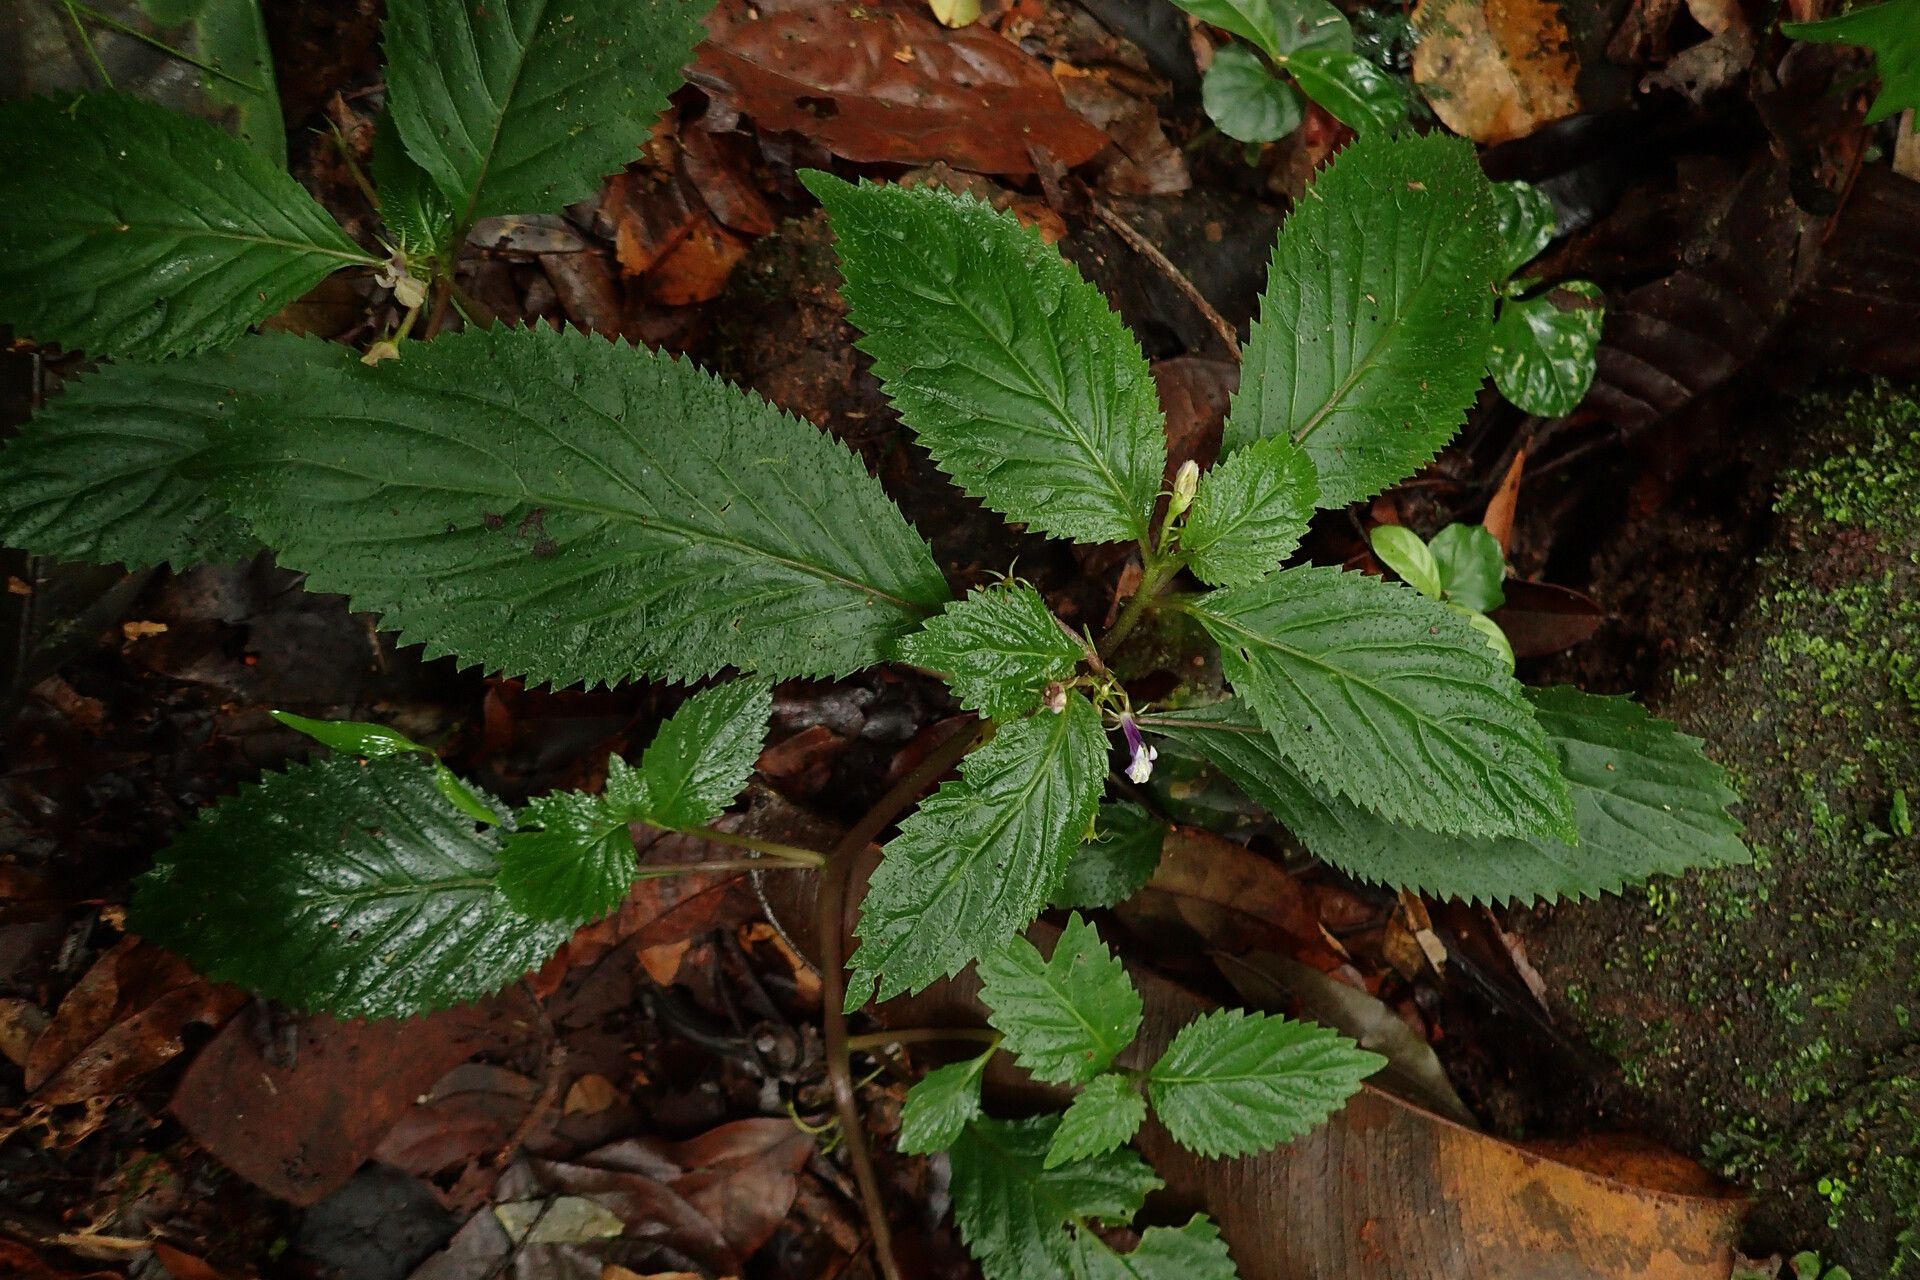
I’ve been growing Dielsantha galeopsoides for years now, and let me tell you, it’s a gem. Its delicate, often vibrantly colored blooms bring such a cheerful presence to the border, and it has a lovely, slightly sprawling habit that fills in spaces beautifully. But the real joy? It’s surprisingly straightforward to increase your stock of this lovely plant. If you’re looking to expand your collection without breaking the bank, or just love the satisfaction of coaxing new life from an existing plant, propagating Dielsantha galeopsoides is a fantastic project. For beginners? I’d say it leans towards the easier side, which is always a plus!
When to Get Your Hands Dirty: The Best Time to Start
Timing is everything, isn’t it? For Dielsantha galeopsoides, I find the late spring to early summer is your golden window. This is when the plant is actively growing, producing nice, healthy stems that are perfect for taking cuttings. You’re looking for new growth that’s still a bit flexible, not yet woody and stiff. Starting around May or June here in my zone (that’s zone 7, for reference!) gives the new cuttings plenty of time to establish before the cooler weather sets in.
Your Propagation Toolkit
Here’s what you’ll want to have on hand before you begin:
- Sharp Pruning Shears or a Craft Knife: Clean cuts are crucial.
- Small Pots or Seed Trays: At least 3-4 inch pots work well.
- Well-Draining Potting Mix: A good quality seed-starting mix or a blend of peat moss, perlite, and a little compost is ideal.
- Rooting Hormone (Optional but Recommended): This can give your cuttings a real boost. Look for one with IBA.
- Clear Plastic Bags or a propagator lid: To create a humid environment.
- Watering Can with a Fine Rose: For gentle watering.
- Labels and a Marker: To keep track of what you’ve planted!
Bringing New Dielsantha to Life: Propagation Methods
I’ve found a couple of methods work wonders for this plant. Let’s dive in!
Stem Cuttings: My Go-To Method
This is by far my favorite way to propagate Dielsantha galeopsoides. It’s efficient and yields the most plants.
- Select Your Cuttings: Head out to your plant and look for those lovely, non-flowering shoots from this year’s growth. They should be about 4-6 inches long.
- Make the Cut: Using your clean shears, make a clean cut just below a leaf node. A leaf node is where a leaf attaches to the stem – that’s where the magic happens for root formation!
- Prepare the Cutting: Gently remove the lower leaves from the cutting, leaving just two or three at the top. This prevents them from rotting in the soil.
- Dip in Rooting Hormone (If Using): Lightly moisten the cut end of the stem and then dip it into your rooting hormone. Tap off any excess.
- Plant Them Up: Fill your small pots with the moist potting mix. Make a little hole in the center with your finger or a pencil.
- Insert the Cutting: Gently place the cut end of the stem into the hole, and firm the soil around it. You can usually fit 2-3 cuttings per pot, spaced a couple of inches apart.
- Water Gently: Water the soil thoroughly but gently until it’s evenly moist.
- Create Humidity: Cover the pots with a clear plastic bag secured with a rubber band, or place them inside a propagator with the lid on. This traps moisture and creates that essential humid environment.
- Find a Bright, Indirect Spot: Place your pots in a warm location that gets bright, indirect light. Avoid direct sun, as it can scorch the developing cuttings.
Water Propagation (for the Patient Gardener)
If you’re not quite ready for soil, you can try water propagation. It’s a lovely way to watch the roots develop.
- Prepare Your Cuttings: Follow steps 1-3 above for preparing your stem cuttings.
- Place in Water: Find a clean jar or glass and fill it with fresh water. Gently place your cuttings into the water, making sure the leaf nodes are submerged, but the leaves themselves are not touching the water.
- Change Water Regularly: Refresh the water every few days to keep it clean and oxygenated.
- Watch for Roots! In a few weeks, you should start to see tiny white roots emerging from the submerged leaf nodes.
- Potting Up: Once your cuttings have developed a good root system (about an inch or so long), you can carefully transplant them into pots filled with your well-draining potting mix. Handle them gently!
The “Secret Sauce”: Insider Tips for Success
Here are a few things I’ve learned over the years that can really make a difference:
- Bottom Heat is Your Friend: If you can, using a heating mat under your pots can dramatically speed up root development. Those happy, warm roots are much more likely to take hold.
- Don’t Overwater the Soil: This is a big one, especially with cuttings. While you want the soil to be moist, soggy soil is the enemy and leads to rot. Let the surface of the soil dry out slightly between waterings. It’s better to be a bit dry than too wet.
- Patience, Patience, Patience: Seriously, sometimes it takes longer than you expect. Don’t give up if you don’t see roots popping up in a week or two. Give them at least 3-4 weeks before you start worrying.
Aftercare and What to Watch For
Once you see signs of new growth on your cuttings – a little leaf unfurling or the stem looking sturdier – it’s a good indication that roots have formed.
- Acclimatize Gradually: If your cuttings were under a plastic bag, gradually reduce the humidity by opening the bag for longer periods over a few days. This helps them adjust to the drier air.
- Continue Gentle Watering: Keep the soil consistently moist but not waterlogged.
- Fingertip Test: When you think they might be ready to transplant into larger pots, a gentle tug will tell you. If there’s resistance, the roots have grabbed hold of the soil.
- Watch for Rot: The most common sign of failure is rot, which looks like a black, mushy stem at the soil line. This usually happens from overwatering or poor air circulation. If you see this, it’s unfortunately usually a lost cause.
Keep Growing, Keep Loving
There you have it – propagating Dielsantha galeopsoides is a rewarding journey that connects you even more deeply with your garden. Be patient with your new little plants, give them a bit of TLC, and soon you’ll have even more of this delightful bloom to enjoy. Happy propagating!
Resource: