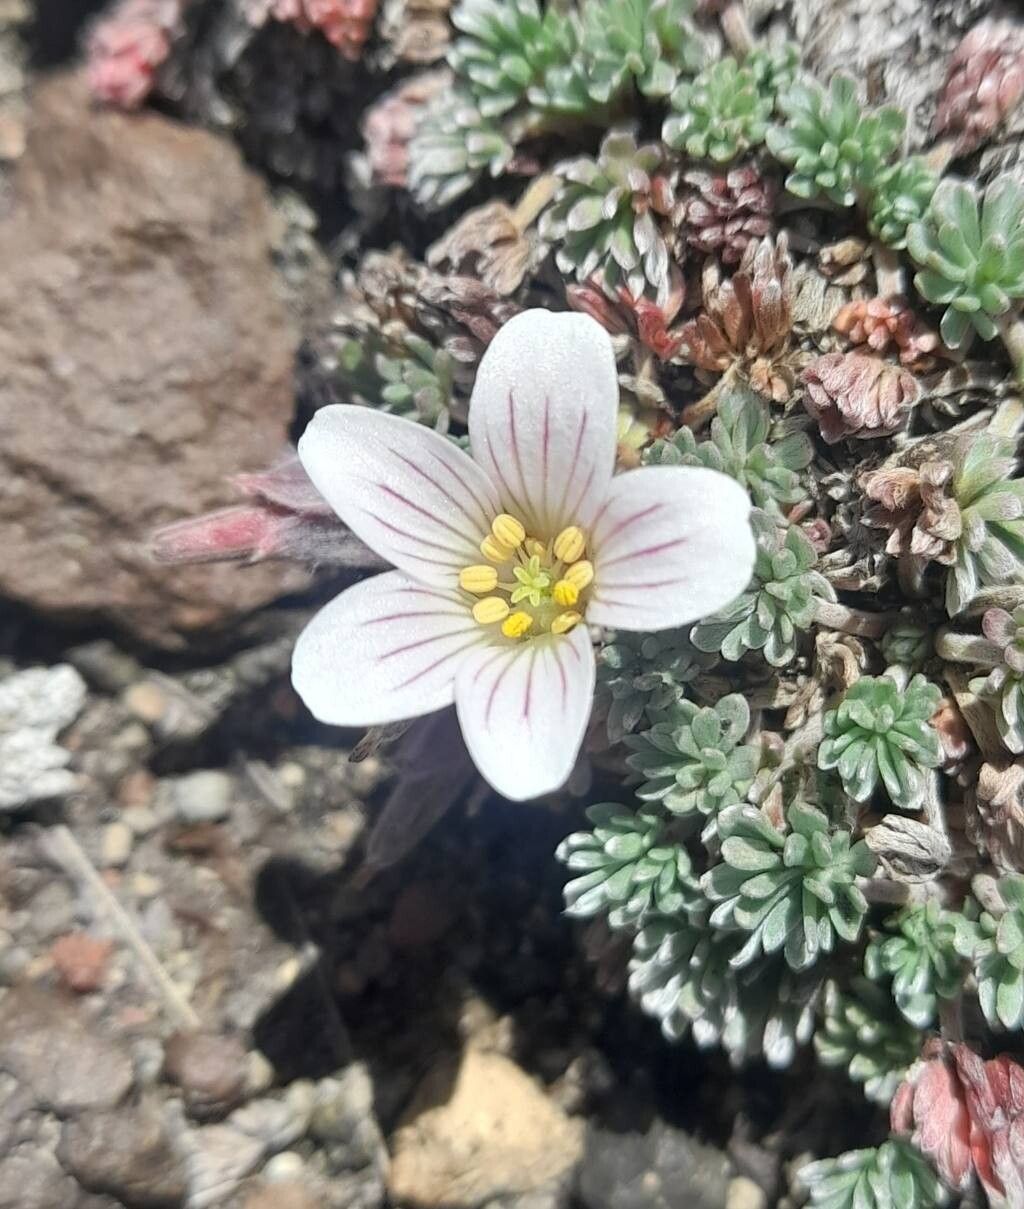
Hello fellow plant lovers! Today, we’re diving into the delightful world of Geranium ecuadoriense. Isn’t it just a gem? That delicate, lacy foliage and those lovely little flowers – it brings such a soft touch to any garden or windowsill. For me, the real magic happens when I can share this beauty by creating new plants myself. Propagating your own Geranium ecuadoriense is not only incredibly rewarding but also surprisingly accessible. Don’t let the fancy name fool you; this is a plant that’s quite welcoming to beginners looking to expand their green family.
The Best Time to Start
When is the sweet spot for giving your Geranium ecuadoriense a little boost into new life? My experience tells me that late spring to early summer is your golden window. This is when the plant is actively growing, full of vigor, and ready to put its energy into rooting. You want to be working with healthy, new growth, not anything that looks tired or stressed.
Supplies You’ll Need
Gathering your tools beforehand makes the whole process so much smoother. Think of it as prepping your ingredients for a delicious recipe!
- Sharp Pruning Shears or a Craft Knife: Clean cuts are crucial.
- Rooting Hormone (Optional but Recommended): A little powdered boost can really help.
- Seed Starting Mix or a Well-Draining Potting Mix: I usually use a half-and-half blend of peat moss and perlite for excellent drainage.
- Small Pots or Seedling Trays: Clean ones are a must to prevent disease.
- Plastic Bags or a Clear Plastic Dome: To create a humid environment.
- Watering Can with a Fine Rose: For gentle watering.
- Labels: To keep track of your newbies!
Propagation Methods
There are a couple of tried-and-true ways to get more Geranium ecuadoriense babies. I find stem cuttings to be my go-to method.
Stem Cuttings
- Select Your Cuttings: Choose healthy, non-flowering stems from your parent plant. Look for stems that are about 4-6 inches long and have at least a couple of leaf nodes. A node is where a leaf attaches to the stem.
- Make the Cut: Using your sharp shears or knife, make a clean cut just below a leaf node. This is where the magic happens – the roots will emerge from this area. Remove any lower leaves that would be below the soil line.
- Apply Rooting Hormone (If Using): Dip the cut end of the stem into your rooting hormone, tapping off any excess.
- Plant the Cuttings: Gently insert the cut end of the stem into your prepared potting mix. Make sure at least one leaf node is buried in the soil.
- Water Gently: Water the potting mix thoroughly but carefully, ensuring it’s moist but not waterlogged.
- Create a Humid Environment: Cover the pot or tray with a plastic bag (propped up so it doesn’t touch the leaves) or a clear plastic dome. This traps humidity, which is vital for cuttings to root.
Water Propagation
I sometimes use this method when I just want to see roots forming quickly.
- Prepare Your Cuttings: Follow steps 1 and 2 from the stem cutting method.
- Place in Water: Put your cuttings in a clean jar or vase filled with fresh water.
- Positioning is Key: Make sure none of the leaves are submerged in the water. Only the cut stem should be in contact with the water. Leaves in the water will rot and can sicken the cutting.
- Change Water Regularly: Change the water every few days to keep it fresh and oxygenated.
The “Secret Sauce” (Pro Tips)
After years of nurturing plants, a few little tricks really make a difference!
- Bottom Heat is Your Friend: If you have it, placing your pots on a propagation mat or a slightly warm surface can significantly speed up rooting. The warmth encourages root development.
- Don’t Be Impatient with Humidity: That enclosed humid environment is critical. If using a plastic bag, mist the inside of the bag lightly with water occasionally if it seems dry.
- Cleanliness is Next to Godliness: Always use clean tools and pots. Fungus and bacteria are the enemies of new cuttings, and a clean start helps prevent problems.
Aftercare & Troubleshooting
Once your cuttings have taken root – you’ll see new leaf growth or feel a gentle tug when you carefully try to pull the cutting – it’s time to transition them to a more permanent home.
- Gradual Acclimation: If you used a plastic bag or dome, start by opening it for a few hours each day, gradually increasing the time until the cutting is used to open air.
- Potting Up: Once roots have developed (you can often see them through the drainage holes or gently slide a cutting out of its pot), transplant them into their own small pots with good quality potting mix.
- Watering: Water them as you would a mature plant, allowing the soil to dry out slightly between waterings.
- Troubleshooting: The most common issue is rot. If your cutting turns black and mushy, it’s likely rotted. This is often due to too much moisture and not enough air circulation. Sometimes, if only a small part has rotted, you can take a fresh cutting from a healthy section. If you see mold on the soil surface, it’s a sign of too much moisture and poor drainage.
A Little Patience, A Lot of Joy
Propagating plants is a journey of patience and observation. Not every cutting will succeed, and that’s perfectly okay. Each attempt is a learning experience. Celebrate the successes, learn from the setbacks, and most importantly, enjoy the process of bringing more of this lovely Geranium ecuadoriense into your life and perhaps even sharing it with friends. Happy propagating!
Resource:
https://identify.plantnet.org/k-world-flora/species/Geranium%20ecuadoriense%20Hieron./data