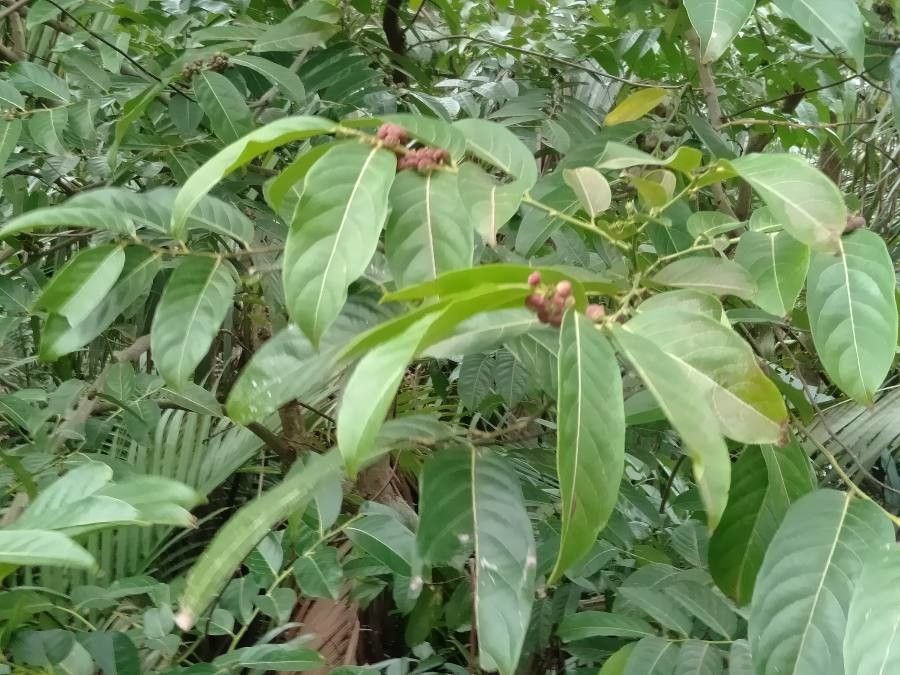
Oh, hello there! Come on in, grab a mug. It’s always such a joy to chat about plants, isn’t it? Today, we’re going to dive into something truly special: Glochidion urophylloides.
Why Glochidion Urophylloides?
This plant, with its lush, glossy leaves and delicate nature, brings a touch of the tropics right into our homes. Seeing new life sprout from a small piece of the parent plant is just incredibly rewarding. It’s a little miracle unfolding before your eyes! Now, for those of you just starting out, I wouldn’t say Glochidion urophylloides is the absolute easiest plant to propagate, but with a little patience and a few key techniques, you’ll be well on your way to success. Think of it as a lovely challenge that’s definitely worth the effort.
When to Get Your Hands Dirty
The best time to get started with propagating your Glochidion urophylloides is during its active growing season. For most of us, this means late spring through summer. The plant is full of energy then, putting on new growth, which makes it much more receptive to rooting. You’re looking for healthy, semi-hardwood cuttings – not brand new, flimsy growth, and not old, woody stems.
Your Propagation Toolkit
Before we get our hands dirty, let’s make sure we have everything we need. It’s always better to be prepared!
- Sharp Pruning Shears or a Craft Knife: Cleanliness is paramount here!
- Rooting Hormone: A powder or gel will do wonders.
- Well-Draining Potting Mix: I like a blend of good quality potting soil, perlite, and a bit of coco coir.
- Small Pots or Trays: Clean is key to prevent any nasty infections.
- Plastic Bag or Humidity Dome: To keep things moist.
- Watering Can with a Fine Rose: Gentle watering is essential.
- Labels and a Marker: To keep track of your little ones.
Bringing New Life: Propagation Methods
Let’s get down to the nitty-gritty. I find stem cuttings to be the most reliable method for Glochidion urophylloides.
Stem Cuttings
- Take Your Cuttings: Using your sterilized shears, take cuttings that are about 4-6 inches long. Look for stems with at least two sets of leaves. Make your cut just below a leaf node (where a leaf attaches to the stem).
- Prepare the Cuttings: Gently remove the lower leaves from the cutting, leaving just the top couple of leaves. If the remaining leaves are very large, you can cut them in half to reduce water loss.
- Apply Rooting Hormone: Dip the cut end of the stem into your rooting hormone, ensuring it’s coated well. Tap off any excess.
- Plant the Cuttings: Fill your small pots with your prepared, damp potting mix. Make a small pilot hole with your finger or a pencil to avoid rubbing off the rooting hormone. Insert the cutting into the hole, ensuring it’s firm in the soil.
- Create a Humid Environment: Water the soil gently. Then, cover the pot with a plastic bag or a humidity dome. This creates a greenhouse effect, keeping the humidity high around your cuttings.
- Provide Light and Warmth: Place your pots in a bright spot that doesn’t get direct, hot sun. A bit of warmth from below, like a heat mat, can significantly speed up the rooting process, but it’s not strictly essential.
My “Secret Sauce” Pro Tips
Here are a few little tricks I’ve picked up over the years that I think can really make a difference:
- Don’t Let the Leaves Touch the Water (if doing water propagation): While I primarily recommend soil for Glochidion urophylloides, if you do experiment with water, make sure only the cut stem is submerged, not the leaves. Any submerged foliage is a prime spot for rot to set in.
- Bottom Heat is Your Friend: As I mentioned, a little gentle warmth from below is fantastic for encouraging roots to form. It mimics how plants naturally root in warmer soil during spring and summer, giving your cuttings a real head start.
- Patience with the Leaves: Don’t panic if the leaves on your cutting look a little droopy for the first week or so. This is normal as the plant conserves energy while it focuses on root development. They should perk back up once roots begin to form.
Aftercare and Troubleshooting
Once you start to see new growth, or if you gently tug on a cutting and feel resistance, congratulations! Roots have formed.
- Gradual Acclimation: Begin to gradually remove the plastic covering over a few days to let your new plant get used to the drier air.
- Potting Up: Once the roots are well-established, you can carefully pot your new Glochidion urophylloides into a slightly larger pot with fresh potting mix.
- Common Issues: The most common problem you’ll encounter is rot. This is usually caused by overwatering or poor drainage. If your cutting turns mushy and black, it’s a sign of rot, and unfortunately, it’s usually too late to save. Preventative care – good drainage, not too much water, and clean tools – is your best defense. Another sign of a failed cutting is if it simply dries out and dies without any sign of rot or rooting. This could be due to lack of humidity or the cutting being too old.
Happy Rooting!
See? It’s not so daunting after all. Gardening is all about observation, a little bit of science, and a whole lot of love. Be patient with your new plant babies, celebrate every tiny victory, and most importantly, enjoy the process of creation. Happy propagating!
Resource:
https://identify.plantnet.org/k-world-flora/species/Glochidion%20urophylloides%20Elmer/data