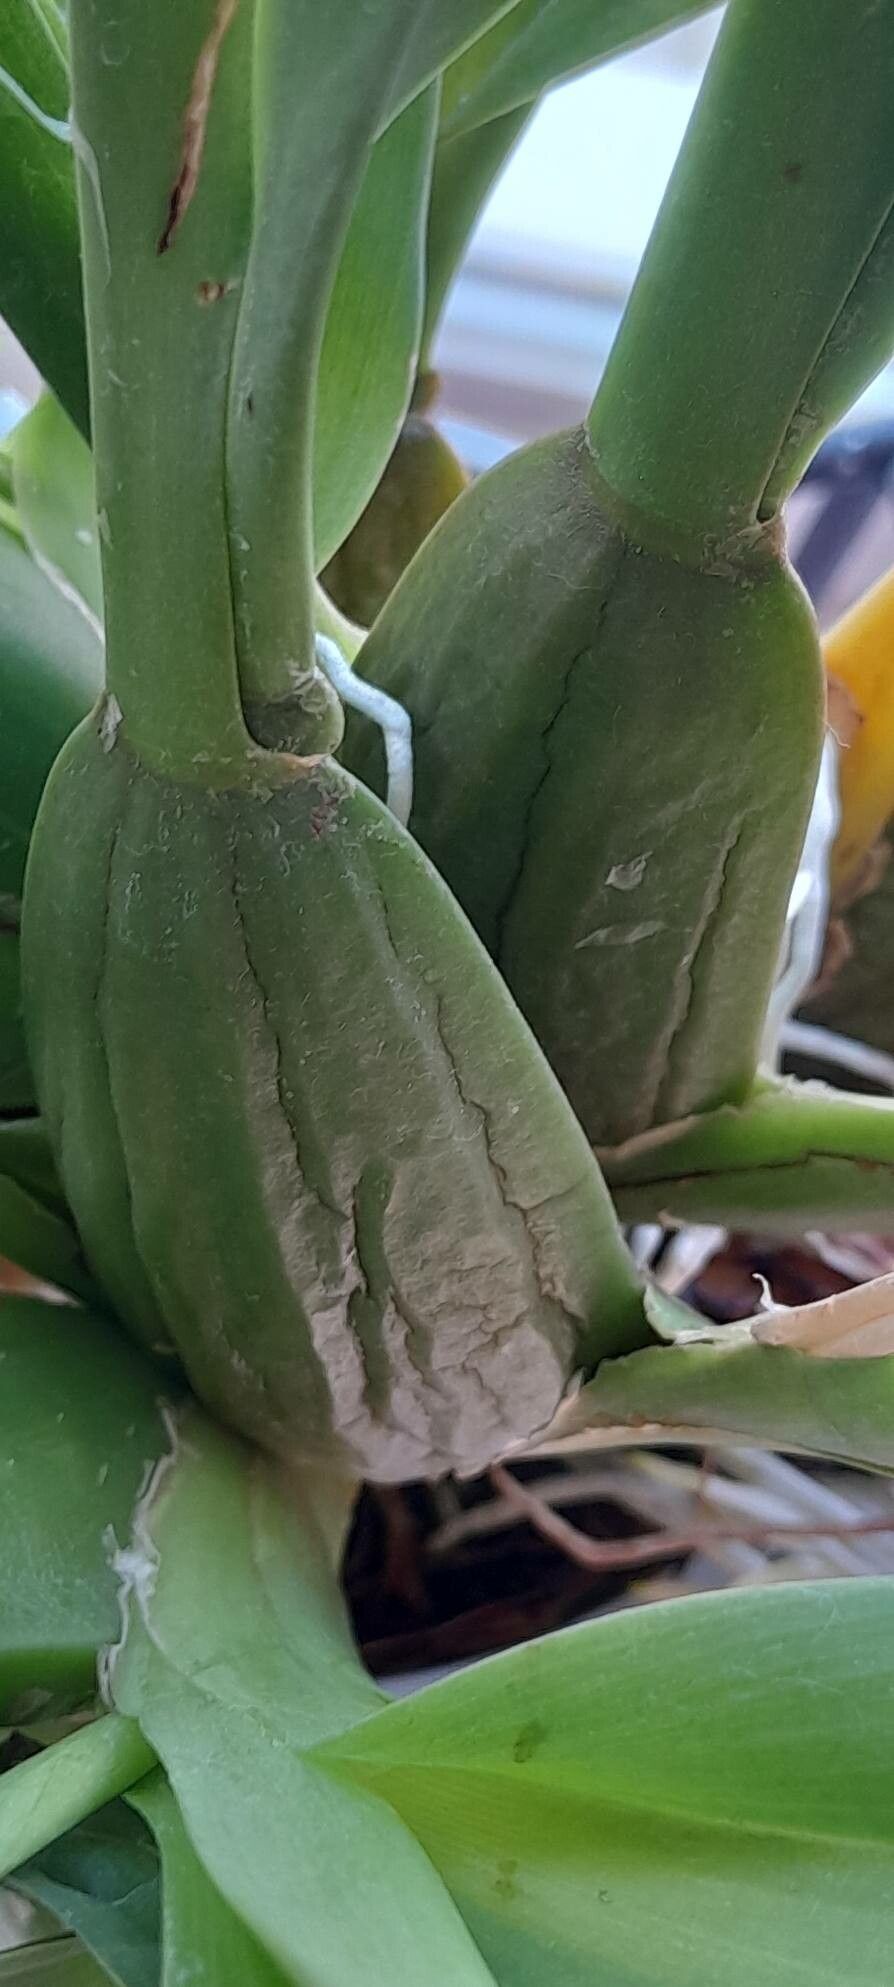
Oh, hello there! Pull up a chair and let’s talk orchids. Today, we’re diving into the delightful world of Oncidium leleui. If you’re looking for an orchid that packs a punch with its charming, often intricately patterned blooms, Oncidium leleui might just be your next favorite. It’s not one of those fussy divas; it has a lovely resilience that makes it a real joy. And propagating it? That’s where the real magic happens. Seeing a new little sprout emerge from a piece of your beloved plant is incredibly rewarding. For beginners, I’d say Oncidium leleui is a moderate challenge, but with a little guidance, you’ll be well on your way to success!
The Best Time to Start
The absolute sweet spot for propagating Oncidium leleui is when the plant is actively growing, but not in full bloom. This usually means after the plant has finished flowering, and you see new root growth or the start of a new pseudobulb. This gives the developing offsets or cuttings plenty of energy to establish themselves without the stress of producing flowers. Think late spring or early summer for many of us.
Supplies You’ll Need
Here’s what I always have on hand for my propagation projects:
- Sharp, sterile pruning shears or a sharp knife: Cleanliness is paramount to prevent disease.
- Activated charcoal: A sprinkle at the cut surface helps prevent fungal infections.
- Rooting hormone (optional but helpful): A powdered or gel form can give young roots a nudge.
- Orchid potting mix: I prefer a fast-draining mix, usually a blend of bark, perlite, and charcoal. For Oncidium leleui, I lean towards a finer bark mix.
- Small pots or community trays: Choose pots with good drainage.
- Watering can with a fine rose or spray bottle: Gentle watering is key.
- Patience! This is the most important tool.
Propagation Methods
For Oncidium leleui, the most successful method is division. These orchids tend to produce multiple pseudobulbs, and these are our best friends for propagation.
Method: Division
- Assess your plant: Look for a mature plant with at least three to four healthy pseudobulbs. You want to find a natural growing point between groups of pseudobulbs where you can cleanly separate them.
- Gently remove from pot: If your plant is healthy, it should slide out fairly easily. If it’s tightly bound, you might need to gently coax it.
- Clean the roots: Carefully brush away as much of the old potting medium as you can. This allows you to see the structure of the rhizome (the creeping stem that connects the pseudobulbs) and identify clear division points.
- Make the cut: Using your sterile pruning shears or knife, carefully cut through the rhizome. Aim to separate the plant into sections, each with at least two to three healthy pseudobulbs and good root system. It’s okay if some roots are damaged; the plant will grow new ones.
- Treat the cuts: Sprinkle a little activated charcoal on any cut surfaces. If you’re using rooting hormone, dust it on the cut end of the rhizome where you want to encourage new roots.
- Pot up the divisions: Plant each division in its own pot with fresh, well-draining orchid mix. Ensure the pseudobulbs are sitting on top of the mix, not buried. You want the crown (where the leaves emerge) to be accessible for watering.
- Initial watering: Water lightly after potting. Don’t drench it.
The “Secret Sauce” (Pro Tips)
Here are a few things I’ve learned over the years that really seem to make a difference:
- Don’t rush the process: When you’re assessing where to divide, take your time to really see the growth patterns. Sometimes a slight angle gives you a much better division with more roots. It’s better to wait an extra week than to make a jagged cut that compromises the plant.
- Humidity is your friend: After dividing and potting, the new divisions will appreciate a bit of extra humidity. I often place them in a clear plastic bag with a few air holes or in a propagation tray with a lid. This helps prevent them from drying out before they can establish new roots. Just make sure there’s enough air circulation to prevent fungal issues.
- Shadow is better than sun: For the first few weeks after division, keep your new plants out of direct sunlight. Bright, indirect light is perfect. Too much sun can stress them when they are trying to recover and root.
Aftercare & Troubleshooting
Once your divisions are potted, care is about gentle encouragement. Water whenever the potting medium is almost dry, which might be less frequently than your mature plant. Mist the leaves occasionally if humidity is low, but avoid getting water trapped in the crown.
The most common issue you’ll encounter is rot. It usually happens when the plant stays too wet, especially at the base or in the crown. You’ll see the pseudobulbs turn mushy and brown. If you spot this, act quickly. You might need to trim away the rotted parts, treat with a fungicide, and repot in fresh, drier medium. Sometimes, despite our best efforts, a division might not make it. Don’t get discouraged! It happens to all of us.
A Encouraging Closing
Propagating Oncidium leleui is a journey, and like any good journey, it’s about the process as much as the destination. Be patient with your new divisions, offer them a little extra TLC, and celebrate every new root and leaf. Soon enough, you’ll have more of these delightful orchids to enjoy and perhaps even share! Happy growing!
Resource: