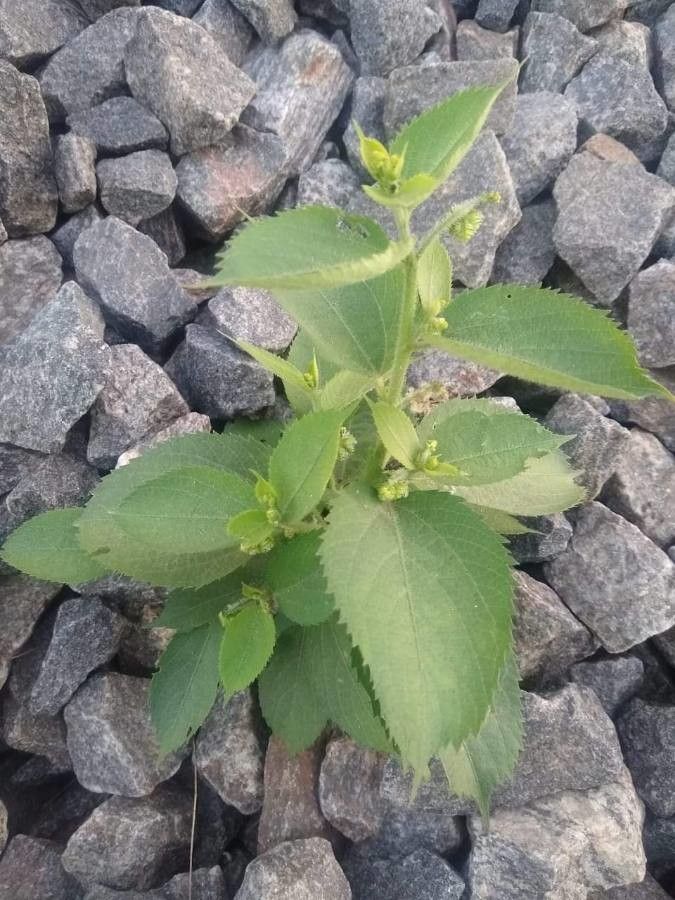
Oh, hello there! Pull up a chair and let’s chat about one of my favorite little green wonders: Tragia involucrata. You know, the one with those delightful, often fuzzy leaves that can add such a unique touch to a garden? It’s got this charming way of growing, and honestly, there’s something incredibly satisfying about coaxing new life from an established plant. If you’re looking to expand your collection or share this beauty with friends, propagating Tragia involucrata is a wonderfully rewarding endeavor. While it requires a little attention to detail, I wouldn’t call it a difficult plant for beginners. With a bit of care, you’ll be well on your way!
The Best Time to Start
For the absolute best chance of success with your Tragia involucrata cuttings, aim for late spring to early summer. This is when the plant is in full swing of its active growth. You’ll want to take cuttings from healthy, non-flowering shoots that are still somewhat soft and fleshy, not woody. Think of it like this: they’re full of youthful energy and eager to sprout roots!
Supplies You’ll Need
Here’s a handy little list to gather before you get started:
- Sharp pruning shears or a clean, sharp knife: For making clean cuts.
- Rooting hormone (optional but helpful): Look for one formulated for softwood or semi-hardwood cuttings.
- Well-draining potting mix: A blend of peat moss, perlite, and a bit of coarse sand works wonders. You can also find specific seed-starting or propagation mixes.
- Small pots or trays: Clean containers with drainage holes are essential.
- Plastic bags or a propagator lid: To create a humid environment.
- Watering can with a fine rose: For gentle watering.
Propagation Methods
Let’s dive into the most reliable ways to get more Tragia involucrata plants!
Stem Cuttings
This is my go-to method for Tragia involucrata.
- Take Your Cuttings: Using your clean shears or knife, select a healthy stem and cut it just below a leaf node. You’re aiming for cuttings that are about 4-6 inches long. Remove the lower leaves, leaving just a couple at the top. If the leaves are very large, you can even cut them in half to reduce water loss.
- Prepare the Cutting: Dipp the cut end into your rooting hormone, tapping off any excess. This step isn’t strictly necessary as Tragia involucrata can root quite readily, but it can give you a bit of a boost.
- Plant the Cutting: Make a small hole in your well-draining potting mix with a pencil or your finger. Gently insert the cutting, making sure at least one leaf node is below the soil surface.
- Water Gently: Water the soil thoroughly but gently, ensuring it’s moist but not waterlogged.
- Create Humidity: Place the pot into a clear plastic bag or cover it with a propagator lid. This traps moisture and keeps the humidity high, which is crucial for successful rooting. Make sure the leaves aren’t being squashed.
- Find a Bright Spot: Place the pot in a bright location with indirect sunlight. Avoid direct sun, which can scorch the delicate cuttings.
- Be Patient: Keep the soil consistently moist but not soggy. You should start to see signs of rooting within a few weeks to a month. You can give a gentle tug; if there’s resistance, roots have formed!
Division
If your Tragia involucrata plant is already a good size and has multiple stems emerging from the base, division is a simpler option.
- Gently Excavate: Carefully dig up the entire plant, trying to disturb the roots as little as possible.
- Separate the Divisions: You can often gently pull the root ball apart with your hands. If it’s a bit stubborn, a clean, sharp knife can help. Each division should have a good amount of roots and at least one or two healthy stems.
- Replant: Immediately replant your divisions into fresh, well-draining potting mix. Water them in well.
- Initial Care: Keep the newly divided plants in a slightly shaded spot and ensure they don’t dry out for the first couple of weeks as they establish themselves.
The “Secret Sauce” (Pro Tips)
Over the years, I’ve picked up a few little tricks that seem to make a difference:
- Bottom Heat is Your Friend: If you can, place your pots on a heated propagator mat. This gentle warmth from below encourages root development significantly, especially if it’s a bit cooler in your propagation space.
- Don’t Drown Your Cuttings: While humidity is key, soggy soil is the enemy of new roots. Make sure your potting mix is truly airy and drains well. If your cuttings look a bit sad and droopy, check the moisture level of the soil first before assuming they need more water. Often, they’re just adjusting.
- Watch the Leaf Surface: If you do opt for water propagation (though I find soil is generally easier for this plant), remember to keep the leaves from touching the water directly. This can lead to rot very quickly.
Aftercare & Troubleshooting
Once your cuttings have developed a good root system (you’ll see roots peeking out of the drainage holes or feel good resistance when gently tugged), it’s time to treat them like a young, independent plant!
- Gradual Acclimation: If your cutting was inside a plastic bag or propagator, slowly start to introduce it to less humid conditions over a few days. Open the bag a little at first, then remove it for longer periods.
- Pot Up When Ready: When the roots are well-established, you can transplant your new plant into a slightly larger pot with fresh potting mix.
- Watering: Water them when the top inch of soil feels dry. They’ll still need consistent moisture, but avoid letting them sit in water.
- Signs of Failure: The most common issue is rot. If your cutting turns mushy, blackens, or develops mold, it’s usually a sign of too much moisture and not enough air circulation. If you see this, it’s often best to discard the affected cutting and start again, ensuring better drainage and air circulation next time. Some wilting is normal as the plant adjusts, but persistent droopiness with no root development can also indicate issues.
So there you have it! Propagating Tragia involucrata is a wonderfully accessible way to expand your plant family. Be patient, keep an eye on your little green charges, and enjoy the magic of watching them grow. Happy gardening!
Resource:
https://identify.plantnet.org/k-world-flora/species/Tragia%20involucrata%20L./data