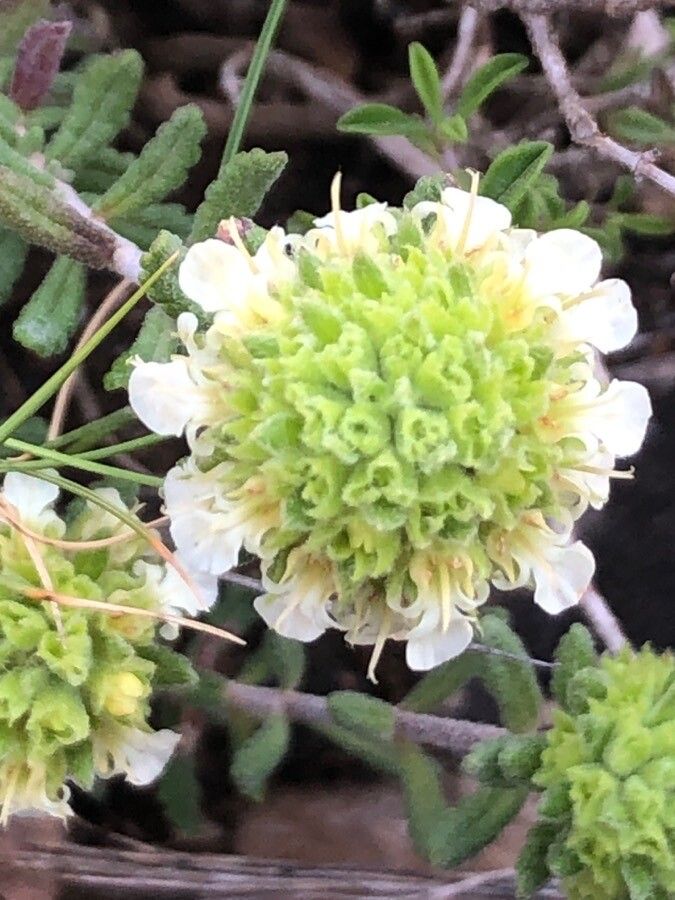
Oh, Teucrium carthaginense! If you’ve ever admired those delicate, silver-grey leaves and those charming little blooms, you’re not alone. This little shrub, often called Saffron Wall Germander, brings such a lovely texture and a breath of Mediterranean charm to any garden. It’s surprisingly hardy once established, and the best part? You can easily have more of it! Propagating it yourself is incredibly rewarding, and honestly, it’s a pretty forgiving plant to work with. I’d say it’s a fantastic candidate for beginners looking to dip their toes into the wonderful world of plant propagation.
The Best Time to Start
When it comes to getting the most bang for your buck (or, rather, your cutting), the late spring to early summer is usually your sweet spot. This is when the plant is actively growing, putting out nice, semi-ripe shoots that have enough energy to root. Think of it as the plant being full of vigor and ready to share its bounty! While you can sometimes get away with softwood cuttings in mid-spring, avoiding wood that’s too soft or too hard gives you the best chance for success.
Supplies You’ll Need
Gathering your tools beforehand makes the whole process much smoother. Here’s what I recommend having on hand:
- Sharp pruning shears or a clean, sharp knife: For making clean cuts.
- Small pots or trays: With drainage holes, of course!
- Rooting hormone (optional but recommended): A powder or gel helps speed things up.
- A good potting mix: I like a blend of equal parts peat moss, perlite, and a tiny bit of coarse sand. This ensures great drainage. You can also buy a specialized seed starting or cutting mix.
- A clear plastic bag or dome: To create a mini-greenhouse effect.
- Watering can with a fine rose: For gentle watering.
- Labels and a marker: To keep track of what you’ve propagated and when.
- Optional: A heat mat: This can really speed up root development.
Propagation Methods
For Teucrium carthaginense, stem cuttings are by far my favorite and most reliable method.
Stem Cuttings:
- Select Your Material: In late spring or early summer, look for healthy, non-flowering shoots. You want what we call semi-ripe cuttings. This means the stem is starting to harden slightly but is still flexible – not brand new, floppy growth, and definitely not woody branches.
- Make the Cut: Using your clean secateurs or knife, take cuttings from the parent plant that are about 4 to 6 inches long. Make a clean cut just below a leaf node (where a leaf grows from the stem). This is where rooting hormones are most effective and where roots tend to form.
- Prepare the Cuttings: Gently remove the lower leaves from the bottom half of the cutting. You want to strip at least an inch or two clear of leaves. If any flower buds have formed, pinch them off; we want all the plant’s energy to go into roots, not flowers.
- Apply Rooting Hormone (Optional): Dip the cut end of the stem into your rooting hormone, tapping off any excess.
- Pot Them Up: Fill your small pots with your well-draining potting mix. Make a small hole with a pencil or dowel in the center of each pot. This prevents you from rubbing off the rooting hormone when you insert the cutting.
- Insert Cuttings: Place one to three cuttings into each pot, gently firming the soil around them to ensure good contact. Make sure no leaves are touching the soil surface.
- Water Gently: Water the pots thoroughly until water runs out of the drainage holes.
The “Secret Sauce” (Pro Tips)
Here are a few tricks I’ve learned over the years that really give your cuttings a boost:
- The Humidity Dome is Your Friend: Once your cuttings are potted, I like to cover them with a clear plastic bag (support it with a few sticks so it doesn’t touch the leaves) or place them in a propagator with a lid. This keeps the humidity high, which is crucial when cuttings don’t have roots to absorb water yet.
- Bottom Heat is Gold: If you have one, placing your pots on a heated propagator mat can make a world of difference, especially if your house is on the cooler side. It encourages root development from underneath, and I’ve found it significantly speeds up the rooting process for many plants, including Teucrium.
- Don’t Overwater! This is a big one. While they need moisture, constantly soggy soil is the quickest way to invite fungal diseases and rot. Let the surface of the soil dry out very slightly between waterings.
Aftercare & Troubleshooting
Once your cuttings are potted, place them in a bright spot, but out of direct, harsh sunlight. A windowsill that gets morning sun or is a few feet away from a brighter window is perfect.
You’ll know your cuttings are rooting when you see new leaf growth and, if you gently tug on a cutting, you feel some resistance rather than it coming out easily. This usually takes about 3 to 6 weeks, sometimes a bit longer.
The main thing to watch out for is rot. If a cutting turns black and mushy, it’s usually a sign of too much moisture and too little air circulation. If you see this, remove the affected cutting immediately to prevent it from spreading. A bit of wilting is normal initially, but if it persists and you don’t see any signs of rooting, it might not have taken. Don’t be discouraged; it happens! Discard any cuttings that look completely dead and keep an eye on the others.
Once you have good root development and new growth, you can start gradually acclimatizing them to normal room conditions by opening the bag or propagator for longer periods. Then, you can transplant them into slightly larger individual pots when they are big enough to handle.
A Rewarding Endeavor
Propagating Teucrium carthaginense is such a satisfying project. It’s a beautiful plant, and the joy of creating new life from a simple cutting is truly special. Be patient, observe your cuttings, and most importantly, enjoy the process of nurturing these little green shoots into becoming your new favorite shrubs. Happy propagating!
Resource:
https://identify.plantnet.org/k-world-flora/species/Teucrium%20carthaginense%20Lange/data