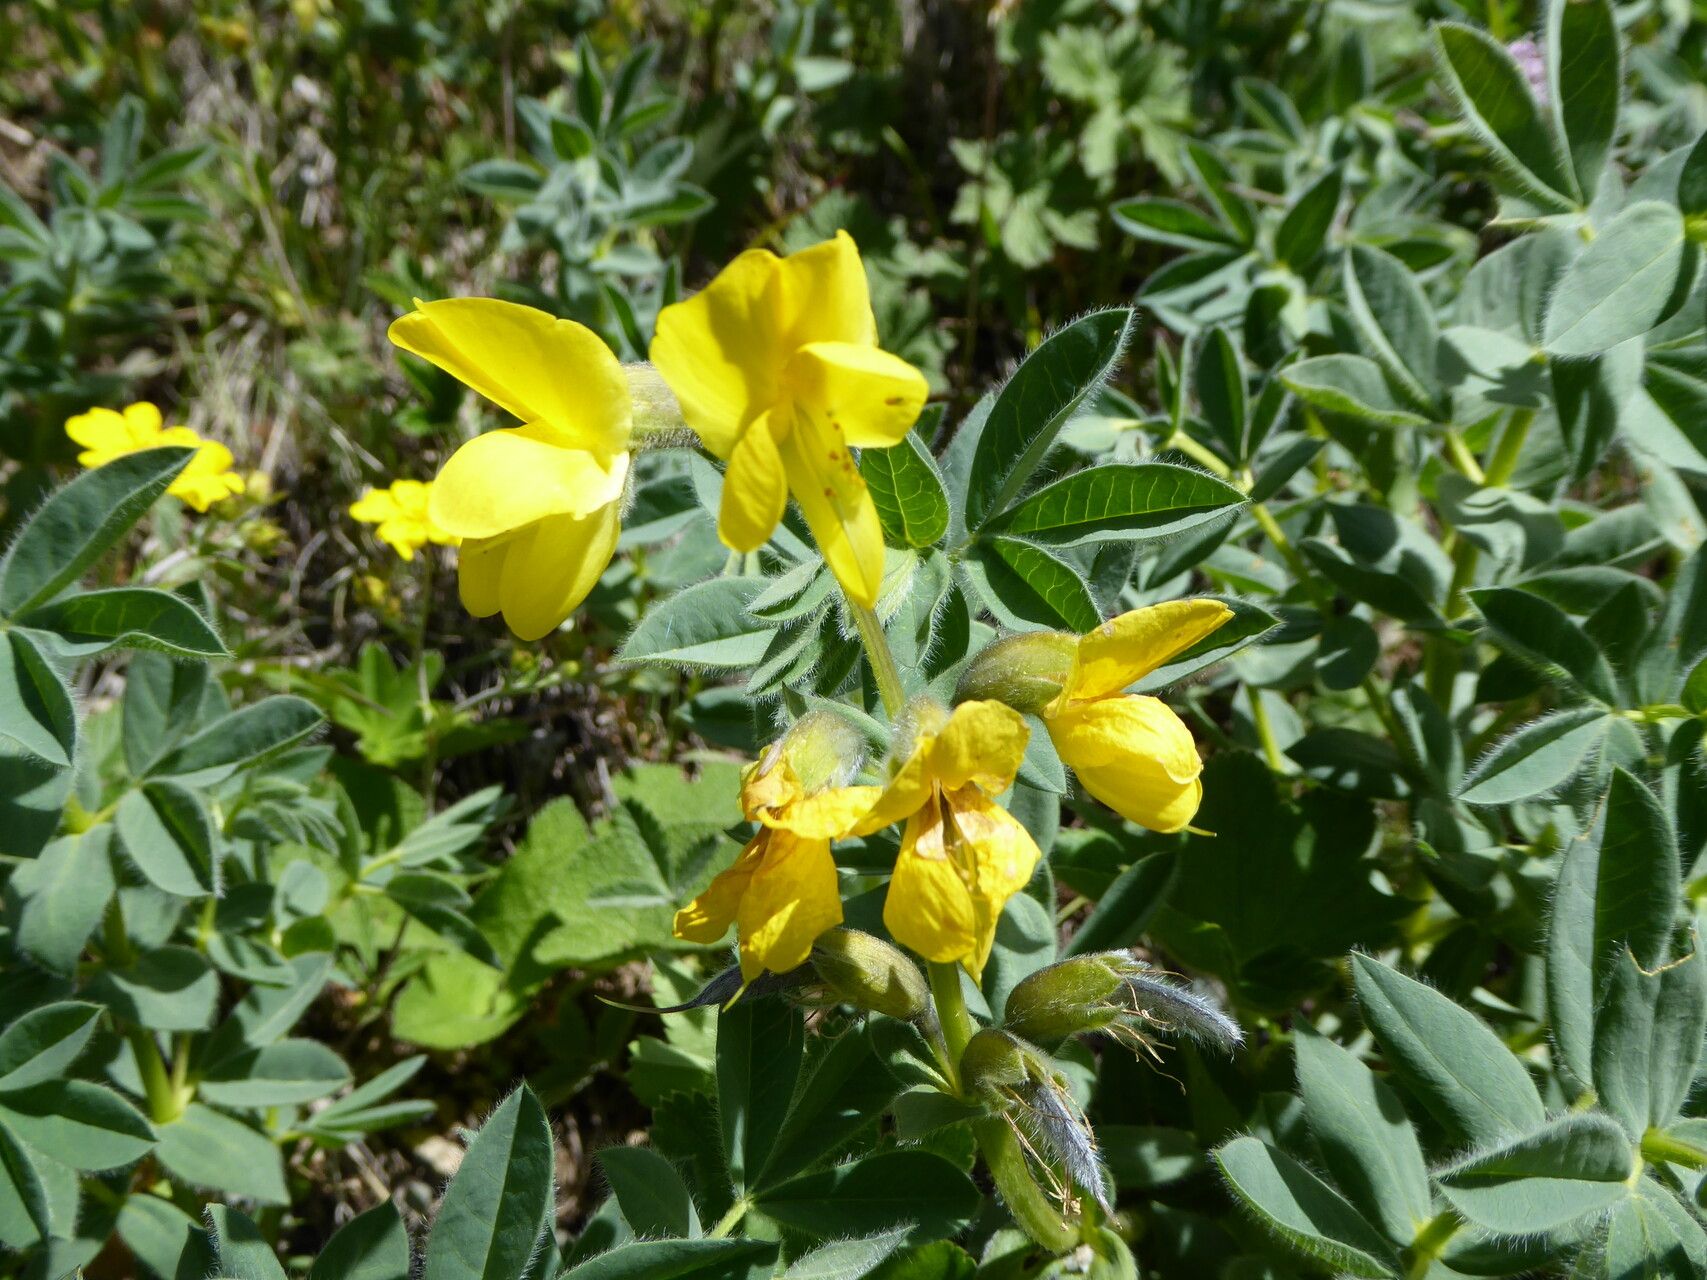
Oh, hello there! Pull up a chair and let’s talk about one of my favorite little treasures: Thermopsis alpina. This delightful alpine beauty, sometimes called the ‘Alpine False Lupine’, brings such charm to the garden with its lovely yellow blooms that look like tiny lupines. They’re not overly fussy, and they have this wonderful way of naturalizing a bit, creating little drifts of sunshine.
One of the most rewarding things you can do in the garden is create more of what you love. Propagating Thermopsis alpina is a fantastic way to do just that! It’s a process I’ve found to be really quite approachable, even for those of you just dipping your toes into the world of plant propagation. So, let’s get our hands a little dirty!
The Best Time to Start
For the highest success rate with Thermopsis alpina, I always aim for early spring. This is usually when the plant is just waking up after its winter slumber and showing signs of new, vigorous growth. You want to work with healthy, actively growing stems that haven’t yet flowered or are just beginning to bud. Waiting until after the main flowering period in late spring or early summer can also work, but I find spring offers the best chance for those cuttings to establish themselves quickly.
Supplies You’ll Need
Don’t worry, it’s not a long or complicated list! Here’s what I typically gather:
- Sharp Pruning Shears or a Craft Knife: Cleanliness is key here.
- Small Pots or Seedling Trays: With drainage holes, of course!
- Rooting Hormone (Optional but Recommended): A powder or gel helps things along.
- Well-Draining Potting Mix: I like a blend of good quality potting soil, perlite, and a bit of coarse sand. Something that won’t hold too much moisture.
- Watering Can with a Fine Rose or a Spray Bottle: For gentle watering.
- Labels and a Marker: Trust me, you’ll thank yourself later!
- Plastic Bags or a Propagator: To create a humid environment.
Propagation Methods
For Thermopsis alpina, I find division is usually the most straightforward and successful method. Stem cuttings can be a little trickier, but I’ll guide you through both!
Method 1: Division (My Favorite for Thermopsis alpina)
This is best done in early spring.
- Gently Excavate: Carefully dig around the base of your established Thermopsis alpina. You want to loosen the soil and get enough of the root ball out to see what you’re working with.
- Assess the Clumps: Look for distinct sections of the plant, each with its own crown (where the stems emerge from the roots) and a good amount of healthy roots.
- Separate with Care: Using your hands or a clean, sharp trowel, gently pull or cut the clump apart into smaller sections. Make sure each section has at least one healthy bud or stem and a solid root system. Avoid tearing the roots as much as possible.
- Replant Immediately: Pot up your new divisions into pots filled with your well-draining mix. Water them in well.
- Provide a Hydrating Environment: Keep them in a slightly shaded spot and water regularly, ensuring the soil stays consistently moist but not waterlogged.
Method 2: Stem Cuttings (A Bit More Patience)
This can be done in spring or early summer when you have new, non-flowering shoots.
- Take the Cuttings: Select healthy, green stems that are about 4-6 inches long. Make a clean cut just below a leaf node (where a leaf attaches to the stem). This is where roots tend to form.
- Prepare the Cutting: Remove the lower leaves, leaving just a couple at the top. This prevents them from rotting in the soil.
- Dip in Rooting Hormone: If you’re using rooting hormone, lightly dip the cut end into the powder or gel. Tap off any excess.
- Plant the Cuttings: Fill small pots with your well-draining mix. Make a small hole with your finger or a pencil and insert the cutting, firming the soil gently around it.
- Create a Humid Environment: Water the soil lightly. Now, here’s a crucial step: cover the pot with a clear plastic bag or place it in a propagator. This helps to keep the humidity high, which is essential for cuttings to root. Poke a few small holes in the bag for air circulation or open the propagator vents slightly.
- Provide Warmth and Light: Place the pots in a bright spot, but out of direct, scorching sunlight. A bit of bottom heat from a heat mat can really speed things up if you have one.
The “Secret Sauce” (Pro Tips!)
Here are a couple of things I’ve learned over the years that make a real difference:
- Don’t Let New Shoots Drown: When watering cuttings, especially those in pots, be very careful not to let the developing leaves or the stem sit in soggy soil. This is a fast track to rot. I often water from the bottom, letting the pot soak up moisture for a bit until the surface is damp.
- Fresh Cuttings are Happy Cuttings: The sooner you get your cuttings into soil after taking them, the better. They’re like little children – they need a cozy home as soon as possible to thrive!
Aftercare & Troubleshooting
Once your cuttings have rooted (you might see a little bit of new growth, or they’ll resist gently when tugged), it’s time to move them into slightly larger pots. Continue to keep them moist and out of intense sun. Gradually acclimate them to your garden conditions before planting them out in their permanent home. For divisions, as mentioned, just keep them watered and happy in their new location.
The most common issue you might encounter is rot. If you see your cuttings wilting and turning black and mushy, it’s usually a sign of too much moisture and not enough air circulation. Don’t be disheartened! It happens to the best of us. Simply discard the rotted cuttings and try again, perhaps with a slightly drier mix or better ventilation. Another sign of failure is a cutting that simply shrivels up and dies – this can be due to drying out too quickly or not being placed in a humid enough environment.
A Little Encouraging Closing
Propagating plants is more of an art than a science, and it’s a wonderful journey of observation and patience. Don’t be afraid to experiment and learn from each attempt. Watching a tiny cutting or a divided piece grow into a beautiful, mature plant is one of the most satisfying feelings a gardener can have. So, go ahead, give it a try, and enjoy the process of creating more of these lovely yellow blooms for your garden! Happy propagating!
Resource:
https://identify.plantnet.org/k-world-flora/species/Thermopsis%20alpina%20(Pall.)%20Ledeb./data