Hello fellow plant lovers! If you’re drawn to the vibrant, almost painted leaves of the Croton, you’re not alone. Crotons, with their fiery reds, sunny yellows, and deep greens, are a real showstopper. And the best part? You can easily multiply that beauty yourself! Growing more Crotons from an existing plant is incredibly satisfying, like unlocking a little bit of horticultural magic. Now, I won’t lie, Crotons can be a touch finicky for absolute beginners, but with a little patience and the right approach, you’ll be a Croton-propagating pro in no time.
When the Gardens Whisper “Grow!”
The absolute best time to try your hand at propagating Crotons is during their active growing season. Think late spring through mid-summer. This is when the plant has plenty of energy to put into developing new roots. You’re essentially giving your cuttings the best possible start when the mother plant is feeling its strongest.
Your Propagation Toolkit
Gathering a few essentials before you begin makes the whole process much smoother. Here’s what I always have on hand:
- Sharp Pruning Shears or a Clean Knife: For making clean cuts on the parent plant.
- Rooting Hormone (Optional but Recommended): This little powder or gel can significantly speed up root development.
- Well-Draining Potting Mix: A good blend of perlite, peat moss, and coco coir works wonders. You can also use a standard well-draining potting mix, just make sure it’s not too heavy.
- Small Pots or Propagation Trays: Clean pots with drainage holes are a must!
- Clear Plastic Bag or Dome: To create a humid environment for your cuttings.
- Watering Can with a Fine Rose: Gentle watering is key.
- Labels: To keep track of what you’ve propagated and when.
Making More Crotons: The Magic of Cuttings
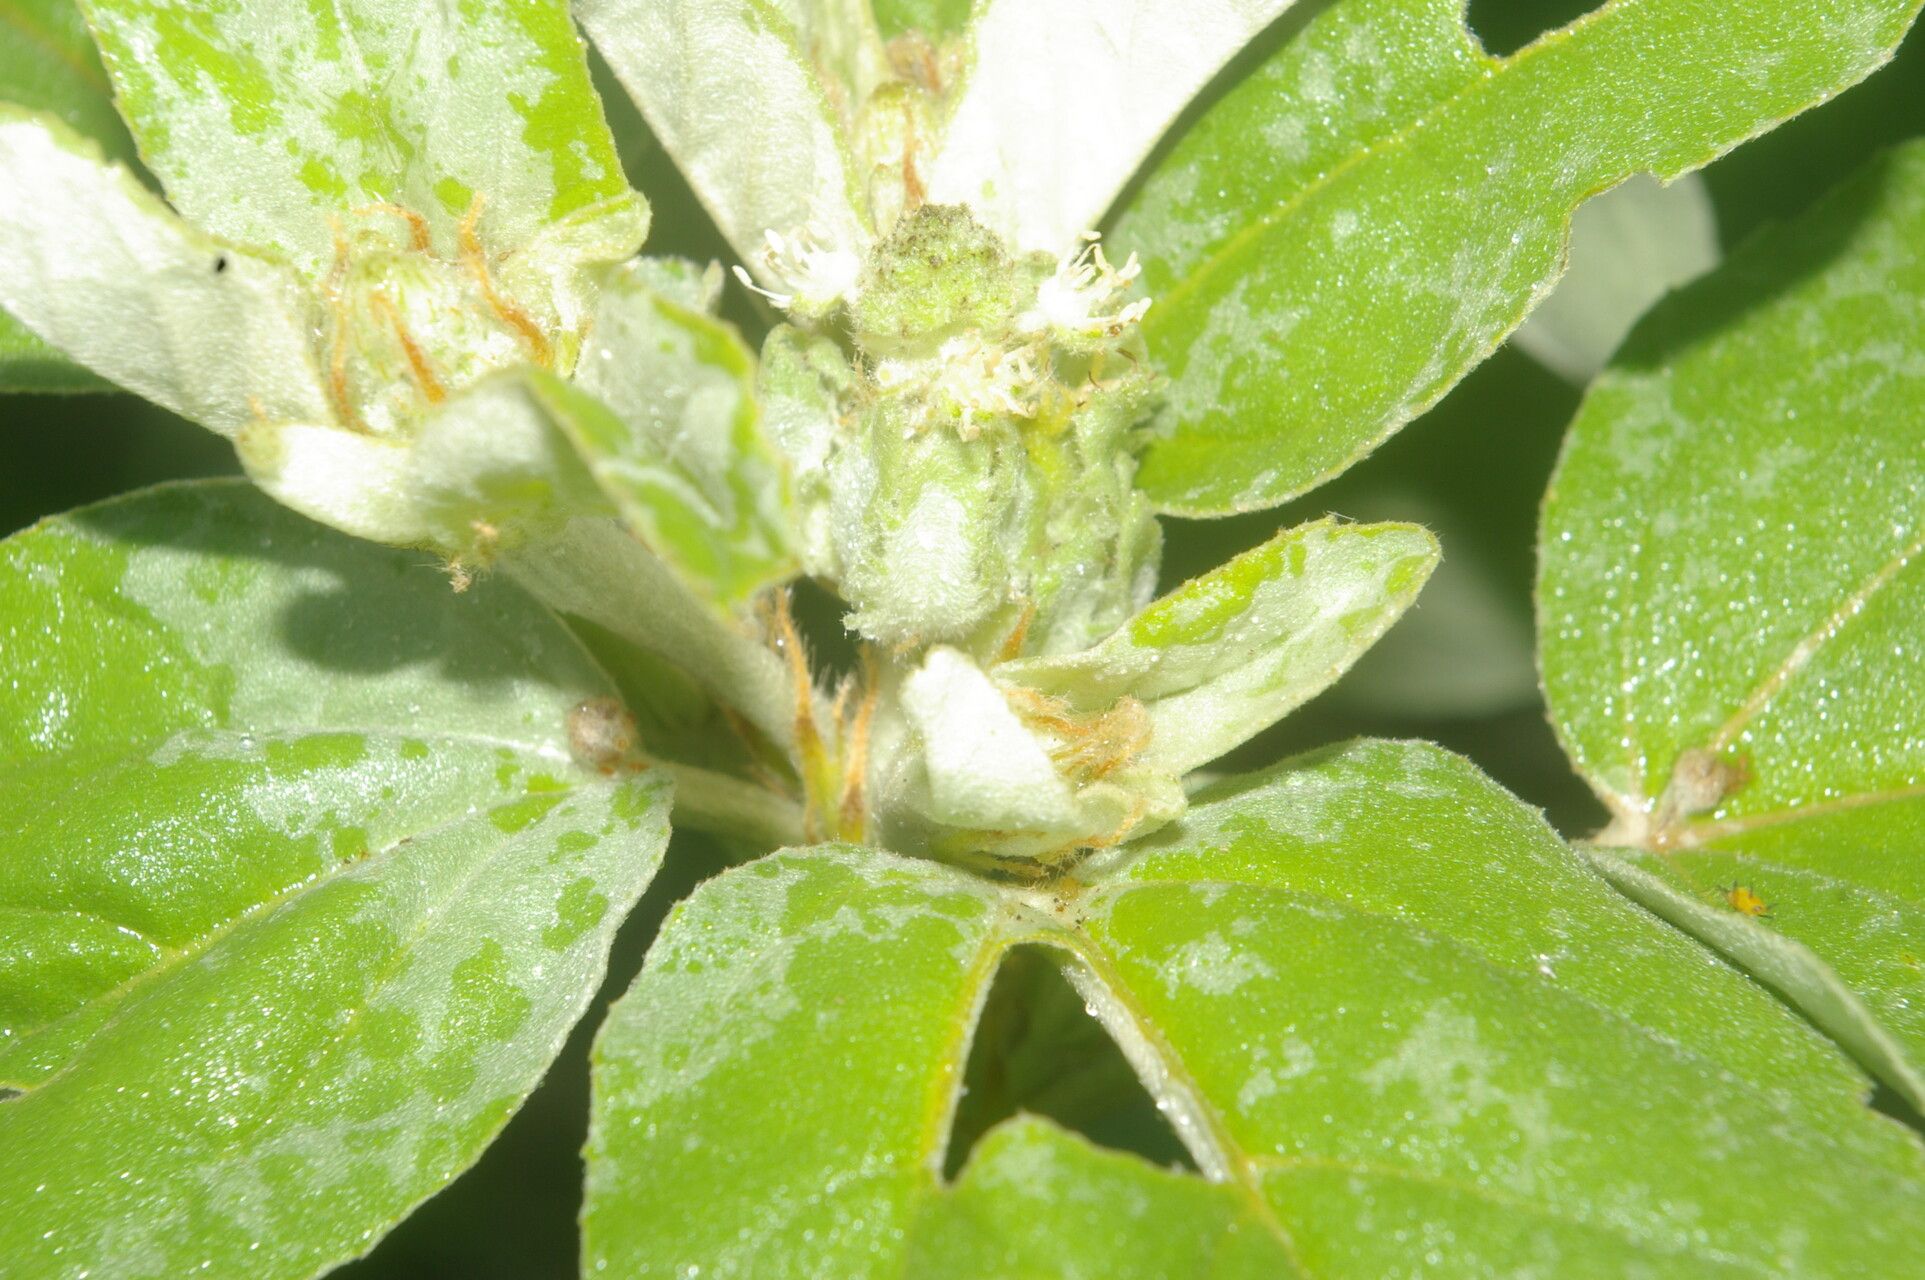
Stem cuttings are by far the most reliable way to propagate Croton argenteus for me. Here’s how I go about it:
- Choose a Healthy Stem: Look for a healthy, vigorous stem on your mature Croton. You want a stem that’s not too woody but also not brand new and soft. Aim for a section with at least two to three sets of leaves.
- Make the Cut: Using your sharp shears or knife, make a clean cut just below one of the leaf nodes. A node is that little bump where a leaf attaches to the stem. This is where roots will emerge.
- Prepare the Cutting: Gently remove the lower leaves from your cutting, leaving just the top one or two. This prevents them from rotting once planted.
- Dip in Rooting Hormone (If Using): If you’re using rooting hormone, dip the cut end of the stem into it, lightly tapping off any excess.
- Plant Your Cutting: Fill your small pots with your well-draining mix. Make a small hole in the center and carefully insert the cut end of your Croton cutting. Gently firm the soil around the stem.
- Water Gently: Water the soil thoroughly but avoid waterlogging. You want it moist, not soggy.
- Create a Humid Environment: Pop a clear plastic bag over the pot or place it under a propagation dome. This will trap humidity, which is crucial for cuttings to root. Make sure the leaves aren’t touching the plastic bag if possible.
- Find a Warm Spot: Place your pots in a warm location with bright, indirect light. Avoid direct sunlight, which can scorch the tender cuttings.
My “Secret Sauce” for Croton Success
Over the years, I’ve learned a few tricks that really boost my propagation success rates with Crotons.
- The Sap is Sticky! Crotons produce a milky sap when cut. It can be irritating to some, so wear gloves if you have sensitive skin. Also, wipe the cut end of the parent plant with a damp cloth to stop the bleeding. Some people even find success by rinsing the cut end of the cutting in water for a minute to wash away excess sap, which can inhibit rooting for some plants.
- Bottom Heat is Your Friend: If you have a heated propagation mat, placing your pots on it can make a world of difference. The gentle warmth encourages root development from below, mimicking ideal soil conditions. It’s like giving them a cozy little incubator!
- Don’t Be Afraid of Air Holes: While you want humidity, fully sealed bags can sometimes lead to fungal issues. Poke a few small holes in your plastic bag or lift the dome for a few minutes each day to allow for some air circulation.
Welcoming Your New Green Babies
Once you see new growth appearing on your cuttings, or if you gently tug on the stem and feel resistance, it’s a good sign that roots have formed!
- Gradual Acclimation: When roots are established, slowly start to acclimate your new plant to lower humidity. This means gradually removing the plastic bag or dome over a week or two.
- Watering: Continue to water your new Croton when the top inch of soil feels dry.
- Repotting: Once your plant has a good root system (you might see roots emerging from the drainage holes), you can repot it into a slightly larger pot with fresh potting mix.
Troubleshooting: The most common issue you’ll face is cuttings rotting. This usually happens when the soil is too wet and there isn’t enough air circulation. If you see your cutting turning black and mushy, it’s time to discard it, clean everything thoroughly, and try again, paying close attention to watering and airflow.
Propagating Crotons is such a rewarding project. It takes a little bit of patience, but watching those tiny roots form and seeing new leaves unfurl is truly special. Don’t get discouraged if your first few attempts don’t go perfectly. Every plant is a learning experience, and before you know it, you’ll have a collection of vibrant Crotons to brighten your home! Happy gardening!
Resource:
https://identify.plantnet.org/k-world-flora/species/Croton%20argenteus%20L./data