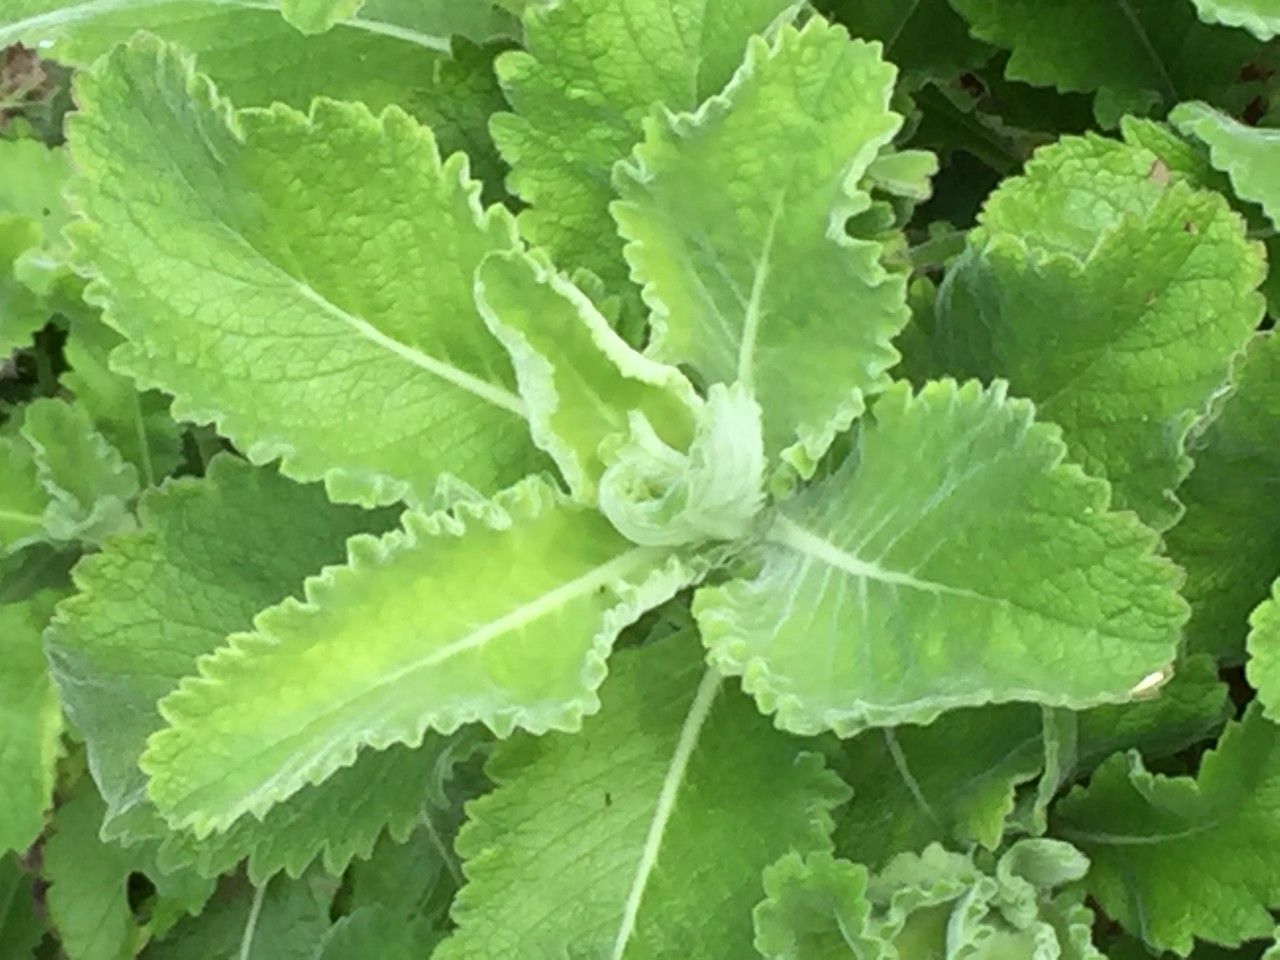
Hello there, fellow plant lovers! It’s wonderful to have you join me today. We’re going to talk about one of my absolute favorites: Scabiosa africana. Its delicate, pincushion-like blooms, often in beautiful shades of lavender and white, bring such a charming elegance to any garden. And the best part? Making more of these beauties is wonderfully rewarding. If you’re a beginner, don’t worry – while it has a few quirks, propagating Scabiosa africana is surprisingly achievable with a little guidance.
The Best Time to Start
For the highest success rate, I always recommend taking cuttings in the late spring or early summer. This is when the plant is actively growing, and the stems are typically semi-hardwood – not too soft and floppy, but not woody either. This happy medium makes them ideal for rooting. You can also try in early autumn, but spring is generally your best bet.
Supplies You’ll Need
Gathering your tools beforehand makes the whole process much smoother. Here’s what I find essential for propagating Scabiosa africana:
- Sharp, clean pruning shears or a sharp knife: For making clean cuts.
- A well-draining potting mix: I like a blend of equal parts peat moss or coco coir, perlite, and coarse sand. This ensures good aeration and prevents soggy soil.
- Rooting hormone (optional but helpful): A powdered or gel form can really give your cuttings a boost.
- Small pots or trays: Clean ones are crucial! I usually use 3-4 inch pots.
- Plastic bags or a propagation lid: To create a humid environment.
- A spray bottle: For misting.
- Labels and a marker: To keep track of what you’ve planted and when.
Propagation Methods
Scabiosa africana is primarily propagated through stem cuttings. It’s a reliable method when done correctly.
Stem Cuttings
- Select your parent plant: Choose a healthy, vigorous Scabiosa africana. Look for stems that are actively growing but not flowering vigorously.
- Take the cuttings: Using your clean pruning shears or knife, take cuttings that are about 4-6 inches long. Make the cut just below a leaf node (where a leaf attaches to the stem).
- Prepare the cuttings: Gently remove the lower leaves from the cutting, leaving just two or three at the very top. This prevents them from rotting in the soil and encourages the plant to focus energy on root development. If your cuttings are particularly long, you can also cut off the tip of the stem.
- Apply rooting hormone (optional): Dip the cut end of each stem into your rooting hormone, tapping off any excess.
- Plant the cuttings: Make small holes in your prepared potting mix, spacing the cuttings about 2 inches apart. Insert the cut end of each cutting about 1-2 inches deep into the soil. Gently firm the soil around them.
- Water and cover: Water the soil thoroughly but gently. You want it moist, not waterlogged. Then, cover the pots with a plastic bag or place them inside a propagation tray with a lid. This traps humidity, which is vital for cuttings.
The “Secret Sauce” (Pro Tips)
Here are a few little tricks I’ve picked up over the years that often make a big difference:
- Watch the leaves! Make sure none of the remaining leaves are touching the soil. If they are, trim them back slightly. Contact with damp soil can quickly lead to rot.
- Bottom heat is your friend. If you have the space, placing your pots on a heat mat designed for propagation can dramatically speed up root formation. It mimics the warmth of spring.
- Don’t rush the transplant. Be patient! It can take anywhere from 4 to 8 weeks for cuttings to develop a good root system. You can gently tug on a cutting – if you feel resistance, roots are forming.
Aftercare & Troubleshooting
Once your cuttings show signs of rooting (you’ll see new growth, or feel that resistance when gently tugging), it’s time for slight adjustments.
- Wipe the condensation: Gradually remove the plastic bag or open the lid for a few hours each day to acclimate the new plants to the ambient humidity. Do this over a week or so.
- Water carefully: Continue to keep the soil evenly moist but not saturated. Allow the top inch of soil to dry slightly between waterings.
- Move to brighter conditions: Once they are more established, you can move them to a bright, indirect light location. Avoid harsh, direct sun initially.
- Signs of trouble: The most common issue is rot. If a cutting turns black and mushy, it’s time to discard it. This is usually a sign of too much moisture, poor drainage, or lack of air circulation. If the leaves turn yellow and wilt, it might be that the cutting hasn’t rooted and is simply running on its stored energy.
A Little Patience Goes a Long Way
Propagating plants is a beautiful journey of patience and observation. Don’t be discouraged if not every cutting takes. Think of it as a learning experience! Each attempt will teach you something new. So, gather your supplies, find a healthy Scabiosa africana, and get planting. Happy propagating, and I can’t wait to see you enjoy many more of these delightful blooms!
Resource:
https://identify.plantnet.org/k-world-flora/species/Scabiosa%20africana%20L./data