Hello there, fellow garden enthusiasts!
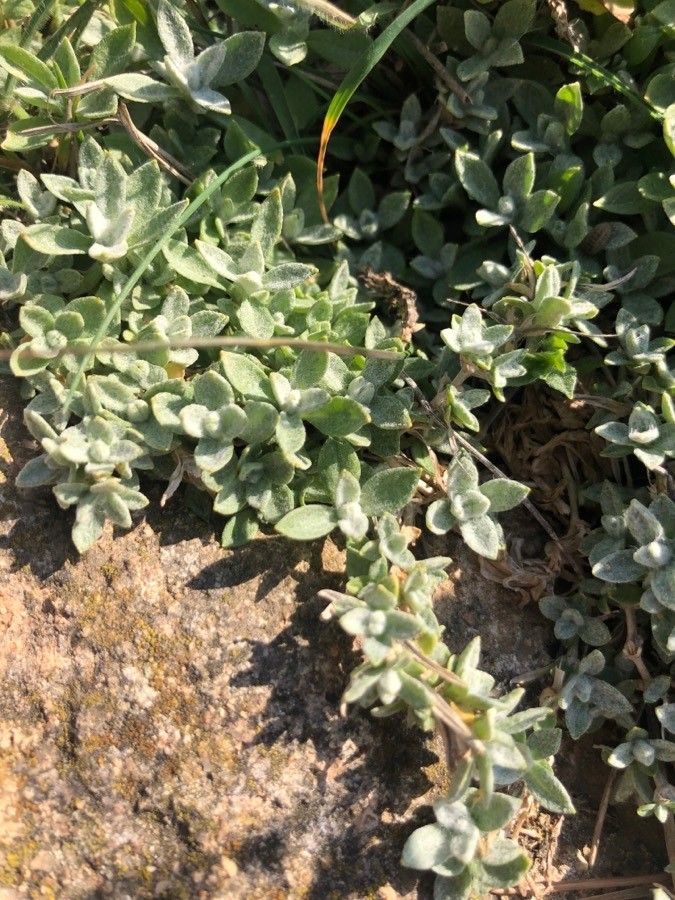
It’s such a joy to connect with you today. We’re going to dive into the world of Cerastium gibraltaricum, often called Gibraltar Chickweed, and coax some more of these lovely plants into existence. If you’ve ever admired its delicate, silvery foliage and charming white flowers tumbling over a wall or spilling from a pot, you’re already halfway there to understanding why propagating it is so satisfying. Watching a tiny sprig transform into a thriving plant is a little piece of magic, right? Good news: this little fellow is surprisingly straightforward to propagate, even for those just dipping their toes into the gardening world.
The Best Time to Start
For the highest success rate, you’ll want to get your cuttings late spring or early summer. This is when the plant is actively growing and has plenty of fresh, non-woody stems to work with. Waiting until after the main flowering flush is ideal, as the plant will be channeling its energy into producing new growth rather than setting seed.
Supplies You’ll Need
Before we get our hands dirty, let’s gather our tools. Having everything ready makes the process much smoother:
- Sharp pruning shears or a clean, sharp knife: For making clean cuts.
- A small trowel or dibber: To make holes in the potting mix.
- Small pots or seed trays: Draining holes are a must!
- A good quality potting mix: I like a mix that’s light and airy, often a blend of peat, perlite, and a bit of compost. For succulents or things that dislike wet feet, a cactus/succulent mix works well too.
- Rooting hormone (optional but helpful): Especially for trickier plants, a little nudge can go a long way.
- Plastic bags or a propagation dome: To create a humid environment.
- Watering can with a fine rose: To water gently.
- Labels and a pen: To keep track of what you’ve planted and when!
Propagation Methods
Let’s explore the easiest ways to multiply your Gibraltar Chickweed.
Stem Cuttings
This is my go-to method for Cerastium gibraltaricum.
- Select healthy stems: Look for new, green growth that isn’t woody. You want stems that are about 3-4 inches long.
- Make the cut: Using your sharp shears or knife, make a clean cut just below a leaf node (where a leaf attaches to the stem).
- Prepare the cuttings: Gently remove the lower leaves. You want to leave just a few leaves at the top to help with photosynthesis. If you’re using rooting hormone, dip the cut end into it now.
- Plant them up: Fill your small pots with your prepared potting mix. Use your trowel or dibber to make a small hole in the center. Carefully insert the cutting into the hole, ensuring the leaf nodes are below the soil line. Gently firm the soil around the base.
- Water and cover: Water the pots thoroughly but gently. Then, cover the pots with a plastic bag or place them under a propagation dome to maintain high humidity. This is crucial! Puncture a few small holes in the bag for air circulation.
- Find a good spot: Place the pots in a bright location, but out of direct sunlight. A warm windowsill is often perfect.
Division
This is another simple method, especially if your plant is already established and starting to spread.
- Dig up the plant: When the plant is actively growing, carefully remove it from its pot or the ground.
- Separate the crowns: Gently tease apart the root ball. You’re looking to divide the plant into sections, each with its own roots and some leafy growth.
- Replant: Pot up each division into its own small pot with fresh potting mix, or replant them directly into your garden or a larger container.
- Water well: Give them a good drink after replanting.
The “Secret Sauce” (Pro Tips)
Over the years, I’ve learned a few tricks that can give you an extra edge:
- Don’t be afraid to get dirty! The soil is teeming with life, and a little natural grit is good for propagation. If you’re using rooting hormone, I often find that a light dusting of cinnamon (a natural antifungal) on top of the hormone can really help prevent rot on the cutting’s base.
- Bottom heat is your friend (for cuttings): If you have space, placing your pots on a heat mat designed for seedlings can dramatically speed up root development. It mimics the warmth of spring soil and encourages those roots to form more quickly. Just make sure it’s not too hot – you don’t want to cook your little ones!
- Mist, don’t drown: While humidity is key for cuttings, I find that overwatering them directly can be their downfall. A light misting once or twice a day with a spray bottle is usually enough to keep the leaves hydrated without waterlogging the soil.
Aftercare & Troubleshooting
Once you start to see signs of new growth – tiny leaves unfurling or the cutting feeling firm when gently tugged – you know they’re rooting! This usually takes a few weeks.
- Gradually decrease humidity: Once roots are established, slowly start to remove the plastic bag or dome, allowing the new plants to acclimatize to normal humidity levels over a few days.
- Move to brighter light: You can gradually introduce them to more sunlight, but still avoid harsh, direct sun for the first few weeks.
- Water consistently: Keep the soil lightly moist but not soggy. Overwatering is the most common killer of young cuttings.
- Troubleshoot the rot: The biggest issue you might encounter is rot at the base of the cutting. This usually means too much moisture and not enough air circulation. If you see any blackening or mushy stems, unfortunately, that cutting is probably lost. Remove it immediately to prevent it from affecting others. Ensure your pots are draining well and that you’re not overwatering.
A Encouraging Closing
Propagating plants is a journey, and each experience is a learning opportunity. Don’t be discouraged if a few don’t make it; that’s perfectly normal! Celebrate the successes, be patient with the process, and enjoy the rewarding feeling of creating new life for your garden. Happy propagating!
Resource:
https://identify.plantnet.org/k-world-flora/species/Cerastium%20gibraltaricum%20Boiss./data