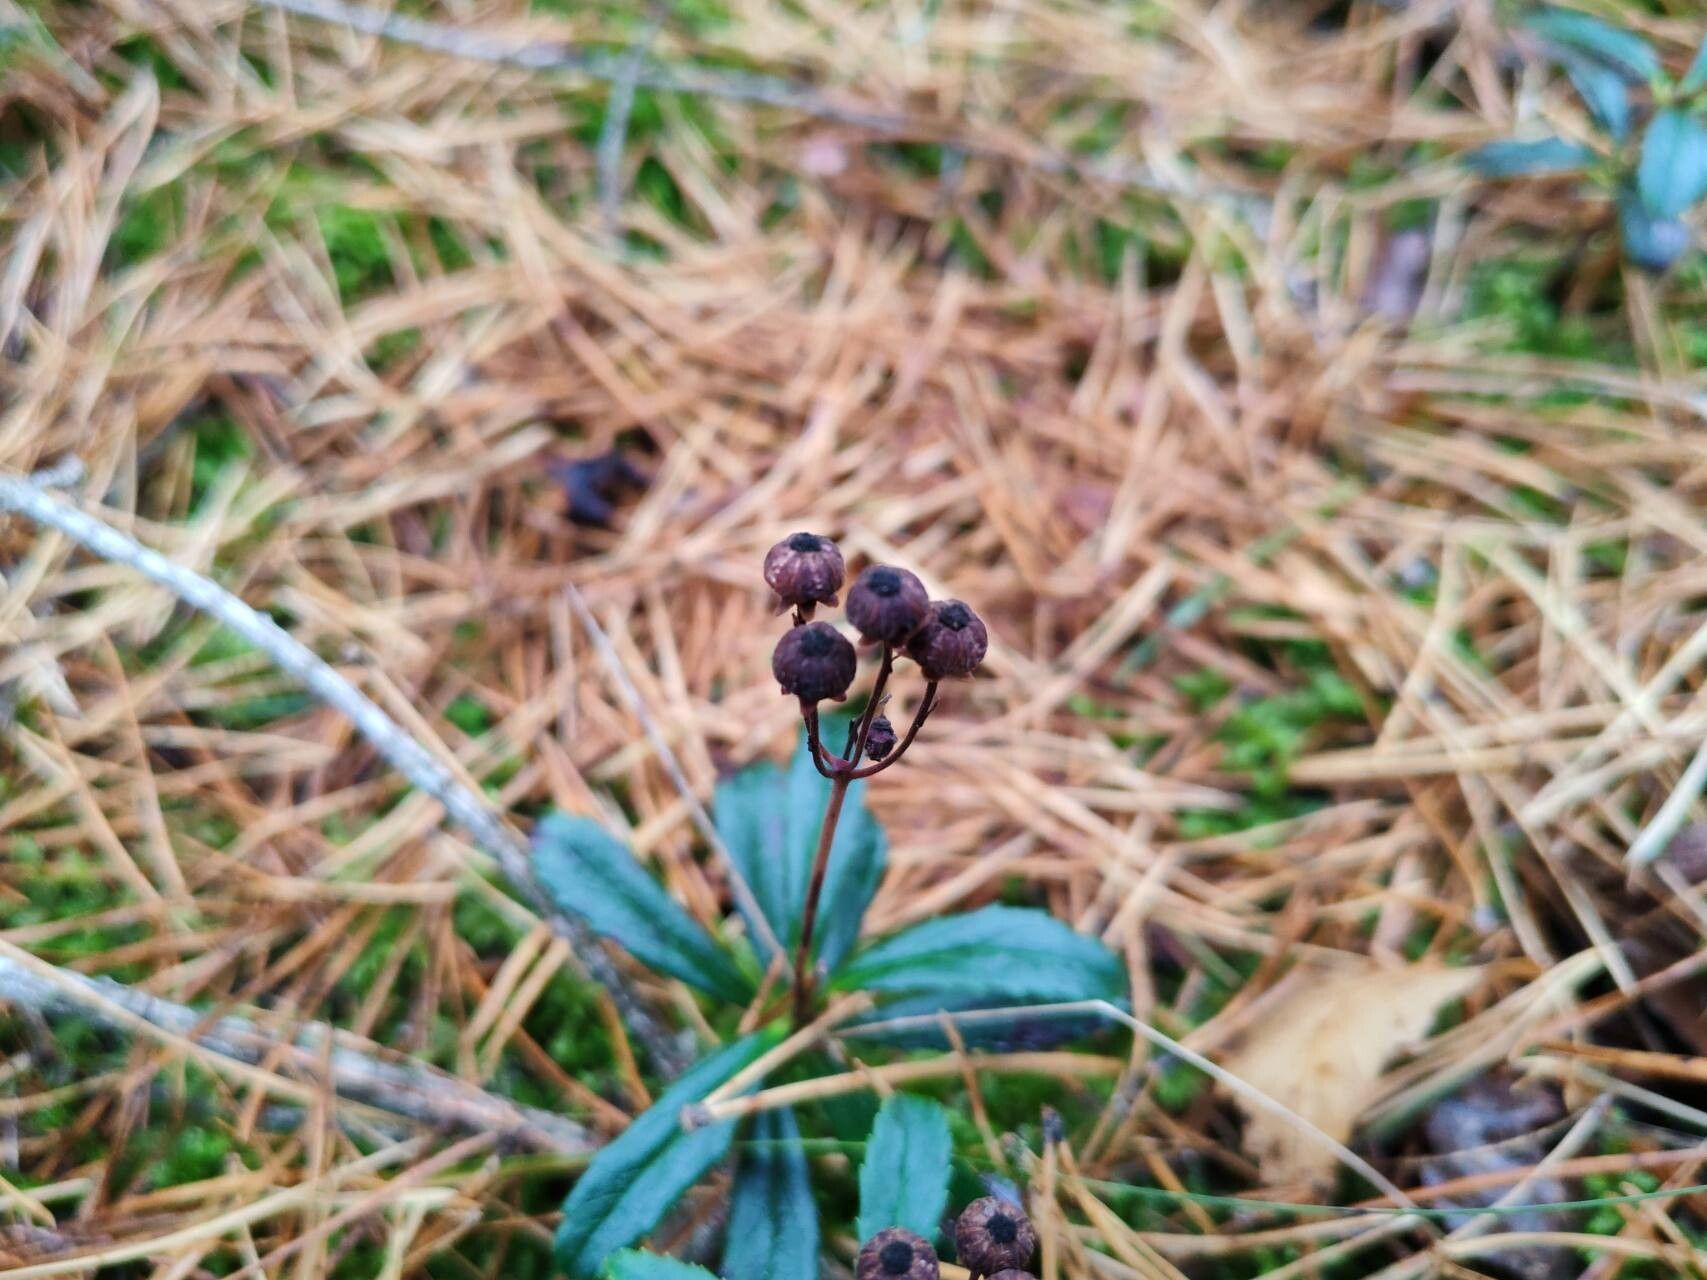
Hello fellow plant lovers! It’s so wonderful to connect with you today. I’m excited to talk about a truly special woodland gem: Chimaphila umbellata, or as it’s commonly known, Pipsissewa, or even Prince’s Pine. This low-growing beauty brings such charm to shady, dappled spots with its glossy evergreen leaves and delicate, nodding white or pinkish flowers that appear in summer. It has a lovely, subtle fragrance too, reminiscent of sweet vanilla.
Now, about propagating it. If you’re just starting out in the plant propagation world, Pipsissewa might present a little bit of a gentle challenge. It’s not a plant that will forgive every misstep, but with a bit of focused attention and the right approach, it’s absolutely doable and incredibly rewarding to grow more of this delightful groundcover. There’s something deeply satisfying about nurturing a new life from a parent plant.
The Best Time to Start
When it comes to getting Pipsissewa to multiply, late spring to early summer is your golden window. This is typically when the plant is actively growing, but before the intense heat of midsummer sets in. You want to catch it when it’s full of vigor, but not stressed. Taking cuttings or dividing during this period gives them the best chance to establish themselves before the next big seasonal shift.
Supplies You’ll Need
Here’s what I like to have on hand when I’m working with Pipsissewa:
- Sharp, sterile pruning shears or a clean knife: For making precise cuts.
- Rooting hormone (optional, but recommended): A powder or gel to encourage root development.
- A well-draining potting mix: I prefer a blend of equal parts peat moss, perlite, and coarse sand. Some compost is good here too. You want something airy that won’t hold too much moisture.
- Small pots or trays: Clean containers with drainage holes are essential.
- A plastic bag or humidity dome: To create a humid microclimate for your cuttings.
- Water: For moistening the soil and misting.
Propagation Methods
Pipsissewa can be propagated a couple of ways, but I find stem cuttings to be the most reliable for increasing your stock. Division is also an option, but it can be a bit trickier since the root system is often delicate.
Stem Cuttings
- Select your material: Look for healthy, non-flowering stems that are about 3-4 inches long. These are often referred to as “softwood” or “semi-hardwood” cuttings. Gently bend one – if it snaps cleanly, it’s usually a good candidate.
- Make the cut: Using your sharp, sterile shears, take a clean cut just below a leaf node (the spot where a leaf attaches to the stem). Remove any leaves from the bottom half of the cutting.
- Apply rooting hormone: If you’re using rooting hormone, dip the cut end into the powder or gel. Tap off any excess.
- Planting the cuttings: Fill your small pots with your prepared, moistened rooting mix. Gently insert the cut end of each Pipsissewa cutting about an inch deep into the soil. Make sure the leaves aren’t crowded together.
- Create humidity: Water gently. Then, cover the pots with a plastic bag or a humidity dome. This is crucial for preventing the cuttings from drying out. You want the leaves to have a moist environment but not be sitting in water.
Division (for established plants)
If you have a mature, well-established clump of Pipsissewa, you can carefully divide it.
- Gently unearth: Carefully dig up a portion of the clump, trying to disturb the roots as little as possible.
- Separate the sections: Look for natural divisions where the plant can be split into smaller pieces, each with its own roots and some shoots. You can use your fingers or a trowel for this.
- Replant immediately: Plant the divided sections into pots with your well-draining mix, or directly into a suitable garden spot, just as you would a newly purchased plant. Water them in well.
The “Secret Sauce” (Pro Tips)
Here are a few things I’ve learned over the years that really help Pipsissewa cuttings thrive:
- Bottom heat is your friend: While not strictly necessary, placing your pots on a gentle heated propagation mat can significantly speed up root formation. Just be careful not to let the soil get too hot – warm, not baked!
- Air circulation is key: Once roots start to form (and you can often tell by a slight resistance when you gently tug a cutting), it’s important to provide a bit of fresh air. Open the plastic tent for a few hours each day to prevent fungal issues.
- Patience with the root check: Resist the urge to constantly tug at your cuttings to check for roots. This can break delicate new growth. Instead, gently look for signs of new leaf development or try a very, very light tug. If there’s resistance, you likely have roots!
Aftercare & Troubleshooting
Once your Pipsissewa cuttings have developed a healthy root system – you’ll often see new growth emerging, and they’ll feel firmly rooted when gently tugged – it’s time for a little more tlc.
Slowly acclimatize them to drier air by gradually opening the humidity dome or plastic bag over a week or two. Continue to keep the soil consistently moist but not soggy. They still love humidity, but they can’t tolerate waterlogged conditions.
The most common issue you might face is root rot. This happens when the soil stays too wet for too long, or if there isn’t enough air circulation. If you see a cutting turning yellow and mushy, or developing dark, soggy spots at the base, it’s likely rot. Unfortunately, at that point, it’s usually too late to save, but it’s a learning opportunity! Don’t be discouraged if a few don’t make it.
Wrap Up
Propagating Pipsissewa is a delightful journey. It asks for a touch of care and observation, but seeing those tiny roots develop and new leaves unfurl is a truly wonderful reward. Be patient with yourself and the process. Happy growing, and enjoy your little woodland wonders!
Resource: