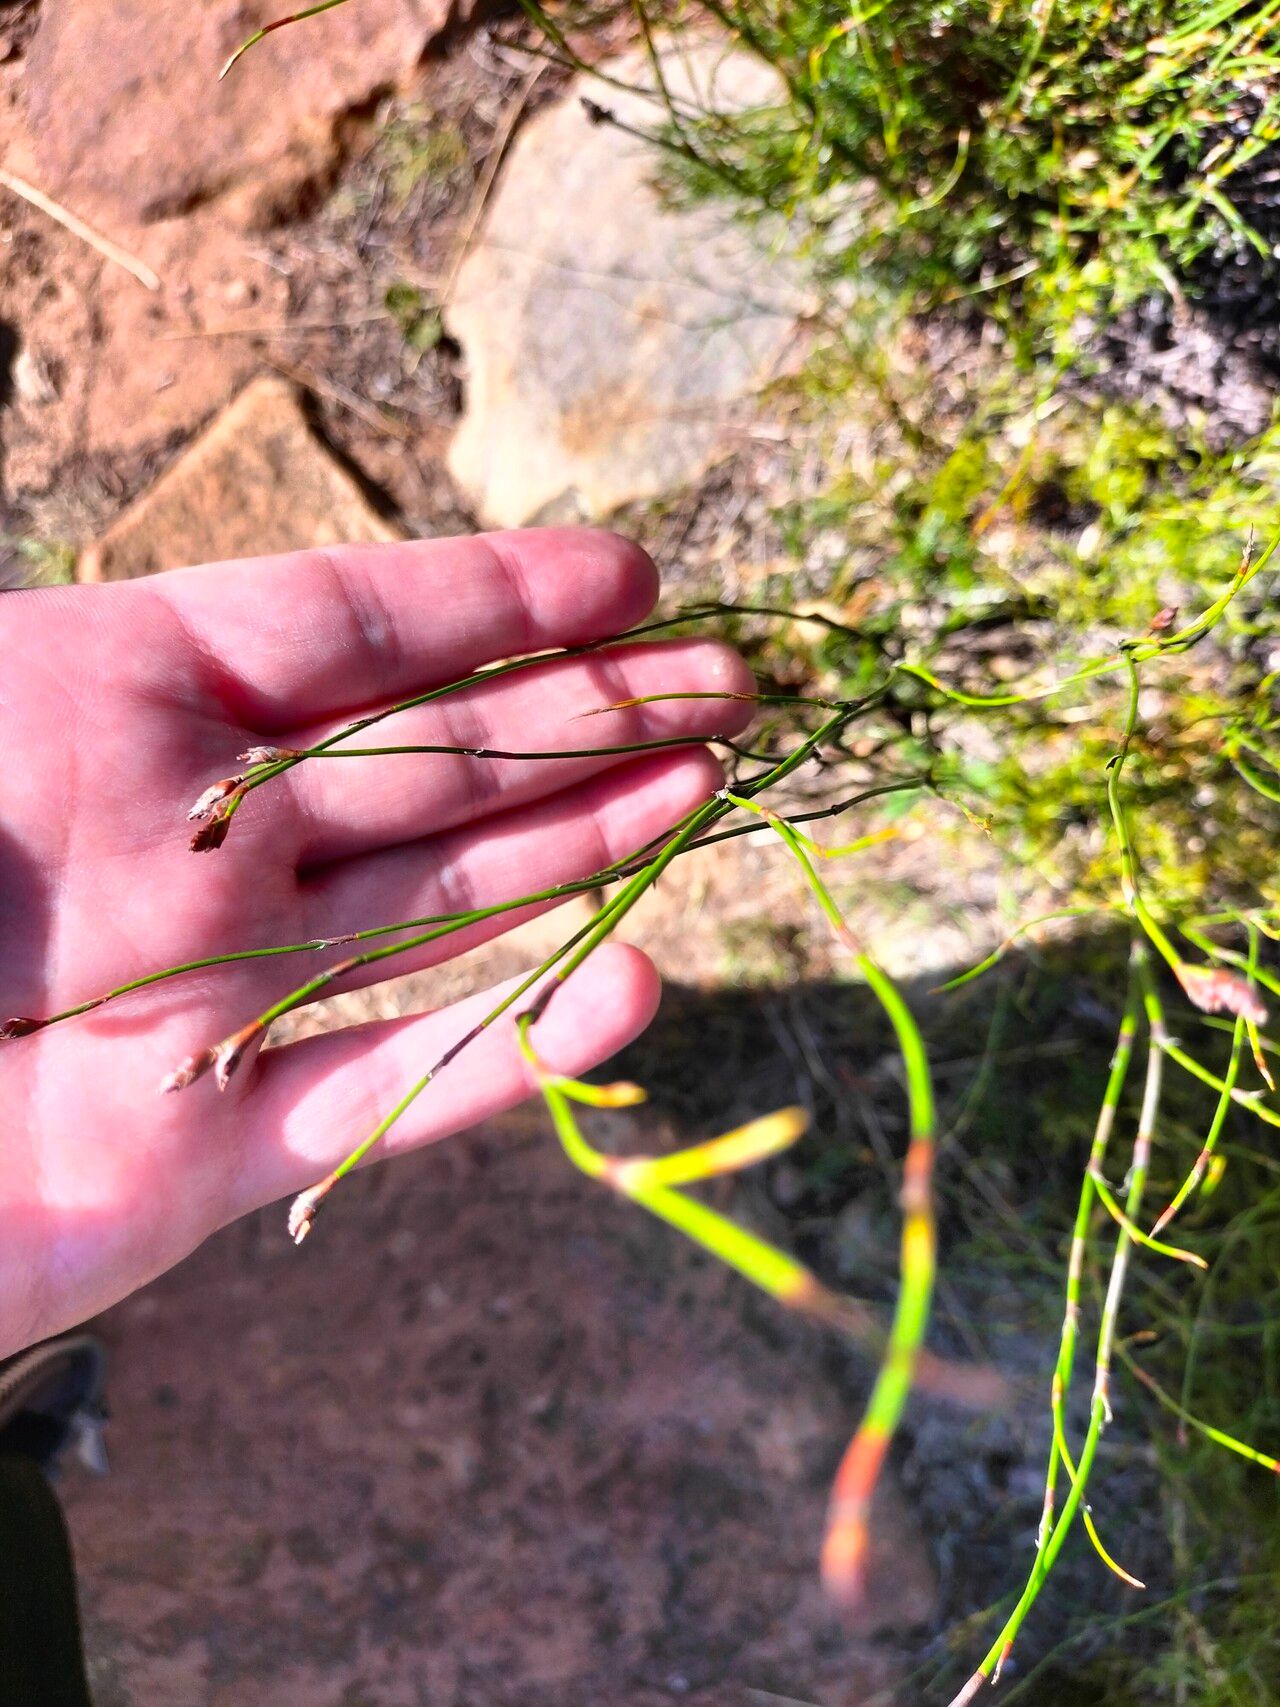
Oh, hello there! Come on in, grab a mug, let’s chat about a plant that has completely charmed me over the years: Restio capensis. You know, those graceful, grass-like beauties that sway in the breeze and bring such a touch of wild elegance to any garden. If you’ve ever admired them and thought, “I wish I had more of those!”, then you’re in the right place. Propagating Restio capensis is one of those truly satisfying gardening endeavors, and while it might sound a bit daunting, I promise you, with a little guidance, you can absolutely do it. It’s not the absolute easiest plant to start from scratch, but it’s far from impossible, and the rewards are so worth the effort.
The Best Time to Start
For Restio capensis, the sweet spot is usually as new growth is really getting going. Think late spring or early summer. This is when the plant has ample energy reserves, and the warmer temperatures encourage quick root development. You’re looking for stems that are firm but not yet woody.
Supplies You’ll Need
Here’s what you’ll want to have on hand:
- Sharp pruning shears or a clean knife: For making clean cuts.
- Well-draining potting mix: A mix specifically for succulents or cacti works wonderfully, or you can create your own with equal parts peat moss, perlite, and sand.
- Small pots or seed trays: Clean ones, of course!
- Perlite or grit: For good drainage at the bottom of pots and mixed into the soil.
- Rooting hormone (optional but recommended): This can give your cuttings a helpful boost.
- Watering can with a fine rose or a mister: Gentle watering is key.
- Plastic bags or a propagation dome: To help maintain humidity.
Propagation Methods
I’ve had the most success with division for Restio capensis, but stem cuttings are also a great option, especially if you want to increase your stock fairly quickly.
Method 1: Division (My go-to!)
- Dig Carefully: When your plant is actively growing, usually in spring, gently dig up the entire clump. Try to disturb the roots as little as possible.
- Inspect and Separate: Look at the root ball. You’ll see new shoots emerging from the base of older stems. Gently tease apart sections of the plant, making sure each new division has some healthy roots and at least a few leafy shoots attached. You might need to use your fingers or even a spade to help separate tougher clumps.
- Trim Excess Foliage (Optional): If the foliage is very dense, you can trim it back a bit to reduce stress on the new divisions.
- Plant Up: Pot each division into its own container with your well-draining mix. Water gently to settle the soil.
- Water and Wait: Keep the soil consistently moist but not soggy. Place them in a location that gets good light but is protected from harsh sun. With division, you’ll typically see new growth within a few weeks.
Method 2: Stem Cuttings
- Take Cuttings: Select healthy, non-flowering stems from your mature plant. Using your sharp shears, make a clean cut about 4-6 inches long, just below a node (where a leaf attaches to the stem).
- Prepare the Cuttings: Remove the lower leaves from the cutting, leaving only a few at the top.
- Dip in Rooting Hormone (Optional): If you’re using rooting hormone, dip the cut end into it, tapping off any excess.
- Plant the Cuttings: Make drainage holes in your pots. Fill them with your well-draining mix. Insert the cuttings about an inch deep into the soil, firming it gently around them.
- Create a Humid Environment: Water the soil lightly. Cover the pot with a plastic bag or place it under a propagation dome to create a mini-greenhouse.
- Provide Light and Warmth: Place the pots in a bright spot, but avoid direct, hot sun. Bottom heat, if you have access to a heat mat, can really speed up rooting. This is one of those little helpers that makes a big difference.
- Be Patient: Cuttings can take several weeks, sometimes even a couple of months, to root. You’ll know they’ve rooted when you see new growth emerging from the top.
The “Secret Sauce” (Pro Tips)
Here are a couple of things I’ve learned that really help:
- Don’t Over-Water, Especially Cuttings: This is a big one with Restio capensis. They hate soggy feet. For cuttings, it’s critical to let the surface of the soil dry out slightly between waterings. If you see leaves browning at the base or the stem turning mushy, it’s likely too much moisture.
- The Importance of Air Circulation: While humidity is good for the initial rooting of cuttings, once roots start forming, good air circulation is vital to prevent fungal issues. If you’re using a plastic bag, you might want to lift it or open it for a little while each day to let fresh air in.
Aftercare & Troubleshooting
Once your divisions or cuttings have established roots, treat them like a young, established plant. They’ll still appreciate consistent moisture, but allow the soil to dry out a bit more between waterings. Gradually acclimate them to more direct sunlight.
The most common issue you’ll encounter is rot, which is almost always a sign of too much moisture. If you see wilting, yellowing leaves, or mushy stems, check your watering habits immediately. Remove any rotten material and consider repotting with fresh, dry soil. If a cutting fails to root, don’t get discouraged. Sometimes they just don’t take, and that’s okay. The beauty of propagation is you can always try again!
And there you have it! Propagating Restio capensis is a journey, and like all gardening, it requires a little patience and observation. But the joy of nurturing a new plant from a piece of an old one is truly special. So, gather your supplies, pick a good day, and give it a go. I’m cheering you on! Happy gardening!
Resource: