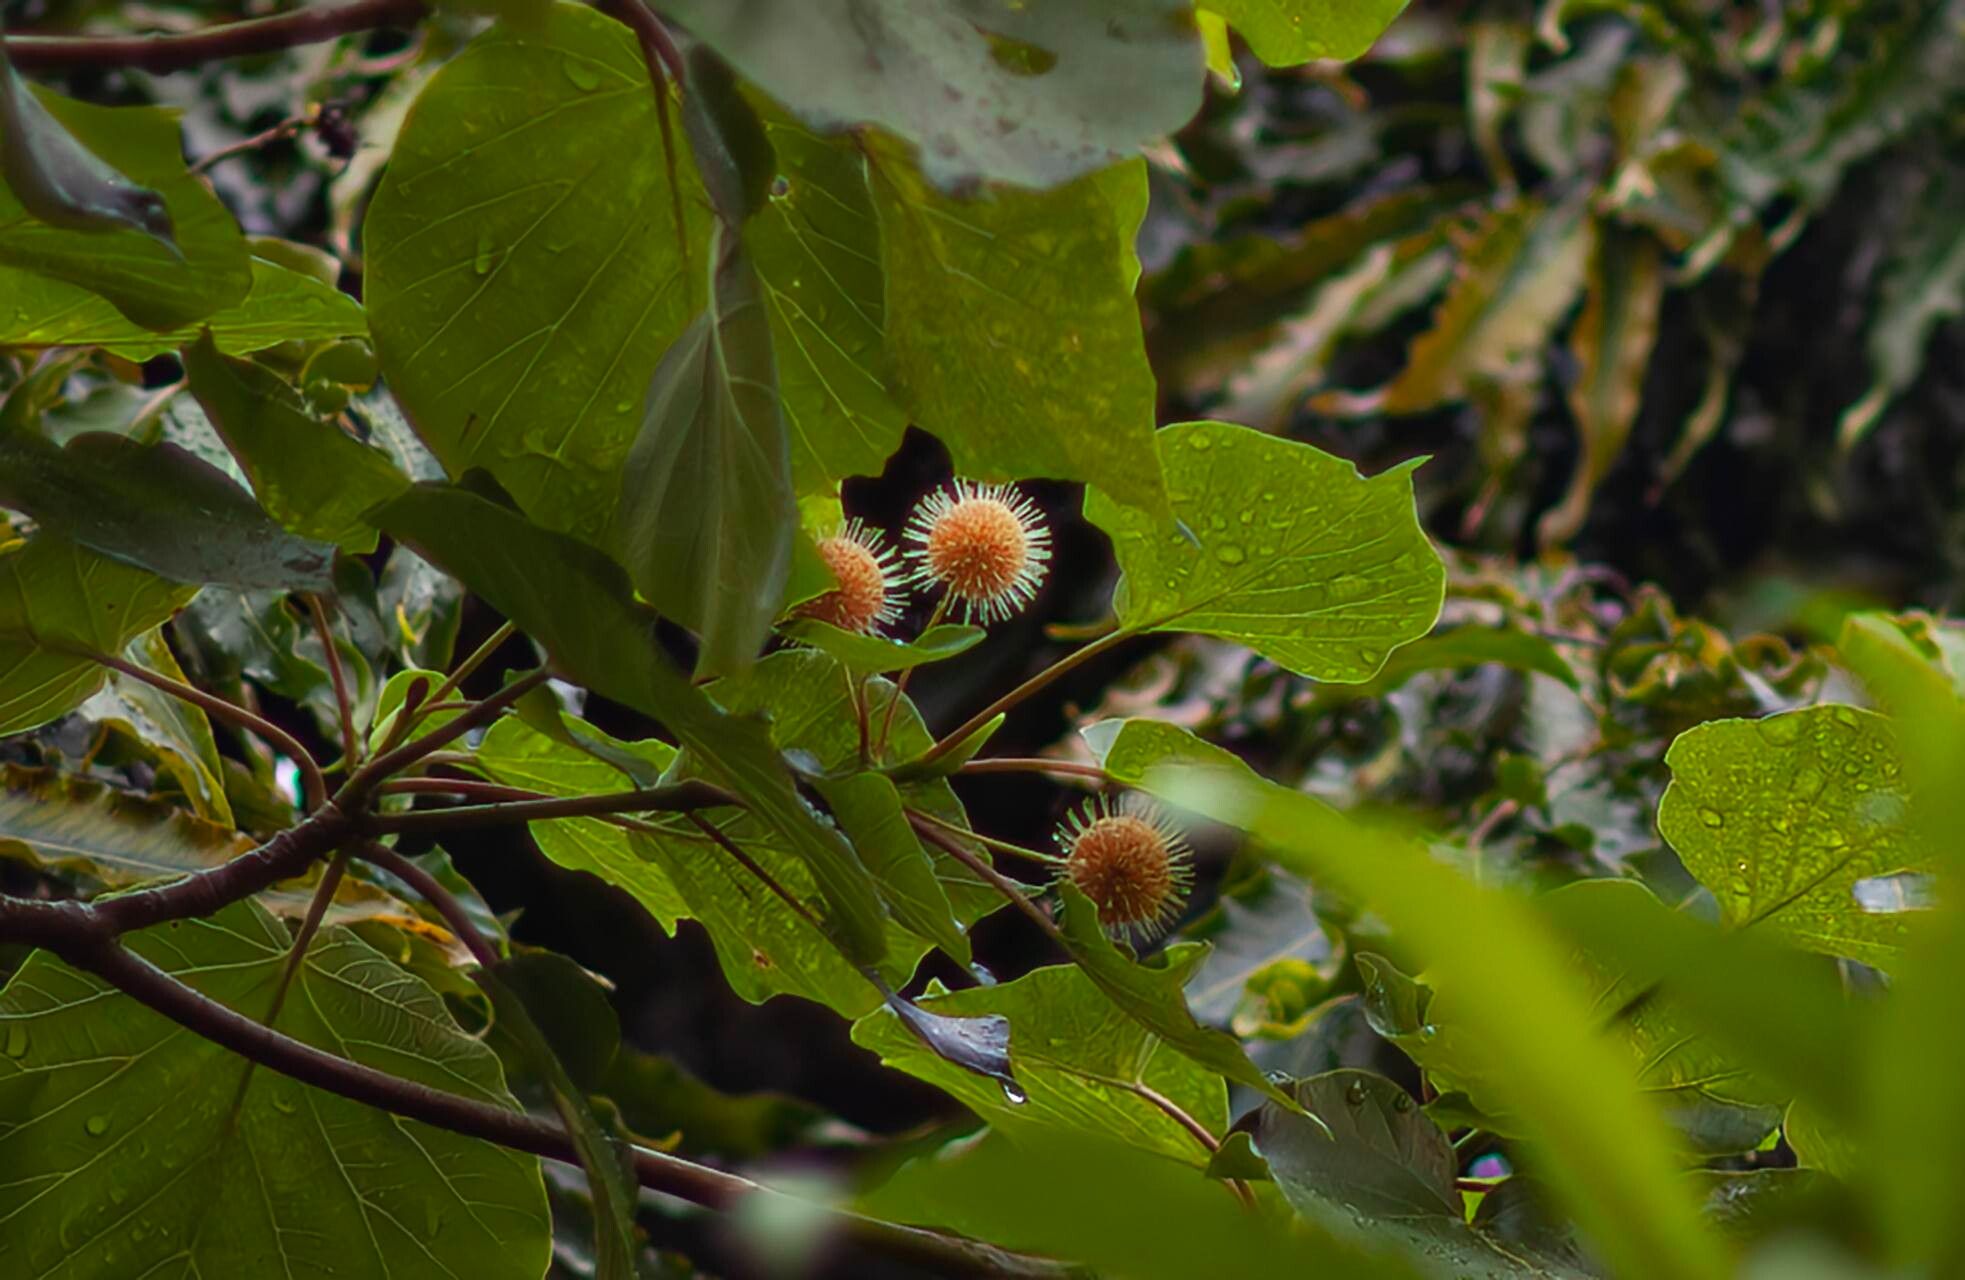
Ah, Adina cordifolia! What a beauty. If you’ve ever admired its striking foliage, perhaps those heart-shaped leaves that seem to glow in the sunlight, or its graceful habit, you’re not alone. It’s a plant that brings a touch of the exotic to any space, and the satisfaction of coaxing a new life from a piece of the old is truly something special. Now, I’ll be honest with you, Adina cordifolia isn’t the absolute easiest plant to propagate for the complete beginner, but with a little care and these steps, I’m confident you’ll have success. Think of it as a rewarding challenge!
The Best Time to Start
The sweet spot for propagating Adina cordifolia is during its active growing season, which generally means late spring through summer. You want to take cuttings from healthy, vigorous new growth that’s started to mature – not the super soft, floppy tips, but not the woody, old stems either. This is when the plant has the most energy to put into root development.
Supplies You’ll Need
Gathering your tools beforehand makes the whole process much smoother. Here’s what I always have on hand:
- Sharp pruning shears or a clean, sharp knife: Essential for clean cuts that heal well.
- Rooting hormone: A little help goes a long way, especially for plants that can be a bit stubborn. Gel or powder forms work fine.
- Potting mix: I recommend a well-draining mix. A blend of peat moss or coco coir, perlite or vermiculite, and a touch of compost usually does the trick. You want something that holds moisture but doesn’t get waterlogged.
- Small pots or trays: Clean pots are key to preventing disease.
- Clear plastic bag or propagation dome: This will create a mini-greenhouse effect to maintain humidity.
- Watering can with a fine rose: For gentle watering.
Propagation Methods
We’ll focus on the most reliable method for Adina cordifolia, which is stem cuttings.
- Select Your Cutting: Choose a healthy stem that’s about 4-6 inches long. Look for one that has at least two or three sets of leaves. Make your cut just below a leaf node (where a leaf attaches to the stem).
- Prepare the Cutting: Gently remove the lower leaves from the stem, leaving just the top two or three leaves. This helps prevent rot and redirects the plant’s energy into rooting. If the remaining leaves are quite large, you can carefully cut them in half horizontally. This reduces water loss.
- Apply Rooting Hormone: Dip the cut end of the stem into your rooting hormone, ensuring it’s coated. Tap off any excess.
- Plant Your Cutting: Fill your clean pots with your prepared potting mix. Make a small hole in the center of the soil with your finger or a pencil. Gently insert the cutting into the hole, ensuring the base is well-covered and the leaves aren’t touching the soil.
- Water Gently: Water the soil thoroughly but gently, until you see a little water drain from the bottom of the pot.
- Create the Humid Environment: Place the potted cutting inside a clear plastic bag, or cover it with a propagation dome. This traps humidity, which is vital for cuttings to root. Ensure the leaves aren’t pressed against the plastic if possible.
The “Secret Sauce” (Pro Tips)
Here are a few things I’ve learned over the years that can really boost your success rate with Adina cordifolia:
- Bottom Heat is Your Friend: If you have one, popping your pots on a seed starting mat can make a world of difference. Those warmer soil temperatures encourage root development significantly.
- Don’t Be Afraid of a Little Shake: Once a week, gently unseal the bag for a few minutes. This allows for fresh air exchange, which helps prevent fungal issues and strengthens the developing roots.
- Patience is a Virtue, and Observation is Key: Don’t be tempted to dig up your cuttings too soon to check for roots. Instead, look for signs of new leaf growth. That’s your best indicator that roots are forming!
Aftercare & Troubleshooting
Once you see signs of new growth, it’s time to start acclimating your new plant. Gradually reduce the humidity over a week or two by opening the plastic bag or dome a little more each day. Continue to keep the soil consistently moist but not soggy.
The most common problem you might encounter is rot. If your cutting looks mushy, turns black and slimy, or simply won’t perk up, rot is likely the culprit. This usually happens due to overwatering or poor drainage. If you catch it early, you might be able to salvage it by cutting away the rotten parts and repotting in fresh, dry mix, but often, it’s best to start again. Yellowing leaves without new growth can sometimes indicate insufficient light or the cutting simply hasn’t rooted yet.
A Gentle Encouragement
So there you have it! Propagating Adina cordifolia is a wonderfully rewarding endeavor. Don’t get discouraged if your first attempt isn’t perfect. Gardening is all about learning, experimenting, and enjoying the journey. Be patient, observe your cuttings, and soon you’ll have a whole new generation of these stunning plants to nurture. Happy growing!
Resource:
https://identify.plantnet.org/k-world-flora/species/Adina%20cordifolia%20(Roxb.)%20Brandis/data