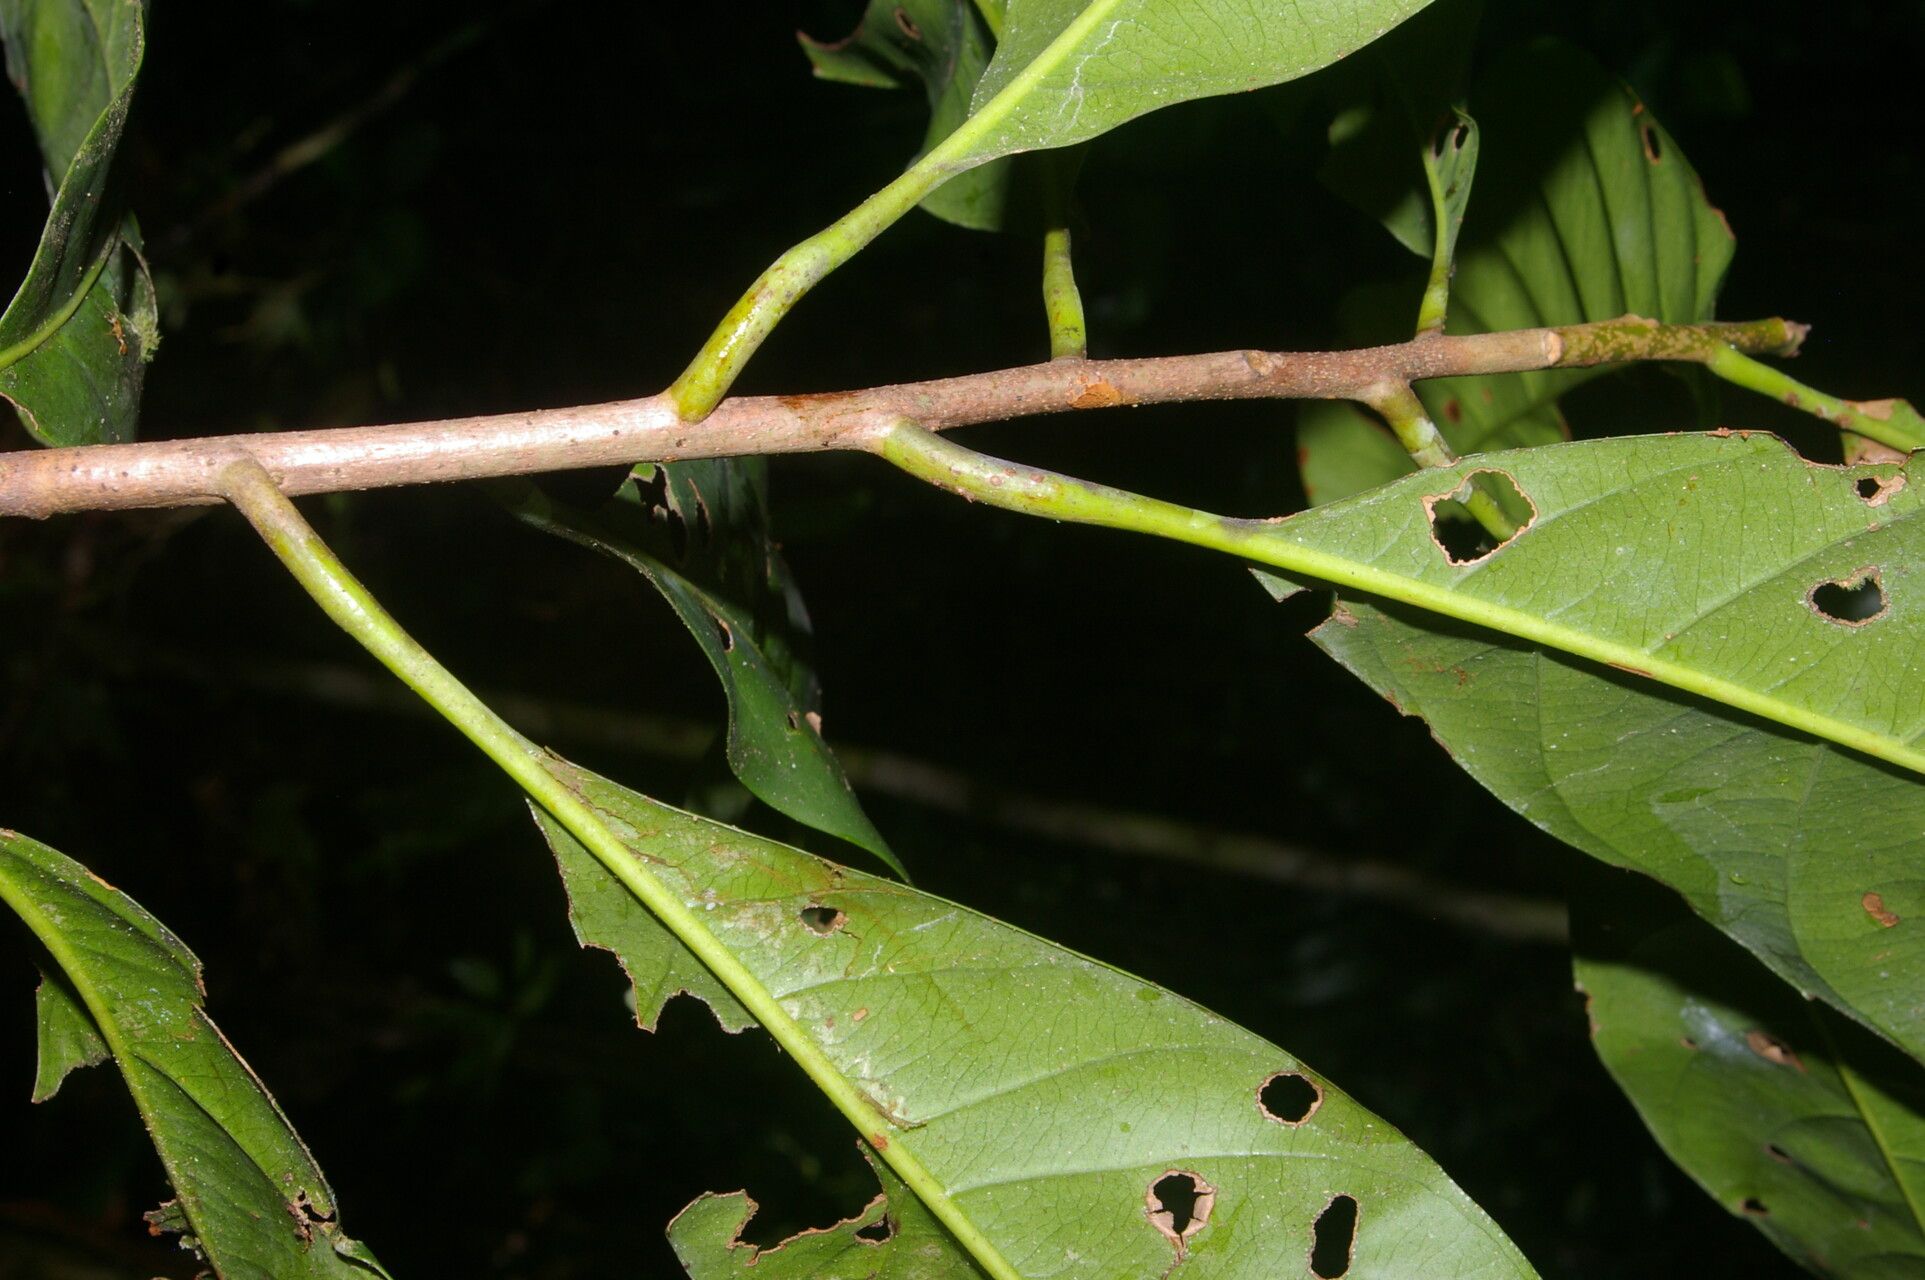
Hello fellow plant lovers! Today, we’re diving into the wonderful world of propagating Elaeoluma glabrescens, often called the native Black Plum or Satinwood. I’ve spent many years tending to these beauties, and let me tell you, they have a certain allure. Their glossy, dark green leaves and lovely form make them a standout in any garden. And the best part? Sharing that beauty by creating new plants is incredibly satisfying. Now, is it a walk in the park for a brand new gardener? Honestly, it can be a little finicky compared to a pothos, but with a few key pointers, you’ll be well on your way to success.
The Best Time to Start
For Elaeoluma glabrescens, I’ve found the sweet spot for taking cuttings is late spring or early summer. This is when the plant is actively growing and has plenty of energy to put into developing new roots. You want to look for new, semi-hardened growth. That means the stem should be a bit firm, not floppy and bright green, but not so woody that it snaps easily. Think of it as being somewhere in the middle – flexible but with a bit of backbone.
Supplies You’ll Need
Gathering your tools beforehand makes the whole process smoother. Here’s what I always have on hand:
- Sharp Pruning Shears or a Clean Knife: Essential for clean cuts that heal well.
- Rooting Hormone: A little magic powder or gel to encourage root development. I prefer a powder for ease of use, but gels work wonderfully too.
- Well-Draining Potting Mix: A good blend for me is about 50% perlite and 50% peat moss. You can also use a commercial propagation mix.
- Small Pots or Trays: Clean, small pots (around 4-inch) are ideal. I often reuse nursery pots if they’re thoroughly washed.
- Plastic Bag or propagator: To create a humid environment. The clear ones you find in garden centers work great.
- Labels and a Marker: So you don’t forget what you planted and when!
- Watering Can with a Fine Rose: For gentle watering.
Propagation Methods
While you could try seed, I’ve found that stem cuttings are by far the most reliable and rewarding way to propagate Elaeoluma glabrescens. Here’s how I do it:
- Select Your Cuttings: Head out to your plant and look for those perfect semi-hardened shoots. You’re aiming for cuttings that are about 4-6 inches long.
- Make the Cut: Using your clean shears or knife, make a clean cut just below a leaf node. The node is where the leaves attach to the stem. This is where the magic happens for root formation.
- Prepare the Cutting: Gently remove the lower leaves from the cutting, leaving 2-3 leaves at the top. You can also trim the remaining leaves in half if they’re very large. This reduces water loss.
- Dip in Rooting Hormone: Lightly moisten the cut end of the stem, then dip it into your rooting hormone. Tap off any excess.
- Plant Your Cuttings: Fill your small pots with your prepared potting mix. Make a dibble hole in the center with your finger or a pencil. Carefully insert the cutting into the hole, ensuring the leaf nodes where you removed leaves are below the surface of the soil. Gently firm the soil around the stem.
- Water Gently: Water the pot thoroughly using your watering can with a fine rose. You want the soil to be moist but not waterlogged.
The “Secret Sauce” (Pro Tips)
I’ve learned a few tricks over the years that really boost my success rates with cuttings:
- Bottom Heat is Your Friend: Elaeoluma cuttings really appreciate a little warmth from below. Placing your potted cuttings on a heat mat designed for seedlings can significantly speed up root development. It mimics the ideal conditions of spring.
- Humidity is Key, But Don’t Drown Them: Once you’ve potted your cuttings, pop them into a clear plastic bag or propagator. Seal it up to create a mini-greenhouse. This keeps the humidity high, which is crucial for preventing the leaves from drying out before roots form. Just make sure no leaves are touching the sides of the bag – this can lead to rot.
- Patience, Grasshopper! This is probably the most important tip. Elaeoluma can be a bit slow to root. Don’t be discouraged if you don’t see progress in a week or two. I usually start gently tugging on a cutting after about 4-6 weeks. If you feel resistance, that’s a good sign roots are forming!
Aftercare & Troubleshooting
Once you start to see signs of new growth at the top, that’s your cue that roots are developing! At this point, you can start to gradually acclimatize your new plant to lower humidity. This means opening the propagator a little each day for a week or so.
Keep the soil consistently moist but not soggy. Remember, these are still delicate young plants.
The most common problem you might encounter is rot. This usually happens if the soil is too wet or the environment is too stagnant without enough air circulation. If you see a cutting turning black and mushy, unfortunately, it’s best to discard it to prevent it from affecting others. On the flip side, if your cuttings look wilted and dry, they might not be getting enough humidity. Check your bag and ensure it’s sealed well.
A Little Patience Goes a Long Way
Propagating any plant is a journey, and Elaeoluma glabrescens is no exception. It’s about observing, learning, and enjoying the process of coaxing new life from your existing plant. Don’t be afraid to experiment, and remember that not every cutting will be a success – that’s just part of gardening! I encourage you to give it a try. You’ll be rewarded with a beautiful new plant to admire, share, or plant out in your garden. Happy propagating!
Resource: