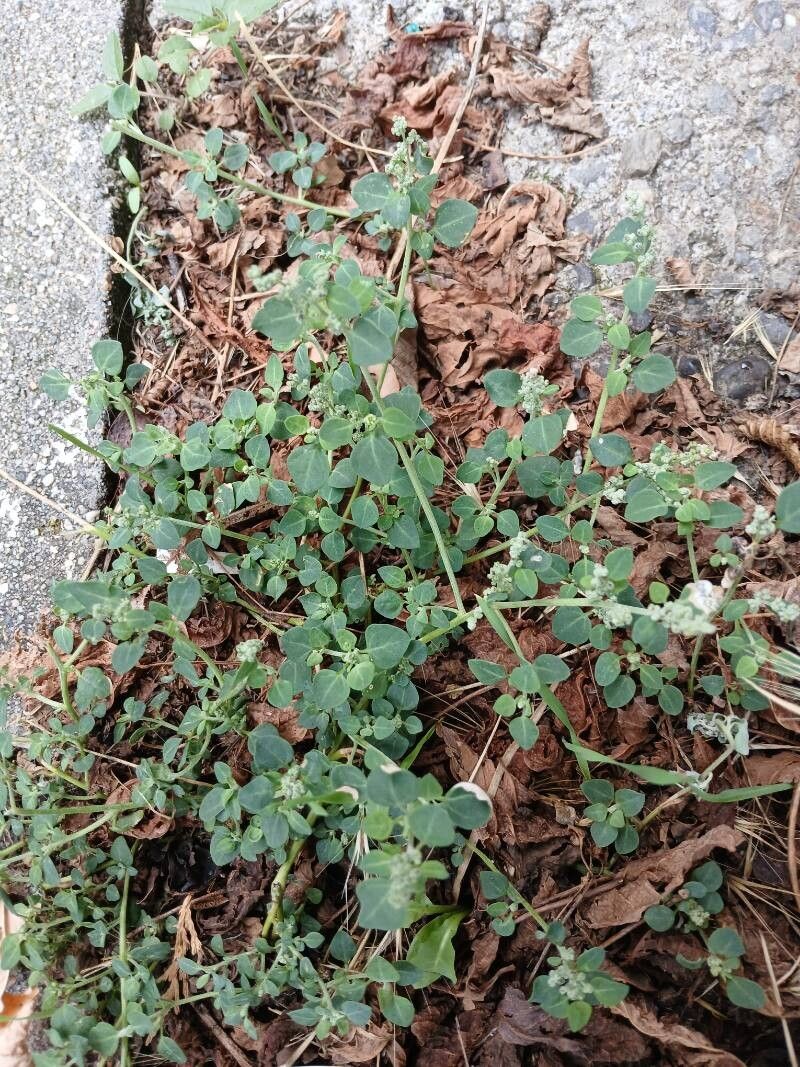
Hello there, fellow plant lovers! It’s so nice to have you join me today. I’ve been digging in the dirt for about two decades now, and I find pure joy in sharing what I’ve learned. Today, we’re getting our hands a little earthy with a fascinating plant: Chenopodium vulvaria, or as it’s more commonly known, the Stinking Goosefoot.
Now, I know that name might make you hesitate! But trust me, this plant has a unique charm. Its sprawling habit and interesting foliage can add a wild, almost ancient feel to your garden. And for those of us who love to see our plant families grow, propagating Chenopodium vulvaria is incredibly rewarding. It’s a plant that doesn’t ask for much, and successfully multiplying it feels like unlocking a little gardening secret. For beginners? I’d say it’s moderately easy, but with a few key tricks, you’ll be a pro in no time.
The Best Time to Start
When it comes to getting new Chenopodium vulvaria plants going, timing is everything. I’ve found the late spring to early summer is absolutely prime time. This is when the plant is actively growing, meaning it has the energy reserves to put into developing new roots. You want to work with healthy, vigorous stems, not anything that looks stressed or sluggish.
Supplies You’ll Need
Before we get our fingers dirty, let’s gather our tools. Having everything ready makes the process so much smoother.
- Sharp Pruning Shears or Knife: Clean cuts are crucial for preventing disease.
- Potting Mix: A good starting point is a well-draining potting mix. I often blend about 50% standard potting soil with 50% perlite or coarse sand to ensure good aeration.
- Small Pots or Seed Trays: Clean pots are a must!
- Dibber or Pencil: For making holes in the soil.
- Rooting Hormone (Optional but Recommended): This can give your cuttings a helpful head start.
- Plastic Bag or Propagator Lid: To create a humid environment.
- Watering Can with a Fine Rose: For gentle watering.
Propagation Methods
Chenopodium vulvaria is quite forgiving, and you can have success with a couple of different methods. Let’s dive in!
1. Stem Cuttings: My Go-To Method
This is generally the most effective way to propagate Chenopodium vulvaria.
- Select Your Cuttings: In late spring or early summer, look for healthy, non-flowering stems. You want pieces that are about 4-6 inches long. Make a clean cut just below a leaf node. This is where root development is most likely to occur. Remove the lower leaves, leaving just a few at the top.
- Prepare the Cuttings: If you’re using rooting hormone, dip the cut end of the stem into the powder. Gently tap off any excess.
- Planting: Fill your small pots with your prepared, moistened potting mix. Use your dibber or pencil to make a hole, then insert the cutting. Firm the soil gently around the base to ensure good contact.
- Create Humidity: Water the pot gently. Then, cover the pot with a plastic bag or a propagator lid, making sure the leaves don’t touch the plastic. If it’s a bag, you might need to support it with stakes so it stays off the foliage.
- Placement: Place the pots in a bright spot, but out of direct sunlight. Direct sun can scorch the tender cuttings.
2. Water Propagation: A Visual Treat
If you’re a visual person and love to see the roots forming, water propagation is for you! It’s also a great way to try if you’re short on space or potting mix.
- Take Cuttings: Follow the same steps as for stem cuttings to select and prepare your Chenopodium vulvaria stems. Again, remove most of the lower leaves.
- Place in Water: Find a clean jar or glass. Fill it with fresh water and place your cuttings inside. Make sure that no leaves are submerged in the water. Leaves sitting in water will rot, and that’s the last thing we want!
- Change the Water: It’s really important to change the water every couple of days to keep it fresh and prevent bacterial growth.
- Location: Just like with soil propagation, place your jar in a bright location away from direct sun.
The “Secret Sauce” (Pro Tips)
After many years of trial and error, I’ve picked up a few things that make a real difference.
- Bottom Heat is Your Friend: If you have access to a seedling heat mat, use it! Gentle bottom heat encourages root development significantly faster and increases your success rate, especially if your house is a bit on the cooler side. Don’t go too hot, though; think lukewarm bathwater temperature.
- Don’t Overwater, But Don’t Let Them Dry Out: This is a classic balancing act. The key is to keep the soil consistently moist but never waterlogged. When you water, water thoroughly until you see it drain from the bottom of the pot. Then, let the top inch or so of soil dry out before watering again. For water propagation, remember to change that water regularly – don’t let it get stagnant!
- Be Patient with the “Stink”: Chenopodium vulvaria is known for its distinctive, rather… pungent aroma, especially when bruised. Don’t be alarmed! It’s just the plant’s natural defense. Once the new plants are established and a little older, the smell tends to mellow.
Aftercare & Troubleshooting
The moment you see tiny white roots peeking out from the drainage holes or the cut end, give yourself a pat on the back!
- Transition to Soil: If you propagated in water, it’s time to pot up your rooted cuttings. Gently plant them into your prepared potting mix. Water them in well.
- Acclimatize: If your cuttings were under cover, gradually acclimatize them to normal room humidity over a week or so before removing the cover permanently. This helps prevent shock. Continue to keep them out of direct sun until they look well-established.
- Watering: Once potted, continue with the consistent moisture, allowing the top soil to dry slightly between waterings.
- Troubleshooting: The most common issue you’ll encounter is rot. This is usually caused by overwatering or poor drainage. If a cutting looks limp, slimy, or black at the base, unfortunately, it’s likely lost. Remove it immediately to prevent it from affecting other cuttings. Yellowing leaves can indicate overwatering or a lack of nutrients, but at this early stage, it’s more likely related to watering.
A Little Bit of Patience Goes a Long Way
To wrap things up, propagating Chenopodium vulvaria is a wonderful way to expand your garden and deepen your connection with this unique plant. Remember to be patient, use clean tools, and pay attention to what your cuttings are telling you. Each successful propagation is a little victory, and the joy of watching a new plant grow is truly something special. Happy gardening, my friends!
Resource:
https://identify.plantnet.org/k-world-flora/species/Chenopodium%20vulvaria%20L./data