Oh, abelia! If you’ve ever seen a well-established abelia, you know the joy they bring. Those delicate, often fragrant blooms, the lovely arching habit – they’re just a delight in the garden. And the best part? They’re not terribly difficult to multiply. In fact, if you’re looking for a plant that’s generally quite forgiving for beginners tackling propagation, abelia is a fantastic choice. It’s truly rewarding to coax a new life from a piece of an established plant.
The Best Time to Start
For abelias, I find the sweet spot for taking cuttings is late spring to early summer. This is when the plant has put on a good flush of new growth, but the stems are still somewhat soft and pliable – what we call “semi-hardwood” cuttings. You can also try in early autumn with somewhat woodier stems, but the spring batch usually has the most vigor on its side.
Supplies You’ll Need
Gathering your tools beforehand makes the whole process so much smoother. Here’s what I always have on hand:
- Sharp pruning shears or a clean knife: For making those clean cuts.
- Rooting hormone (powder or gel): This is a real confidence booster, especially for beginners.
- Small pots or trays: Clean ones are key to preventing disease.
- Well-draining potting mix: A 50/50 blend of perlite and peat moss or coco coir works beautifully. You can also buy specific succulent or seed-starting mixes, which are excellent.
- Plastic bags or a propagator: To create a humid environment.
- Water mister or spray bottle: For keeping things moist.
- Labels and a marker: Trust me, you’ll thank yourself later!
Propagation Methods
I primarily rely on stem cuttings for propagating abelias. It’s tried and true, and very effective.
Taking Cuttings:
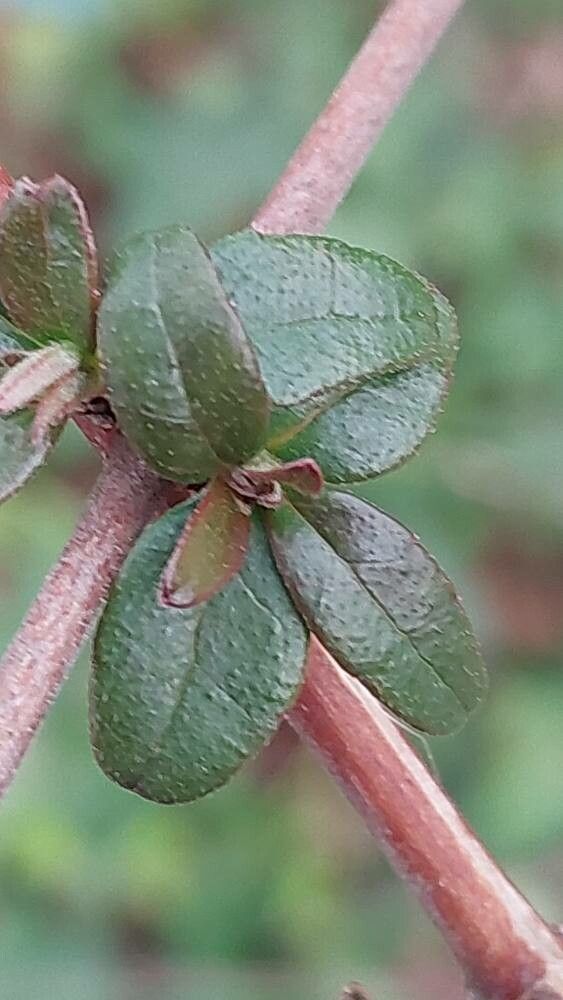
- Select your stems: Look for healthy, current-season growth. A stem that’s flexible but not floppy is ideal. You want a piece that’s about 4-6 inches long.
- Make the cut: Using your clean shears, make a cut just below a leaf node (where a leaf attaches to the stem). This is where the magic happens for root formation.
- Prepare the cutting: Gently remove the leaves from the bottom half of the cutting. If the remaining leaves are quite large, you can cut them in half horizontally. This reduces water loss through transpiration.
- Dip in rooting hormone: Lightly moisten the cut end of the stem with a bit of water, then dip it into your rooting hormone. Tap off any excess.
- Insert into potting mix: Fill your clean pots with the prepared potting mix. Make a small hole with your finger or a pencil and gently insert the cutting. Firm the soil gently around the stem. You want good contact between the soil and the cut end.
- Water gently: Water the soil delicately to settle it.
Creating Humidity:
- Tent it: Cover the pot with a clear plastic bag, making sure the leaves don’t touch the sides of the bag. You can use stakes to prop up the bag if needed.
- Propagator option: If you have a small greenhouse or a propagator with a lid, this makes life even easier.
Water Propagation (less common for abelia, but can work):
If you prefer, you can try placing cuttings in a jar of clean water. Ensure that no leaves are submerged below the water line, as this will encourage rot. Change the water every few days to keep it fresh. Once you see a good network of roots forming (usually after a few weeks), you can carefully pot them up into your well-draining mix. This method is great for watching root development, but the transition to soil can sometimes be a bit tricky.
The “Secret Sauce” (Pro Tips)
Here are a couple of things I’ve learned over the years that can really boost your success:
- Bottom Heat is Your Friend: If you can, place your pots on a heat mat designed for propagation. This warmth from below encourages root development much faster. It’s like a cozy little foot warmer for your cuttings!
- Don’t Rush the Mist: While you want humidity, avoid getting the leaves waterlogged constantly. A light misting in the morning, perhaps, is usually sufficient. Overly wet foliage can invite fungal issues. I like to mist and then let it dry slightly between waterings, especially if I’m using the plastic bag method.
Aftercare & Troubleshooting
Once your cuttings have rooted – and you’ll know this when you feel a bit of resistance when you gently tug on them, or you might see new leaf growth – it’s time for them to transition to their new lives.
- Gradual Acclimation: If you used a plastic bag, slowly start to increase the ventilation by opening the bag for longer periods each day over a week. This helps them adjust to drier air.
- Watering: Water them thoroughly once the top inch of soil feels dry. Avoid letting them sit in soggy soil – that’s a fast track to root rot.
- Light: Place them in a bright spot, but out of direct, harsh sunlight initially. As they get stronger, you can gradually introduce them to more sun.
The most common issue you’ll encounter is rot. If you see a cutting turning black and mushy, it’s generally a goner. This is usually due to too much moisture and not enough air circulation. Always use clean pots and tools, and that well-draining soil is your best defense. Brown, shriveling leaves can mean it’s too dry, or it’s simply not getting enough light.
A Encouraging Closing
Seeing a new abelia sprout from a cutting is such a pure gardening joy. Don’t get discouraged if not every single one takes. Like any living thing, there’s a bit of a learning curve. Just dive in, be patient, and enjoy the process of nurturing these little bits of life. Happy propagating!
Resource:
https://identify.plantnet.org/k-world-flora/species/Abelia%20uniflora%20R.Br./data