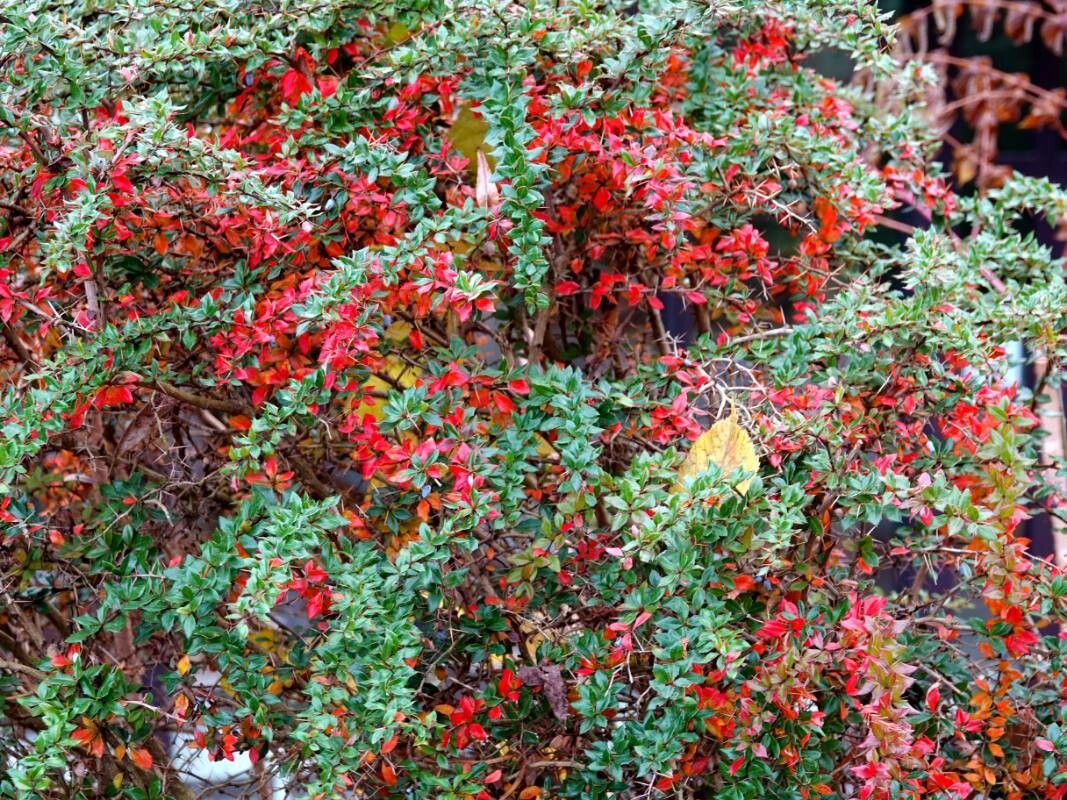
Oh, Berberis gagnepainii! What a fantastic shrub to have in the garden. Its elegant, arching branches, often adorned with lovely foliage that can range from deep green to bronze, make it a real showstopper. And the clusters of cheerful yellow flowers in spring? Just glorious! Plus, those little berries in the fall add another layer of interest.
If you’ve ever admired this Berberis and thought, “I wish I had more of those!”, you’re in luck. Propagating it is a very rewarding experience. It’s not overly fussy, making it a good choice for beginners who are looking for a bit of a success story.
The Best Time to Start
When it comes to Berberis gagnepainii, late spring to early summer is your golden ticket. This is when the plant is actively growing, and the new shoots are semi-hardwood. They have enough strength to root, but they aren’t quite as tough and woody as older stems. Aim for when a current year’s shoot snaps cleanly when bent, rather than just bending.
Supplies You’ll Need
Before we get our hands dirty, let’s gather our tools. A little preparation goes a long way!
- Sharp pruning shears or a clean knife: For taking cuttings. Sterilize them with rubbing alcohol to prevent disease.
- Rooting hormone: While not strictly essential for all Berberis, it can definitely give you a boost. I like to use a powder or gel form.
- Small pots or trays: Clean ones, of course! Drainage holes are a must.
- Well-draining potting mix: A good blend for me is usually 50% peat or coco coir and 50% perlite or coarse sand. This ensures good aeration and prevents waterlogging.
- Plastic bags or propagator lid: To create a humid microclimate around your cuttings.
- Watering can or spray bottle: For gentle watering.
- Labels and a marker: So you don’t forget what you’ve planted where!
Propagation Methods
Let’s get down to business! Stem cuttings are generally the most straightforward way to go with Berberis gagnepainii.
Stem Cuttings (Semi-Hardwood):
- Select your shoots: Look for healthy, non-flowering shoots from the current season’s growth. They should be about 4-6 inches long.
- Take the cuttings: Using your sterilized pruning shears or knife, make a clean cut just below a leaf node (where a leaf attaches to the stem).
- Prepare the cuttings: Gently remove the lower leaves from the cutting, leaving perhaps two or three at the top. If the remaining leaves are large, you can snip them in half to reduce water loss.
- Apply rooting hormone: Dip the cut end of each cutting into the rooting hormone, tapping off any excess.
- Insert into soil: Make a hole in your prepared potting mix with a pencil or your finger. Carefully insert the cutting, ensuring the hormone-coated end is covered. Gently firm the soil around it.
- Water gently: Give the soil a light watering to settle it.
- Create humidity: Cover the pots or trays with a clear plastic bag or a propagator lid. Make sure the plastic doesn’t touch the leaves too much. Place them in a bright spot but out of direct sunlight, as this can scorch the young cuttings.
The “Secret Sauce” (Pro Tips)
Here are a couple of things I’ve learned over the years that can really make a difference:
- Bottom heat is your friend. If you have a heat mat, placing your cuttings on it can significantly speed up root development. It mimics that gentle warmth of spring.
- Don’t overwater! It’s so tempting to keep them perfectly moist, but Berberis cuttings are very susceptible to rot. Let the surface of the soil dry out slightly between waterings. A good starting point is to water thoroughly when the top inch of soil feels dry.
Aftercare & Troubleshooting
Once your cuttings are potted up, patience is key. You’ll want to check for roots after about 4-6 weeks. You can gently tug on a cutting; if it resists, you’ve got roots! Another sign is new leaf growth.
When roots have formed, you can gradually acclimate them to open air by opening the plastic bag a bit more each day for a week or so. Then, you can remove the bag altogether. Continue to water them as needed, keeping the soil consistently moist but not soggy.
The most common problem you might encounter is rot. This usually signals too much moisture and poor drainage. If you see a cutting turning black and mushy, unfortunately, it’s likely a goner. Remove it immediately to prevent it from affecting others. A lack of rooting can also happen; this is often due to taking cuttings too early or too late in the season, or just timing not being quite right. Don’t be discouraged; just try again next year!
A Encouraging Closing
Propagating plants is a bit of a dance with nature, and sometimes she takes her time. Be patient with your Berberis cuttings. Enjoy the process of nurturing these tiny beginnings. The satisfaction of seeing a new plant flourish from something you started yourself is truly a gardener’s delight. Happy growing!
Resource:
https://identify.plantnet.org/k-world-flora/species/Berberis%20gagnepainii%20C.K.Schneid./data