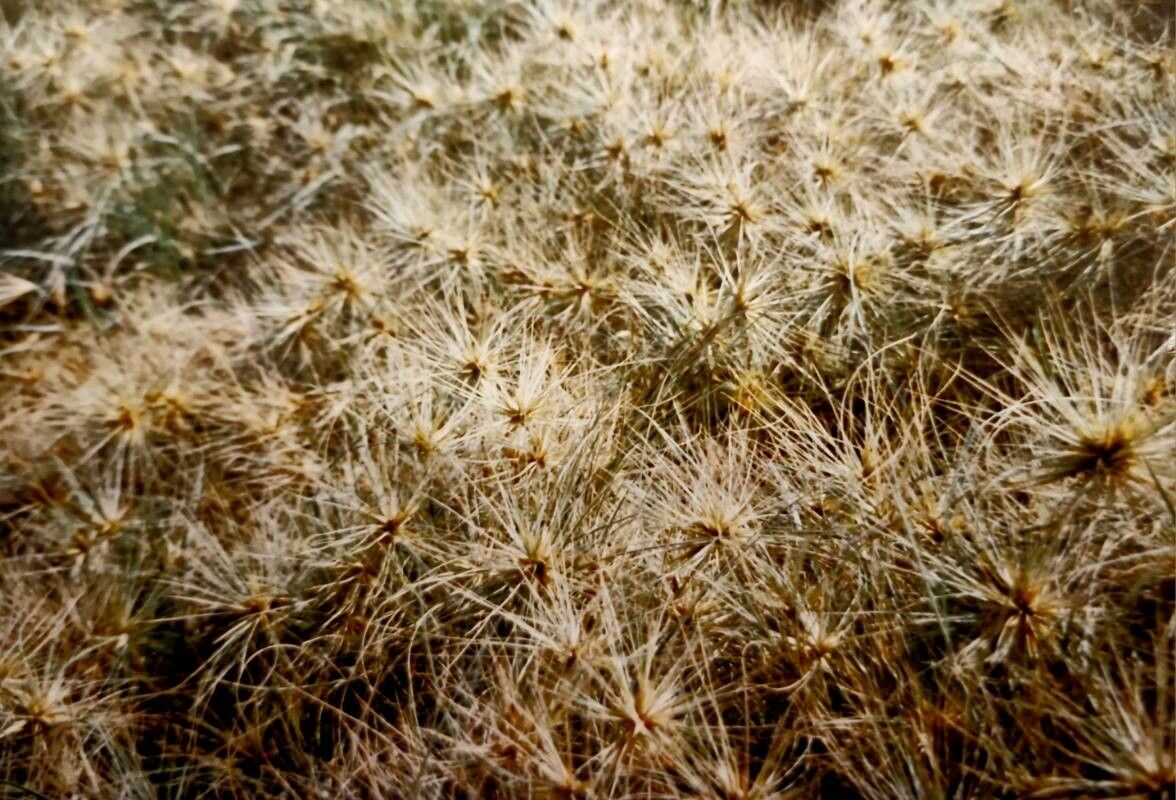
Oh, hello there! Come on in, grab a mug. I’m so glad you’re interested in Spinifex sericeus. It’s one of those grasses that just whispers “coastal charm,” isn’t it? That soft, silvery foliage and its playful, bouncy habit always bring a smile to my face. And the best part? Propagating it is incredibly rewarding, a real feel-good gardening endeavor. Now, for the big question: is it beginner-friendly? I’d say it’s moderately easy. It’s not as fussy as some of the more delicate tropicals, but a little attention to detail goes a long way.
When to Get Your Hands Dirty
The sweet spot for propagating Spinifex is definitely during its active growing season. For most of us, that means late spring through early to mid-summer. The plant is energetic then, full of vigor, and ready to channel that energy into putting out roots. Trying to propagate when it’s dormant or stressed is just setting yourself up for disappointment.
What You’ll Need in Your Garden Toolkit
Gathering your supplies beforehand makes the whole process so much smoother. Here’s what I typically have on hand:
- Sharp Pruning Shears or a Craft Knife: Clean cuts are crucial for quick healing.
- Potting Mix: A well-draining mix is non-negotiable. I like a blend of equal parts perlite, coarse sand, and coco coir or peat moss.
- Small Pots or Seed Trays: Whatever you have that can hold your cuttings and retain a bit of moisture. Make sure they have drainage holes!
- Rooting Hormone (Optional but Recommended): A good rooting powder or gel can really speed things up.
- Plastic Bags or a Clear Plastic Dome: To create a humid environment.
- Watering Can with a Fine Rose: For gentle watering.
- A Bright, Indirect Light Location: Not direct sun, which will scorch those delicate new cuttings.
Let’s Get Propagating: My Go-To Methods
Spinifex is quite amenable to propagation by stem cuttings. It’s straightforward and usually yields great results.
-
Taking the Cuttings: Select a healthy, vigorous runner or stem that’s not flowering. You want a piece that’s about 4-6 inches long. Make a clean cut just below a leaf node (where a leaf attaches to the stem). Remove the lower leaves closest to the cut end, leaving just a couple of pairs at the top. This reduces moisture loss and prevents rot.
-
Applying Rooting Hormone (If Using): Dip the cut end of your stem into the rooting hormone, tapping off any excess. This is like giving your cutting a little boost of encouragement.
-
Planting Your Cuttings: Fill your pots with your well-draining potting mix. Make a small hole with your finger or a pencil. Gently insert the cut end of the stem into the hole, ensuring the leaf nodes are below the surface of the soil. Firm the soil gently around the base of the cutting.
-
Creating a Humid Environment: Water the soil gently until it’s moist but not soggy. Then, cover the pot with a clear plastic bag, securing it around the rim with a rubber band, or place a clear plastic dome over the cuttings. This traps humidity, which is vital for the cuttings to root.
The other method I sometimes use, especially if I have a larger clump, is division, but cuttings are generally more reliable for starting new plants from scratch.
The “Secret Sauce”: My Little Garden Tricks
Over the years, I’ve picked up a few things that seem to make a difference. Try these out!
- Bottom Heat is Your Friend: If you can, place your pots on a gentle heating mat, especially if the ambient temperature in your home isn’t consistently warm. This little bit of warmth encourages root development from below, where it matters most. It’s like giving your cuttings a warm hug.
- Air Circulation is Key: While humidity is important, stagnant air can be the enemy and lead to fungal issues. Every few days, I’ll lift the plastic bag or dome for about 15-30 minutes to let some fresh air circulate. This helps prevent diseases from taking hold.
- Don’t Rush the Watering: After the initial watering, I only water when the top inch of soil feels dry. Overwatering is the quickest way to kill a cutting. It’s better to let them get a little thirsty than to drown them.
Aftercare and What to Watch For
Once your cuttings have successfully rooted (you’ll often see new growth or feel a slight resistance when you gently tug on the stem), it’s time for continued care. Gradually acclimate them to less humidity by opening the plastic bag or dome a little more each day over a week or so.
The most common sign of failure is rot. If your cutting turns mushy, black, or starts to smell unpleasant, it’s likely succumbed to rot. This is usually caused by too much moisture and poor air circulation. Don’t be disheartened if this happens; it’s part of the learning process. Just clean up your pot and try again!
Go Forth and Grow!
Seeing a new little Spinifex sprout and flourish is a truly wonderful feeling. Be patient with your cuttings; some take longer than others. Enjoy the process of nurturing them, and soon you’ll have more of that lovely coastal grass to brighten your garden or share with friends. Happy propagating!
Resource:
https://identify.plantnet.org/k-world-flora/species/Spinifex%20sericeus%20R.Br./data