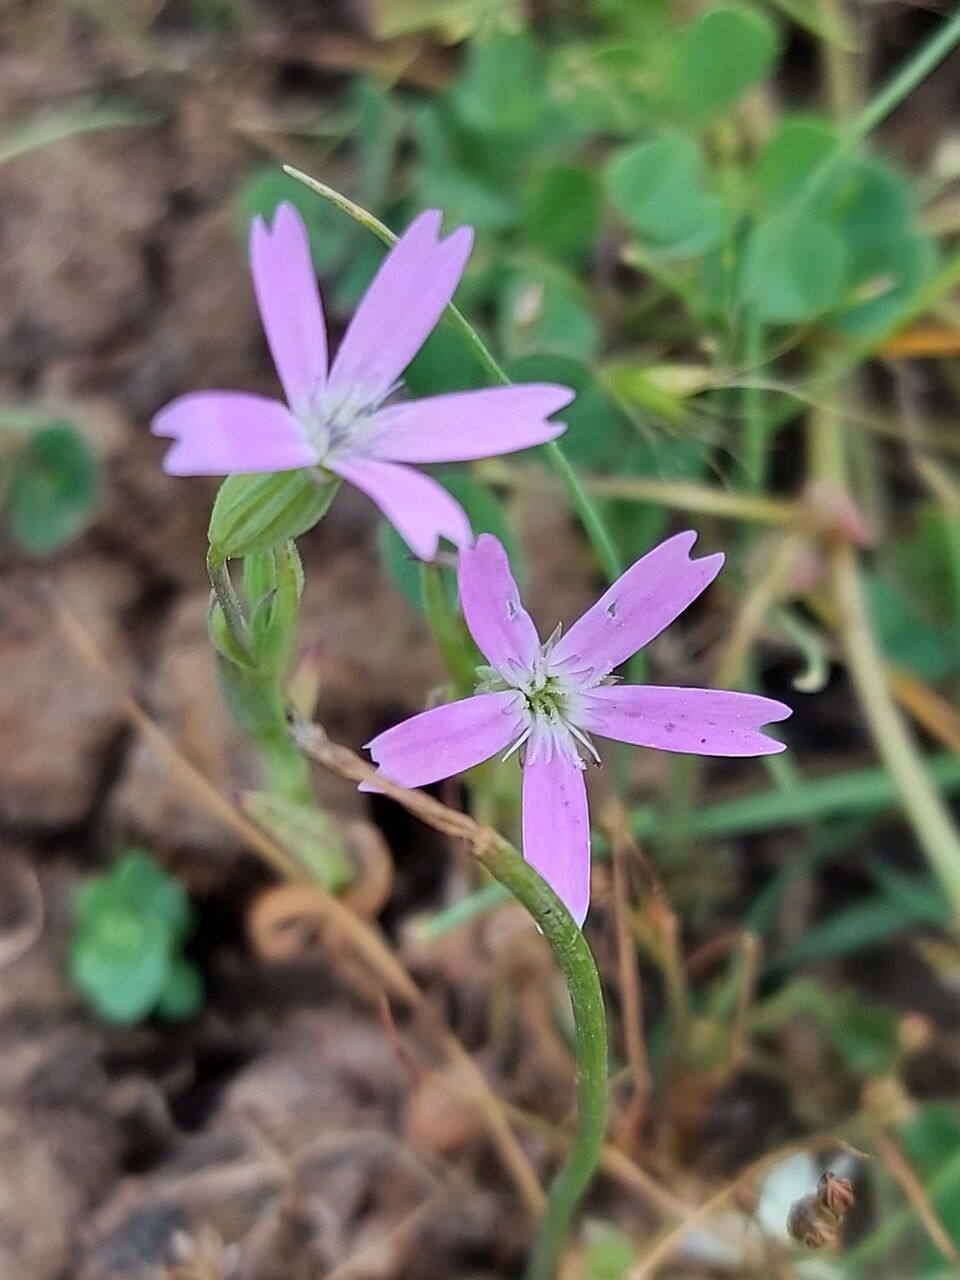
Oh, Eudianthe laeta! Isn’t it just a darling? Those delicate, vibrant flowers have a way of brightening any corner, and trust me, multiplying that joy is incredibly satisfying. If you’re looking to fill your windowsills or share some floral cheer with friends, propagating Eudianthe laeta is a wonderful journey. For beginners, I’d say it’s moderately easy – a little patience goes a long way, but it’s not something that will likely leave you tearing your hair out.
The Best Time to Start
For the highest success rate with Eudianthe laeta, I always aim for late spring to early summer. This is when the plant is actively growing and has plenty of energy. You’ll want to take cuttings from healthy, non-flowering stems. Sometimes, you can even get away with early autumn propagation if you have a warm spot indoors.
Supplies You’ll Need
Gathering your supplies beforehand makes the whole process so much smoother. Here’s what I usually have on hand:
- Sharp Pruning Shears or a Clean Knife: Sterilized, of course!
- Perlite: For excellent drainage in your soil mix.
- Seed Starting Mix or a Light Potting Mix: Something airy is key.
- Small Pots or Trays: Clean ones are a must.
- Rooting Hormone (Optional but Recommended): A little dip can speed things up.
- Clear Plastic Bag or Dome: To create a humid environment.
- Watering Can with a Fine Rose: For gentle watering.
- Plant Labels: So you don’t forget what you planted!
Propagation Methods
Eudianthe laeta is quite amenable to a few different propagation techniques. My go-to is usually stem cuttings, as it’s reliable and generally gives you a good number of new plants.
Stem Cuttings:
- Select Your Cuttings: Look for healthy, non-flowering stems that are at least 4-6 inches long. Gently twist or snip them from the parent plant.
- Prepare the Cuttings: Remove the lower leaves. You want a clean stem with just a few leaves at the top for energy. Make sure there are no leaf nodes submerged if you’re going to try water propagation later.
- Apply Rooting Hormone (If Using): Dip the cut end of the stem into your rooting hormone powder. Tap off any excess.
- Plant Your Cuttings: Fill your small pots with your prepared, moist soil mix. Make a hole with your finger or a pencil. Insert the cutting so that at least one leaf node is below the soil surface. Gently firm the soil around the stem.
- Create a Humid Environment: Water the soil gently. Then, cover the pot with a clear plastic bag or a propagation dome. You want to create a tiny greenhouse effect.
- Placement: Place the pot in a bright spot, but out of direct sunlight. Warmth is good, so a sunny windowsill where it doesn’t get baked is perfect.
Water Propagation (An Alternative Approach):
If you prefer to see the roots develop, water propagation is lovely.
- Prepare Cuttings: Follow steps 1 and 2 from the stem cutting method above.
- Place in Water: Put the cuttings in a clean glass or jar filled with lukewarm water. Make sure the lower leaf nodes are submerged, but do not let any leaves touch the water.
- Change Water Regularly: Change the water every few days to keep it fresh and prevent rot.
- Wait for Roots: You should start to see tiny roots developing in a few weeks. Once they are about an inch long, you can carefully transplant them into your prepared soil mix.
The “Secret Sauce” (Pro Tips)
Having gardened for a while, I’ve picked up a few tricks that often make a difference.
- Bottom Heat is Your Friend: Eudianthe laeta roots much faster when its feet are warm. If you have a heating mat designed for seedlings, popping your pots on it can significantly speed up root formation. You don’t need it to be blazing hot, just consistently warm.
- Don’t Overwater! This is probably the biggest culprit for failure. Once your cuttings are planted, the soil should be evenly moist, not soggy. The plastic bag will keep humidity high, so you don’t need to water often. Check the soil moisture by poking your finger in an inch deep. If it feels dry, then water.
- Patience with the Parent Plant: When taking cuttings, try to do so in a way that doesn’t compromise the overall look of your existing Eudianthe laeta. Sometimes, a careful strategic prune can look like a tidy-up and yield great cuttings at the same time!
Aftercare & Troubleshooting
Once you see those lovely new roots appearing (you might see them peeking out of the drainage holes or feel a gentle tug when you very carefully try to move the pot), it’s time to ease them into their new life.
Carefully remove the plastic bag or dome for a few hours each day to help the new plant acclimatize to less humid air. Gradually increase the time it’s exposed until you can remove it entirely. Continue watering as needed – keep the soil evenly moist.
The most common sign of failure is rot. If your cutting suddenly turns mushy and black, it’s likely succumbed to rot. This is usually due to overwatering and poor air circulation. If you see this, unfortunately, it’s best to discard it and start again, paying close attention to your watering habits and ventilation. Yellowing leaves that aren’t accompanied by mushiness can sometimes indicate it’s not getting enough light, or it might be adjusting to its new environment.
A Encouraging Closing
See? It’s a little dance with nature, isn’t it? Be patient with your little cuttings. Some will take off beautifully, while others might need a bit more coaxing, or perhaps a second attempt. The joy is in the process of nurturing something new. Enjoy watching those little roots grow and soon enough, you’ll have a whole garden of delightful Eudianthe laeta to admire! Happy propagating!
Resource: