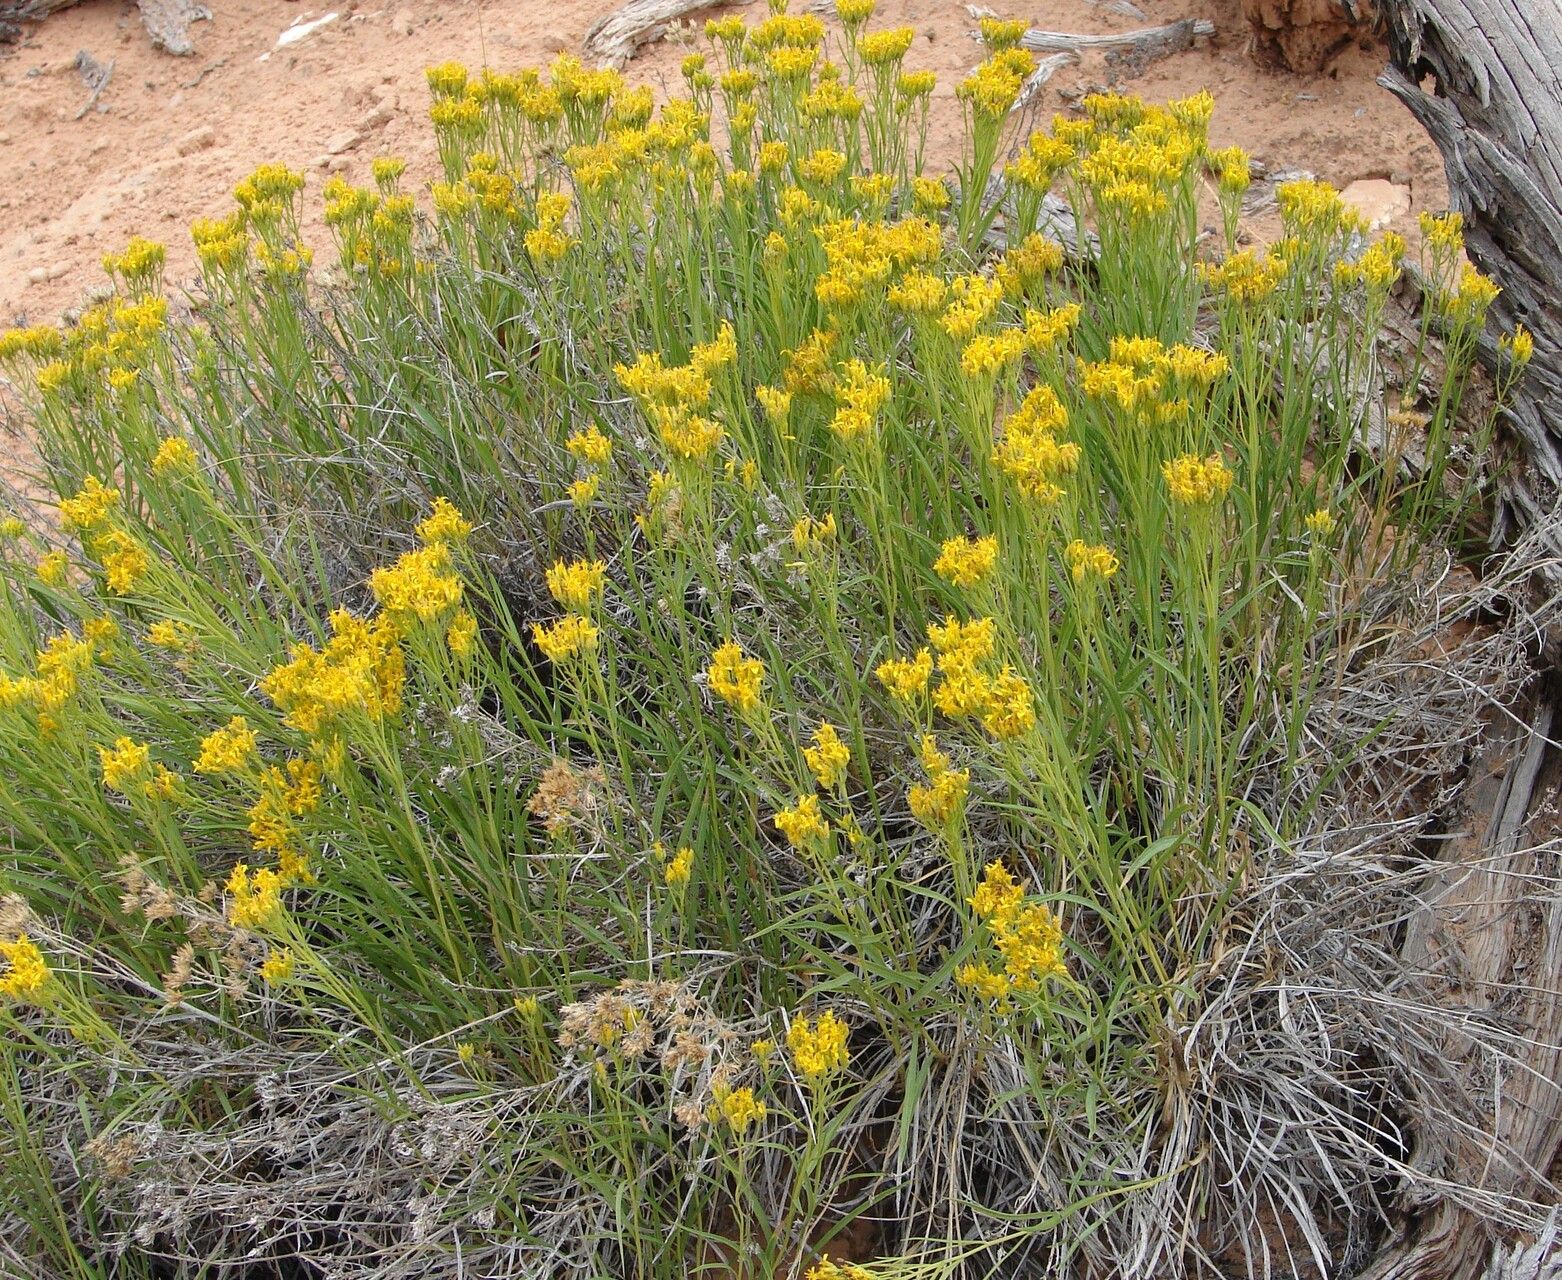
Hello there, fellow plant lovers! Today, we’re diving into the wonderful world of Petradoria pumila. If you’ve ever admired its delicate blooms and tidy growth habit, you’re not alone. It’s such a charming plant, and bringing new ones to life from your existing ones is incredibly satisfying. For those just starting out with propagation, I’d say Petradoria is about a medium difficulty. It’s not as foolproof as say, a pothos, but with a little care and the right approach, you’ll be rewarded with plenty of new babies.
The Best Time to Start
My favorite time to get started with propagating Petradoria pumila is in late spring or early summer. This is when the plant is actively growing and has plenty of energy to put into developing new roots. You’re looking for healthy, non-flowering stems that are firm but not woody. Think of it as taking cuttings from a plant that’s just hitting its stride.
Supplies You’ll Need
Here’s what you’ll want to have on hand:
- Sharp, clean pruning shears or a sharp knife: Essential for making clean cuts.
- Rooting hormone (optional but recommended): A little powdered boost can significantly increase success rates.
- A well-draining potting mix: I like a blend of high-quality potting soil mixed with perlite or coarse sand (about a 50/50 ratio).
- Small pots or containers: Clean seedling trays or 4-inch pots work wonderfully. Make sure they have drainage holes!
- Watering can or spray bottle: Gentle watering is key.
- A plastic bag or propagation dome: To create a humid environment for your cuttings.
- Labels: So you don’t forget what you’ve propagated!
Propagation Methods
Let’s get our hands dirty! The most reliable way to propagate Petradoria pumila is through stem cuttings.
Stem Cuttings:
- Select your cuttings: Find those healthy, non-flowering stems. You’re looking for pieces that are about 4-6 inches long.
- Make the cut: Using your clean shears or knife, make a clean cut just below a leaf node. A leaf node is where a leaf attaches to the stem. This is where roots are most likely to form.
- Prepare the cutting: Gently remove the lower leaves from the bottom 2-3 inches of the stem. This prevents them from rotting in the soil.
- Apply rooting hormone (optional): If you’re using rooting hormone, lightly dip the cut end into the powder, tapping off any excess.
- Plant your cuttings: Moisten your potting mix slightly. Make small holes in the soil with a pencil or your finger, and then insert the cuttings, ensuring the leaf nodes are buried. Gently firm the soil around them.
- Water gently: Give them a light watering. You want the soil to be moist but not waterlogged.
- Create humidity: Place your pots inside a plastic bag or cover them with a propagation dome. This traps moisture and creates a mini-greenhouse effect. Open the bag or dome for about 30 minutes each day to allow for air circulation and prevent fungal diseases.
The “Secret Sauce”
Here are a few little tricks I’ve picked up over the years that can really make a difference:
- Don’t rush the watering after planting: After you’ve planted your cuttings and given them their first gentle watering, let the surface of the soil dry out a bit before watering again. This encourages the roots to seek out moisture deeper in the soil.
- Bottom heat is a game-changer: If you can, place your pots on a warm surface like a seedling heat mat. This gentle warmth stimulates root development and can dramatically speed up the process. Just make sure the heat isn’t too intense!
Aftercare & Troubleshooting
You’ve got your cuttings potted and cozy. Now what?
- Keep them warm and bright: Place your propagation station in a spot that receives bright, indirect light. Avoid direct sunlight, which can scorch the tender cuttings.
- Monitor moisture: Continue to keep the soil consistently moist but not soggy. You’ll know they’re happy if they look perky.
- Watch for roots: It typically takes 4-8 weeks for Petradoria pumila cuttings to root. You can gently tug on a cutting – if there’s resistance, you’ve got roots! Another sign is seeing new leaf growth.
- Troubleshooting: The most common issue is rot. If you see your cuttings turning black and mushy, it’s usually a sign of too much moisture and not enough air circulation. If you catch it early, you might be able to salvage a healthy section if the rot hasn’t spread.
Once your cuttings have developed a good root system and you see new growth, you can gradually acclimate them to normal room conditions by removing the plastic bag for longer periods each day. Then, it’s time to pot them up into their own small pots with their regular potting mix.
A Little Patience Goes a Long Way
Propagating plants is a lesson in patience and observation. Not every cutting will make it, and that’s perfectly okay. Each attempt is a learning experience. So take a deep breath, enjoy the process of nurturing these tiny new lives, and celebrate every success. Happy propagating!
Resource:
https://identify.plantnet.org/k-world-flora/species/Petradoria%20pumila%20(Nutt.)%20Greene/data