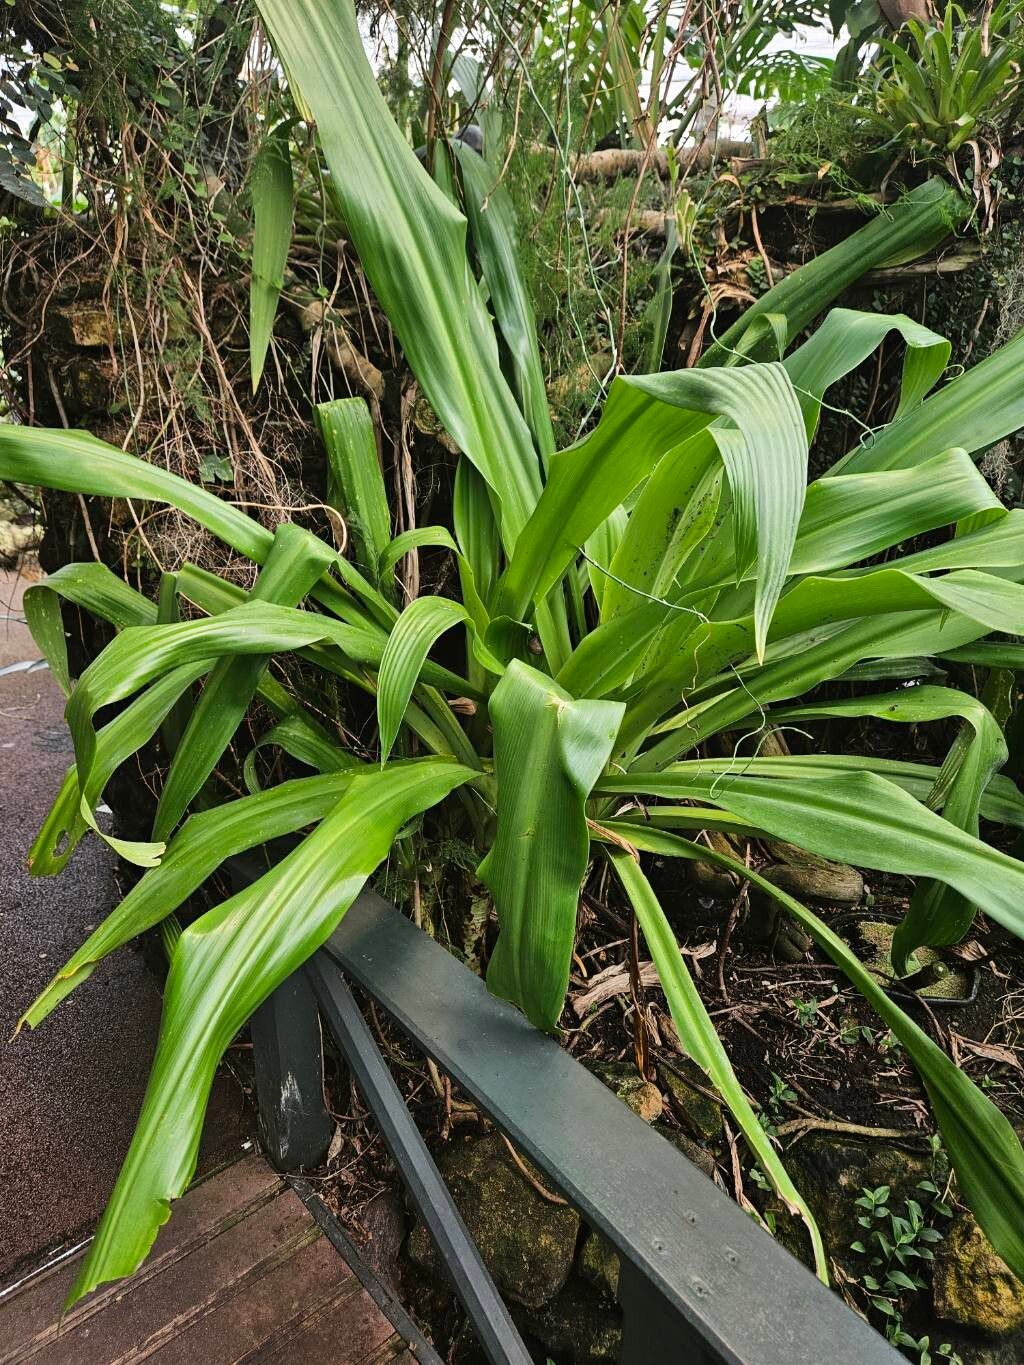
Hello, fellow plant lovers! Today, we’re diving into the wonderful world of Crinum asiaticum, those magnificent lilies that can bring such drama and elegance to any garden. Their bold blooms and architectural foliage are truly something special. And the best part? They’re surprisingly rewarding to propagate! If you’re just dipping your toes into the plant-starting pond, Crinum asiaticum is a fantastic place to begin. They’re quite forgiving, so don’t be intimidated!
The Best Time to Start
When do these beauties get their green light for new beginnings? Spring and early summer are your golden ticket. This is when the plant is actively growing and has plenty of energy to put into developing new roots. You’ll have the most success when you catch them at this vibrant stage.
Supplies You’ll Need
Gathering your tools makes the whole process so much smoother. Here’s what I’ve found helpful:
- Sharply Honed Pruning Shears or a Knife: For clean cuts.
- Well-Draining Potting Mix: I like a blend of equal parts potting soil, perlite, and coarse sand. This keeps things from getting waterlogged.
- Small Pots or Trays: Whatever you prefer to pot your new babies in.
- Rooting Hormone (Optional but Recommended): A powder or gel to encourage stronger root development.
- Watering Can with a Fine Rose: For gentle watering.
- Labels: To keep track of your new additions!
Propagation Methods
Crinums are most commonly propagated through division, which is essentially separating mature bulbs. It’s the most reliable and straightforward method.
Here’s how we’ll do it:
- Gently Excavate: In spring or early summer, carefully dig around the base of your established Crinum plant. You want to get the whole root ball, so use a spade or garden fork and tease it away from the soil. Be patient – these bulbs can be quite large!
- Identify the Offsets: Once you’ve got the bulb out, you’ll likely see smaller bulbs, or “offsets,” attached to the main bulb. These are your new plants waiting to happen. They might have their own roots already, which is a great sign!
- Separate with Care: Using your clean pruning shears or a sharp knife, carefully cut or twist away the offsets from the mother bulb. Try to get a piece of the root if possible. If an offset is quite small, it might take a little longer to establish, but it can still grow into a magnificent plant.
- Let Them “Cure”: Now, here’s a little trick. Let the separated offsets sit out of direct sun for a few hours, or even a day. This allows any cut surfaces to dry and callus over, which helps prevent rot when you plant them.
- Potting Up: Fill your small pots with your well-draining potting mix. If you’re using rooting hormone, dip the cut end of your offset into it. Make a hole in the soil and plant the offset so that the top of the bulb is just at or slightly above the soil surface.
- First Watering: Water your newly potted divisions thoroughly but gently.
The “Secret Sauce” (Pro Tips)
I’ve learned a few things over the years that can make a real difference:
- Don’t Rush Them: While you want to pot them up, avoid planting them too deep. The neck of the bulb needs air circulation. Too much soil covering it can lead to rot. Keep the “crown” slightly exposed.
- Embrace the Dry Spell: After the initial watering, let the soil dry out slightly between waterings. Crinums are fairly drought-tolerant once established and hate sitting in soggy soil. This is especially true for the new, tender offsets.
- Warm Thoughts: If you’re propagating in a cooler spring, consider using bottom heat. Placing your pots on a propagation mat can give those roots a nice warm boost, encouraging faster establishment.
Aftercare & Troubleshooting
Once your Crinum offsets are potted, place them in a spot with bright, indirect light. Water them when the top inch of soil feels dry to the touch. Be patient! It can take several weeks, sometimes even a couple of months, for new growth to appear and for roots to establish well.
The most common issue you might encounter is rot. If your offset turns mushy or black, it’s likely succumbed to too much moisture. You might also see leaves wilting excessively – this can be a sign of stress from transplanting or lack of establishment. If you see rot, try to remove the affected part and repot in fresh, dry soil. Sometimes, it’s a lost cause, but don’t let it discourage you!
A Little Patience, A Lot of Reward
So there you have it – propagating Crinum asiaticum is a wonderfully achievable way to multiply your gardening joy. It’s a process that asks for a bit of patience and observation, but the reward of watching those new plants unfurl and bloom is absolutely worth it. Happy gardening, and enjoy every moment!
Resource:
https://identify.plantnet.org/k-world-flora/species/Crinum%20asiaticum%20L./data