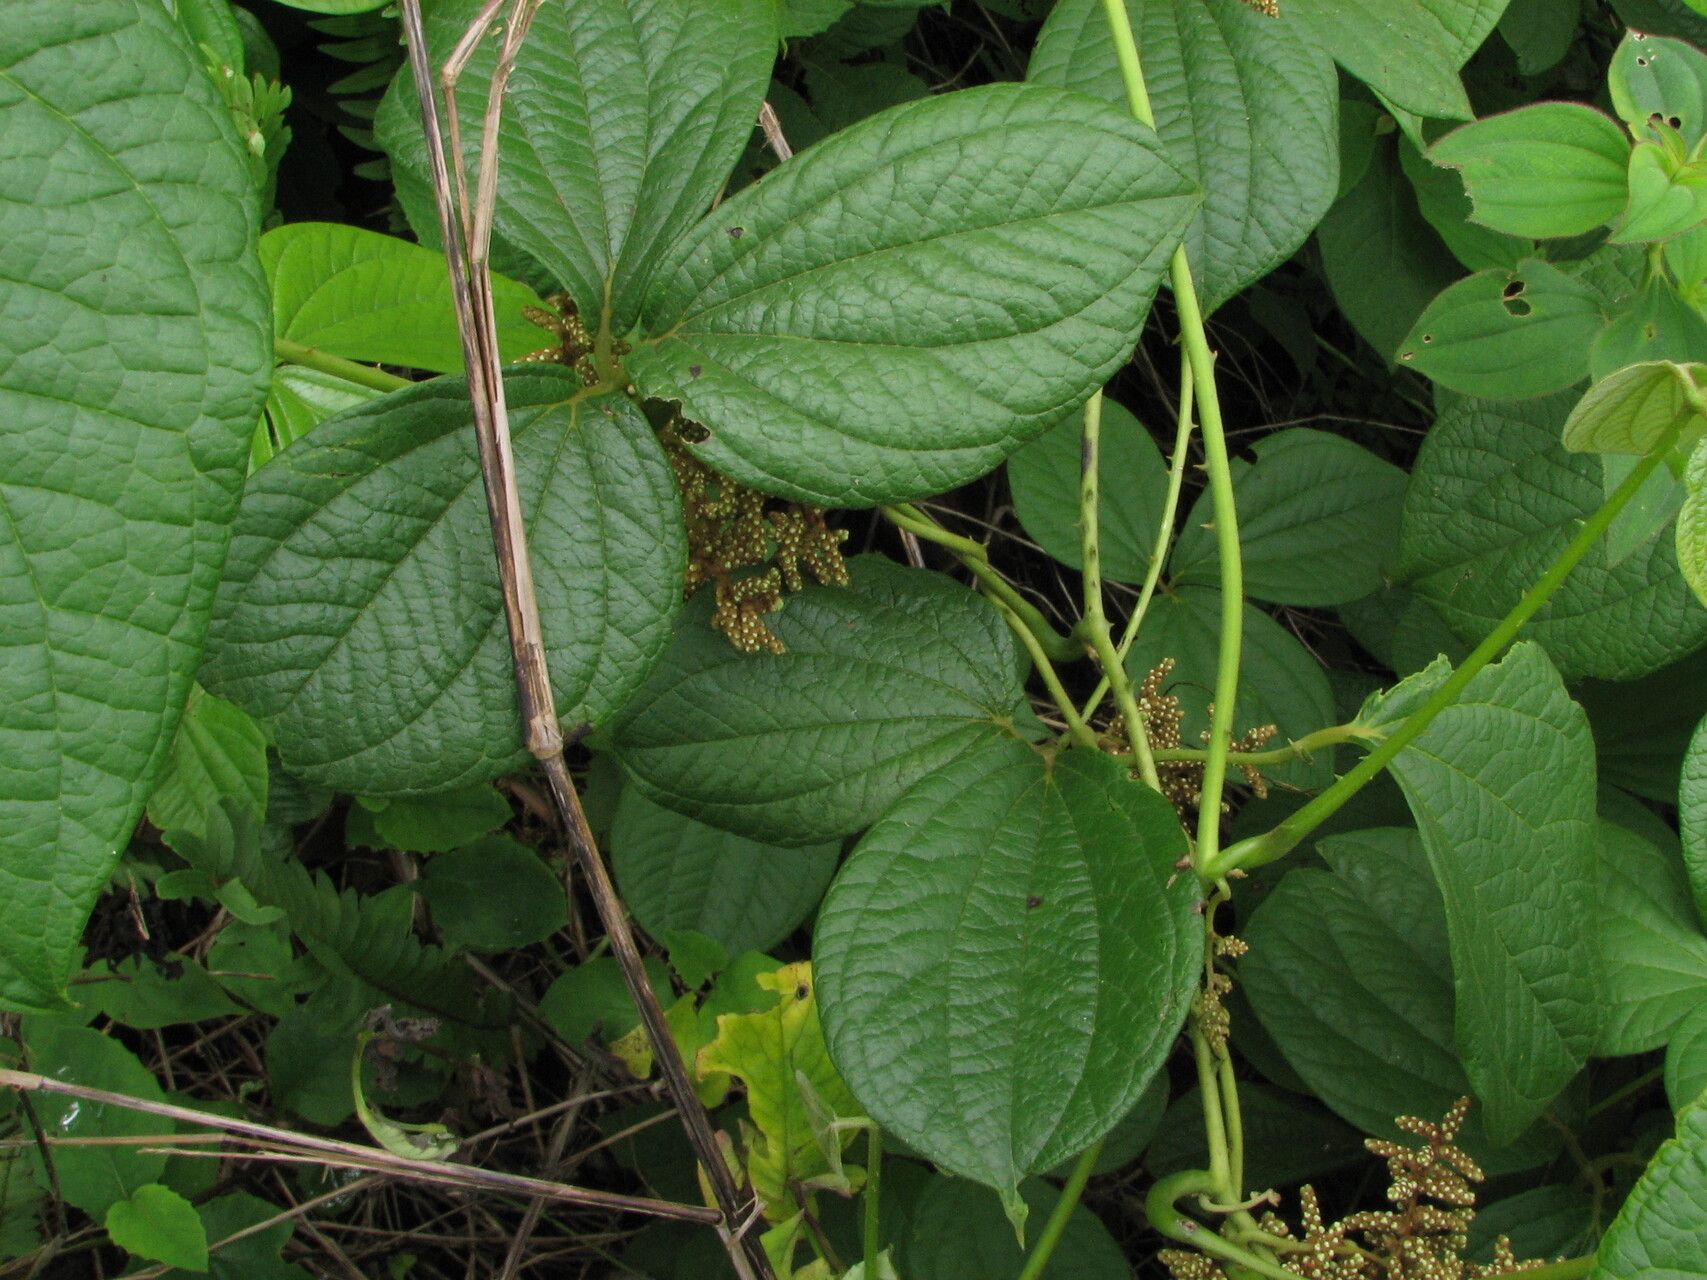
Hello there, fellow plant enthusiasts! Today, we’re diving into the wonderful world of Dioscorea dumetorum, also known as the Bitter Yam or Forest Yam. This plant is a real gem. Its vining habit and interesting foliage can add a unique touch to any garden or indoor space. Plus, there’s a special kind of satisfaction that comes from nurturing a new life from a tiny piece of an existing one.
Now, about its ease for beginners. While Dioscorea dumetorum isn’t the absolute easiest plant to propagate, it’s certainly doable with a little patience and the right approach. Think of it as a rewarding challenge, not an insurmountable hurdle. I promise, the joy of seeing that first root emerge is absolutely worth it!
The Best Time to Start
For the highest success rate with Dioscorea dumetorum, spring and early summer are your best friends. This is when the plant is actively growing and has the most energy to put into forming new roots. Look for healthy, vigorous stems that are just beginning to harden off – not the super-soft new growth, but not the woody, old stems either.
Supplies You’ll Need
Gathering your supplies beforehand makes the whole process so much smoother. Here’s what I usually have on hand:
- Sharp pruning shears or a clean knife: For making clean cuts.
- Rooting hormone (optional but helpful): A powder or gel will do.
- Well-draining potting mix: A good blend of perlite, coco coir, and a bit of compost works wonders. You can also use a standard peat-based potting mix with added perlite.
- Small pots or seedling trays: With drainage holes, of course.
- Plastic bags or a propagator: To create a humid environment.
- Watering can or spray bottle: For gentle watering.
Propagation Methods
Dioscorea dumetorum is best propagated through stem cuttings. It’s straightforward and usually yields good results.
Stem Cuttings:
- Take your cuttings: Select a healthy stem from your Dioscorea dumetorum plant. Using your clean shears or knife, cut a section that’s about 4-6 inches long. Make the cut just below a leaf node (the point where a leaf attaches to the stem).
- Prepare the cutting: Remove the lower leaves from the cutting, leaving just a couple of leaves at the top. This prevents rot in the soil and reduces water loss. If you’re using rooting hormone, dip the cut end into it now, tapping off any excess.
- Plant your cuttings: Fill your small pots or trays with your well-draining potting mix. Make a small hole in the center of the soil with your finger or a pencil. Gently insert the cut end of the stem into the hole, ensuring the leaf node is buried. Firm the soil gently around the stem.
- Create humidity: Water the soil lightly. Then, place the potted cutting into a plastic bag, forming a mini-greenhouse. You can also use a propagator lid. Make sure the leaves don’t touch the sides of the bag if possible.
The “Secret Sauce” (Pro Tips)
Here are a few of my personal tricks that often make a difference:
- Don’t let the leaves touch the water: If you’re trying water propagation (which is less common for Dioscorea dumetorum but can occasionally work for some), only submerge the stem, not the leaves. Leaves sitting in water are a direct invitation for rot.
- Bottom heat is your friend: For stem cuttings, a little gentle warmth from below can significantly speed up root development. A seedling heat mat works beautifully here. It encourages root formation without making the top of the plant too hot and stressed.
- Be patient with the node: The magic really happens at the leaf nodes. Make sure at least one or two nodes are buried in the soil for the best chance of root formation.
Aftercare & Troubleshooting
Once your cuttings have been planted, the real waiting game begins. Keep the soil consistently moist but not waterlogged. It’s a delicate balance, but crucial. The humidity created by the plastic bag or propagator is key here.
You should start to see signs of new growth within a few weeks to a month or two. This is a good indicator that roots are developing. When you see new leaves emerging, you can gradually acclimatize your new plant to normal room humidity by opening the plastic bag or propagator a little more each day over a week.
Signs of failure usually point to rot. If your cutting starts to look mushy, dark, or smelly, it’s likely rotted. This is most often caused by too much moisture and not enough air circulation. If this happens, don’t despair! Just start again with fresh cuttings and adjust your watering and humidity levels.
A Little Encouragement
Propagating plants is a journey, not a race. Some take their time, and that’s perfectly okay. Be patient with your Dioscorea dumetorum, keep it in a warm, bright spot (but out of direct, scorching sun), and trust the process. The reward of seeing a new, vibrant plant come to life under your care is truly unmatched. Happy propagating!
Resource:
https://identify.plantnet.org/k-world-flora/species/Dioscorea%20dumetorum%20(Kunth)%20Pax/data