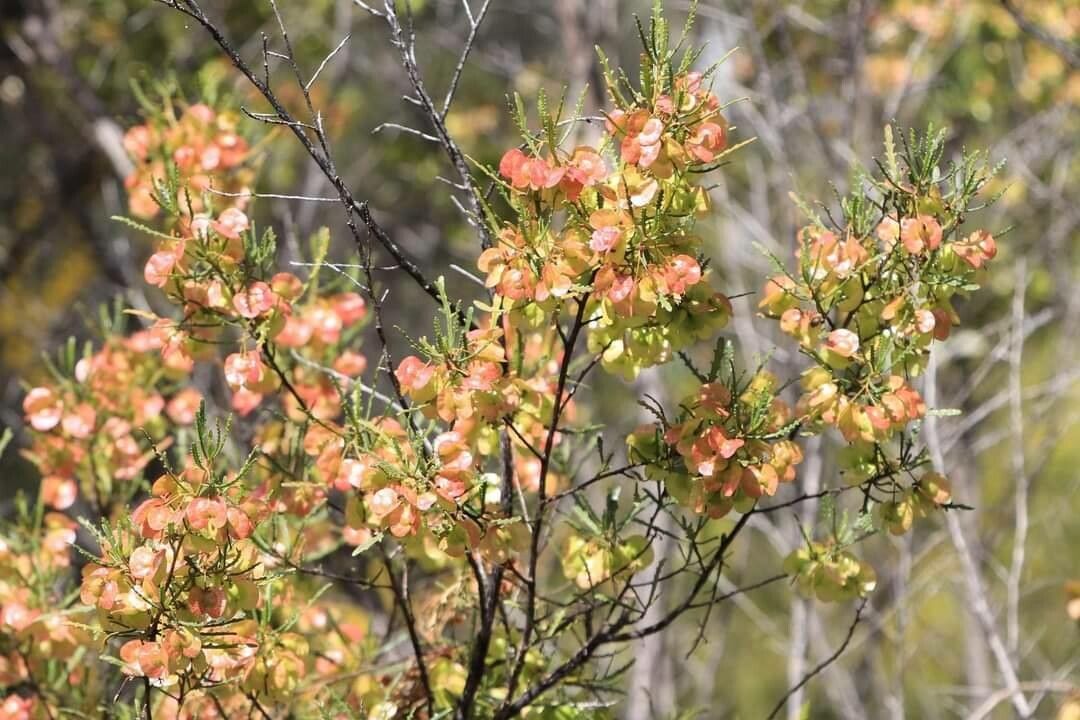
Oh, hello there! Grab your mug, settle in, and let’s chat about one of my absolute favorite Australian natives: Dodonaea lobulata, or as we often affectionately call it, the “Narrow-leaf Hop Bush.” If you’ve ever admired its delicate, airy foliage and the lovely papery seed pods that follow, you’re not alone. It’s a plant that adds such a wonderful texture to the garden, and growing your own is incredibly satisfying.
Propagating Dodonaea lobulata might sound a bit daunting, but honestly, for most home gardeners, it’s a wonderfully achievable project – even for beginners! With a little patience and the right approach, you’ll soon have a whole troop of these beauties ready for your garden or to share with fellow plant lovers.
The Best Time to Start
When it comes to getting Dodonaea lobulata to put down happy roots, softwood or semi-hardwood cuttings taken in late spring or early summer are your winning ticket. This is when the plant is actively growing, meaning it’s full of vigor and has the best chance of forming new roots quickly. Waiting until the stems are a bit more seasoned, but still pliable, is key.
Supplies You’ll Need
Before we dive into the how-to, let’s make sure you’ve got your kit ready. It’s always better to be prepared!
- Clean, sharp pruning shears or a sharp knife: Essential for making clean cuts.
- Rooting hormone powder or gel: A little boost can make a big difference.
- Propagating mix: I like a well-draining blend of equal parts perlite and peat moss, or a good quality seed-starting mix.
- Small pots or seed trays: About 7-10 cm (3-4 inches) deep work well.
- Plastic bags or a propagation dome: To create a humid environment.
- Watering can with a fine rose: For gentle watering.
- Labels and a marker: To keep track of your cuttings!
Propagation Methods: Stem Cuttings
This is hands-down my preferred method for Dodonaea lobulata. It’s straightforward and generally yields fantastic results if you follow these steps:
- Take Your Cuttings: In late spring or early summer, select healthy, non-flowering shoots from a mature plant. Look for stems that are flexible but have started to firm up – you can bend them, but they won’t snap easily. You want cuttings that are about 10-15 cm (4-6 inches) long. Use your clean shears to make a cut just below a leaf node (where the leaf joins the stem).
- Prepare the Cuttings: Gently remove the lower leaves from your cuttings, leaving just a few at the top. This prevents them from rotting when they’re in the soil and also reduces water loss. If your leaves are quite large, you can even cut them in half horizontally to further reduce transpiration.
- Dip in Rooting Hormone: Dip the cut end of each cutting into your rooting hormone. Tap off any excess powder – you just need a light coating. This step really encourages root development.
- Plant the Cuttings: Fill your pots with your propagating mix and water it thoroughly. Make a hole in the center of the mix with your finger or a pencil, and then carefully insert the cutting, ensuring the hormone-coated end is well covered. Gently firm the mix around the stem.
- Create a Humid Environment: Water the soil again gently. Then, cover the pot with a clear plastic bag, securing it at the base. You can use a propagation dome if you have one. This creates a mini-greenhouse, trapping moisture and preventing the cuttings from drying out.
- Find a Suitable Spot: Place the pots in a bright location out of direct sunlight. A warm spot is beneficial.
The “Secret Sauce” (Pro Tips)
Now, for a few little tricks I’ve picked up over the years that can really give your cuttings an edge:
- Bottom Heat is Your Friend: If you can, place your pots on a heated propagator mat. This gentle warmth from below encourages the roots to start forming much faster. It’s like giving them a cozy bed to grow in!
- Don’t Let Leaves Touch the Soil: This is a big one! If any of the lower leaves are resting on the surface of the propagating mix, they are much more prone to rot. I always ensure they are well above the soil line.
- The “Tap Test” for Readiness: When you think your cuttings might be rooted, give a very gentle tug. If you feel any resistance, it’s a good sign that roots are forming! You can also check for new leaf growth, though this isn’t always a foolproof indicator.
Aftercare & Troubleshooting
Once you’ve got your cuttings planted, keep a close eye on them. Water the soil lightly if it starts to dry out, but avoid overwatering – soggy soil is the enemy of new cuttings. You can also mist the leaves every few days, especially if your cuttings are in a space that tends to get dry.
Most of the time, you’ll start seeing signs of rooting within 4-8 weeks. You might notice new growth appearing at the top of the stem, or feel that resistance when you gently tug.
On the flip side, sometimes things don’t go as planned. The most common issue is rot. If your cuttings start to look black and mushy, or if you see mold on the soil surface, it’s usually a sign of too much moisture and not enough air circulation. Unfortunately, a rotten cutting is a loss, but don’t be discouraged! Just try again, perhaps with slightly drier soil or better airflow.
A Encouraging Closing
So there you have it! Propagating Dodonaea lobulata is a wonderfully rewarding journey. It’s a chance to connect with your plants and multiply their beauty. Be patient with the process – nature works on its own timeline. Enjoy the satisfaction of nurturing these tiny beginnings into thriving new plants. Happy propagating!
Resource:
https://identify.plantnet.org/k-world-flora/species/Dodonaea%20lobulata%20F.Muell./data