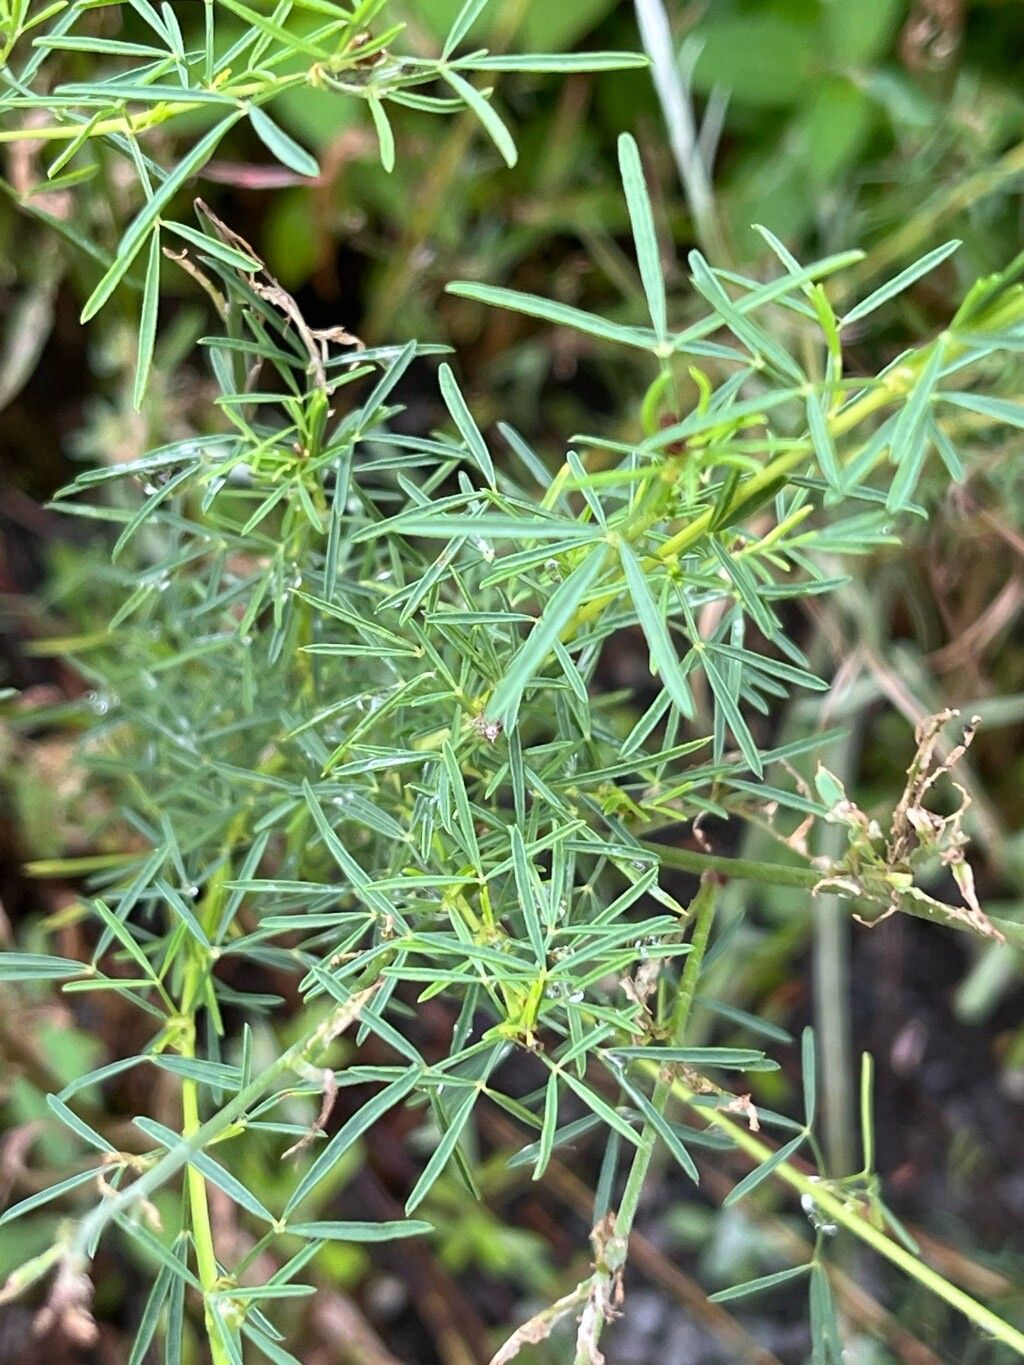
Oh, hello there! Come on in, grab a cup of coffee. Today, we’re going to dive into something really special: propagating Dalea compacta. If you’ve ever seen this lovely little plant, with its delicate purple blooms and neat, compact form, you know why it’s such a garden treasure. And the best part? Making more of them yourself is incredibly rewarding. For beginners, I’d say Dalea compacta is moderately easy. It’s not as foolproof as a succulent, but with a little patience and the right approach, you’ll be successful.
The Best Time to Start
My favorite time to get going with propagation is generally in late spring or early summer. This is when the plant is actively growing, and the new shoots are nice and pliable but have started to mature a bit. You want to catch them before they get too woody.
Supplies You’ll Need
Before we get our hands dirty, let’s gather our tools. This list is pretty standard for a lot of plant propagation, but it’s worth having everything ready:
- Sharp pruning shears or a clean knife: Precision is key to avoid crushing stems.
- Rooting hormone (optional but recommended): This gives your cuttings a little boost. I like the powder kind.
- Small pots or trays: About 3-4 inches in size works well. Make sure they have drainage holes!
- Well-draining potting mix: A good blend of perlite, peat moss, and a little bit of compost is perfect. Or, you can buy a pre-made cactus/succulent mix.
- Plastic bags or a propagator: To create a humid environment.
- Watering can or spray bottle: For gentle watering.
- Labels: To keep track of what you’re growing!
Propagation Methods: Stem Cuttings
For Dalea compacta, my go-to method is stem cuttings. It’s straightforward and usually yields good results.
- Take Your Cuttings: Using your clean shears, snip 3-5 inch pieces from healthy, non-flowering stems. Look for pieces that are firm but not yet hard and woody. Make your cuts just below a leaf node, the point where a leaf attaches to the stem.
- Prepare the Cuttings: Gently remove the lower leaves from the cutting, leaving just one or two at the very top. This prevents them from rotting in the soil. If you’re using rooting hormone, dip the cut end into it now, tapping off any excess.
- Plant Your Cuttings: Fill your small pots with your prepared potting mix. Make a small hole in the center of each pot with your finger or a pencil. Carefully insert the cut end of the stem into the hole, pushing it down about an inch or so. Gently firm the soil around the stem.
- Provide Humidity: Water the soil gently. Then, cover the pot with a clear plastic bag, securing it around the rim with a rubber band or tape. This creates a mini-greenhouse. Alternatively, you can place your pots inside a propagator.
The “Secret Sauce” (Pro Tips)
Here are a couple of things I’ve learned over the years that really make a difference:
- One tip I swear by is to avoid letting the leaves of the cutting touch the rooting medium directly if you’re trying water propagation (though I prefer soil for Dalea). In soil, though, make sure no leaves are buried. It’s a surefire way to invite rot.
- When you’re starting batches of cuttings, especially if your house is a bit cooler, using bottom heat can be a game-changer. A seedling heat mat placed under the tray helps stimulate root development much faster. Just keep it on during the day and off at night if you prefer.
Aftercare & Troubleshooting
Once your cuttings are planted and covered, place them in a bright spot with indirect light. Avoid direct sun, which can scorch them. Keep the soil consistently moist but not soggy. You can gently mist the leaves occasionally if the plastic bag seems to be drying out.
You’ll know your cuttings are rooting when you see new growth, usually after a few weeks. You can also give them a very gentle tug; if you feel resistance, roots have formed. At this point, you can gradually introduce them to more light and remove the plastic bag for a few hours a day, eventually leaving it off completely.
What if things go wrong? The most common issue is rot. If you see a cutting turning black or mushy, it’s usually a sign of too much moisture or not enough air circulation. Unfortunately, this cutting is likely lost. It’s why good drainage and not overwatering are so crucial. Don’t be discouraged if some don’t make it; gardening is a learning process for all of us.
A Encouraging Closing
Propagating plants is like planting little seeds of hope in your garden. Be patient with your Dalea compacta cuttings. Nature has its own rhythm, and sometimes things take a little longer than we expect. Enjoy the process of nurturing these new plants, and soon you’ll have a whole collection of your own beautiful Dalea to admire. Happy growing!
Resource:
https://identify.plantnet.org/k-world-flora/species/Dalea%20compacta%20Spreng./data