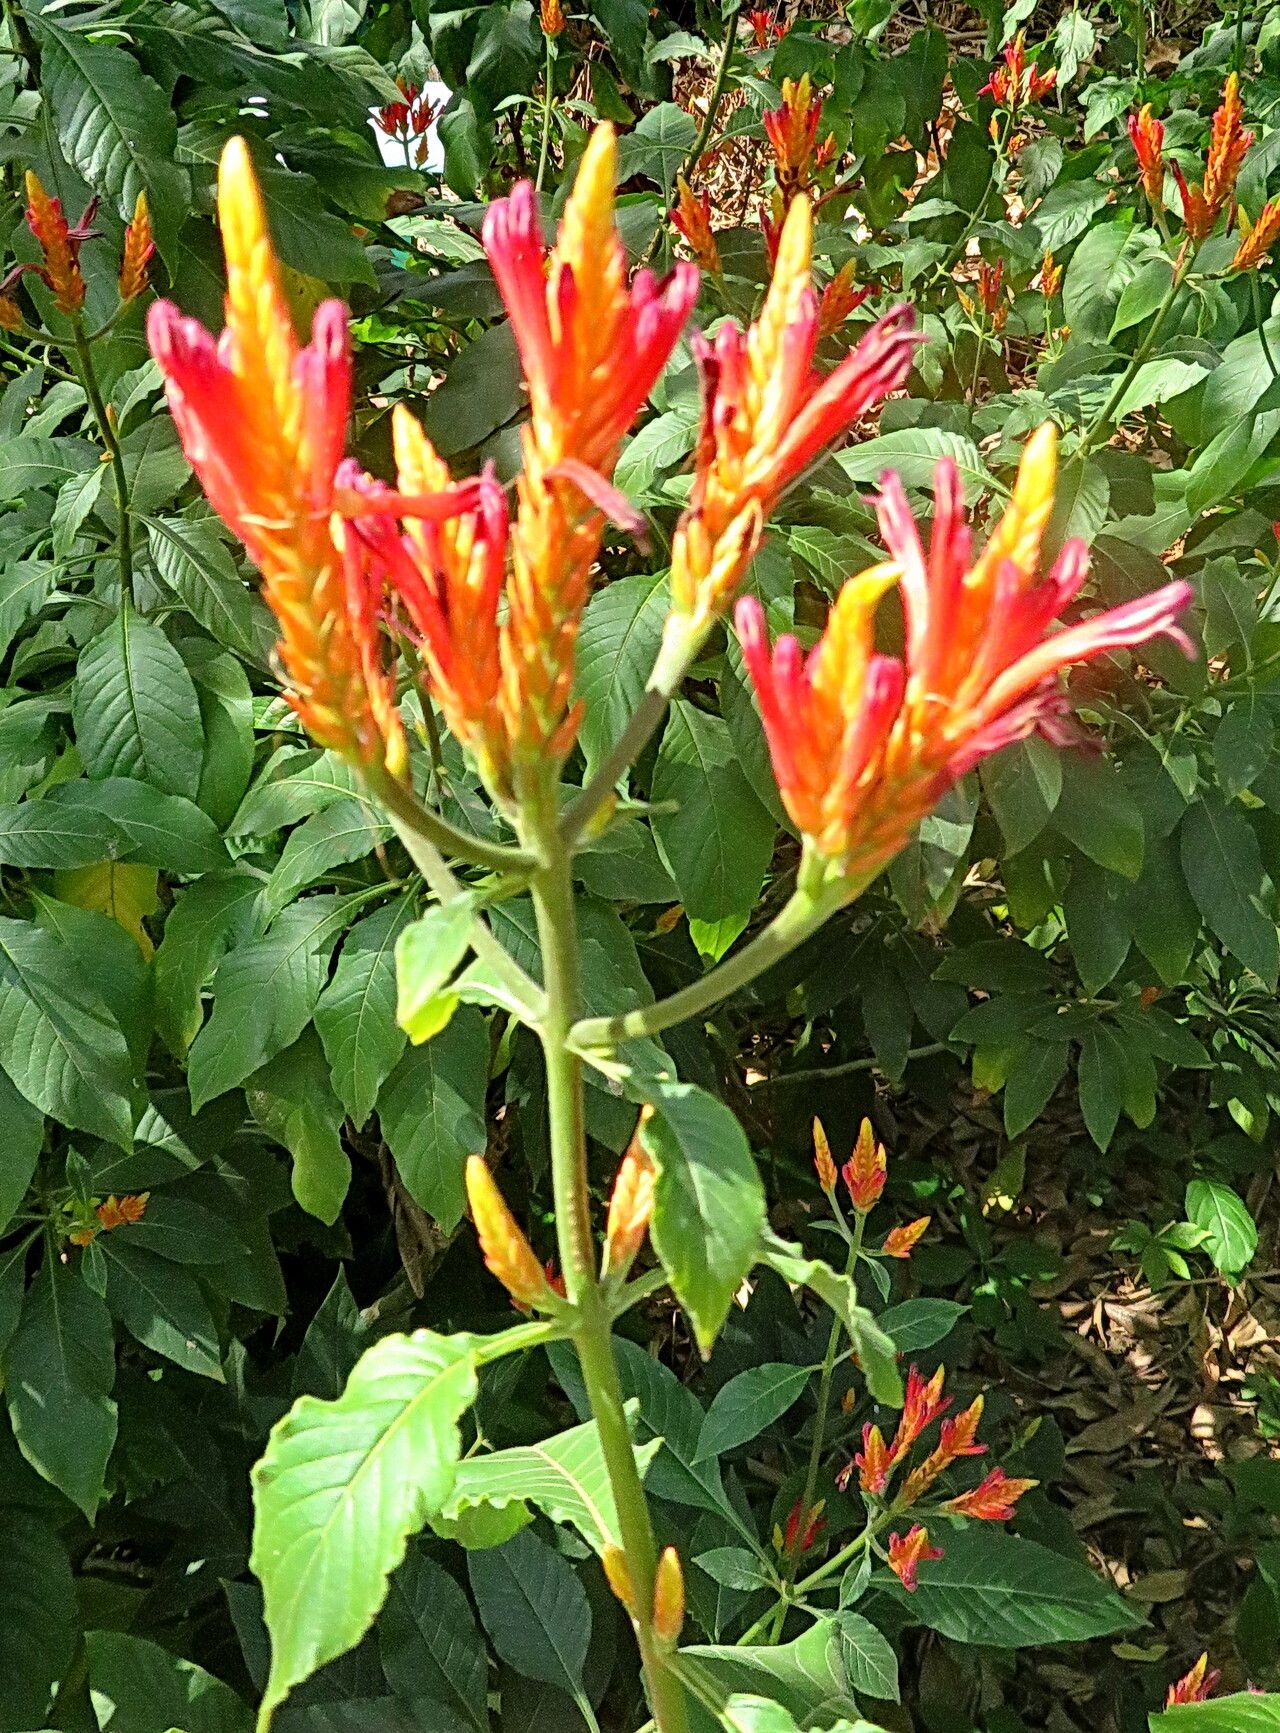
Hello, fellow plant enthusiasts! Today, we’re diving into the wonderful world of propagating Aphelandra longiflora, often called the Zebra Plant. If you love those striking, striped leaves and unique white blooms, you’re in for a treat. Creating new little Zebra Plants from your existing beauty is incredibly rewarding, and while it has a slight dramatic flair, it’s definitely achievable with a little know-how. Don’t be intimidated; think of me as your garden buddy, sharing what I’ve learned over two decades of getting my hands dirty.
The Best Time to Start
When you’re looking to multiply your Aphelandra longiflora, the spring is your absolute best friend. Think of it as the plant’s big awakening after a winter’s nap. This is when it’s bursting with energy and readily produces new growth perfect for taking cuttings. You can also have some success in early summer, but spring usually gives you the biggest bang for your buck. You’re looking for actively growing, non-woody stems – the kind that bend a bit when you gently tug them, rather than snapping stiffly.
Supplies You’ll Need
Gathering your supplies beforehand makes the whole process smooth sailing. Here’s what I always have on hand:
- Sharp, clean pruning shears or a sharp knife: Crucial for clean cuts.
- A rooting hormone powder or gel: This is a real game-changer for encouraging strong root development.
- A well-draining potting mix: I like a 50/50 blend of good quality potting soil and perlite or coarse sand. A mix specifically for aroids is also a great option.
- Small pots or propagation trays: Clean ones are a must!
- A clear plastic bag or a propagation dome: To create a humid microclimate.
- Water: For misting and initial setup if water propagating.
- Optional: A heating mat can provide gentle warmth for faster rooting.
Propagation Methods
Now for the fun part – making new plants! Aphelandra longiflora can be propagated primarily through stem cuttings.
Stem Cuttings
This is my go-to method for Aphelandras.
- Take Your Cuttings: Look for healthy stems that are about 4-6 inches long. Using your sharp, clean shears, make a clean cut just below a leaf node (that little bump where a leaf grows from the stem). You want at least two to three leaf nodes on each cutting.
- Prepare the Cuttings: Gently remove the lower leaves, leaving just one or two at the very top. This prevents them from rotting in the soil and encourages the plant to focus its energy on root production.
- Apply Rooting Hormone: Dip the cut end of each stem into your rooting hormone powder or gel. Tap off any excess. This step is like giving your cutting a little boost of encouragement!
- Plant the Cuttings: Fill your small pots or trays with your prepared well-draining potting mix. Make a small hole with your finger or a pencil, and gently insert the cutting, ensuring the nodes where you removed the leaves are buried.
- Water and Cover: Water the soil gently until it’s evenly moist, but not soggy. Now, pop a clear plastic bag over the pot, or place it under a propagation dome. This creates a humid environment that’s essential for preventing the cuttings from drying out before they can form roots. You can also secure the bag with a rubber band around the pot.
- Placement: Place your pots in a bright spot, but out of direct sunlight. Too much sun can scorch the new cuttings.
Water Propagation (Use with Caution)
While some plants thrive in water, I find Aphelandra longiflora can be a bit fussier this way. If you try it:
- Prepare cuttings as described above, but do not use rooting hormone.
- Place the cuttings in a clean glass or jar with room temperature water.
- Crucially, ensure that absolutely no leaves are submerged in the water. They will rot very quickly. You might need to gently bend the remaining leaves upwards to keep them dry.
- Change the water every few days to keep it fresh.
- Once you see a good network of roots (an inch or two long), it’s time to carefully transplant them into your well-draining potting mix. Be gentle; water roots are fragile.
The “Secret Sauce” (Pro Tips)
After years of this, I’ve picked up a few tricks that really make a difference.
- Bottom Heat is Your Friend: Aphelandra longiflora loves a warm environment to root. Placing your pots on a gentle heating mat can significantly speed up root development and increase your success rate, especially in cooler conditions.
- Don’t Rush the Roots: When you’re tempted to check for roots, resist the urge to pull the cutting out! Instead, give it a very gentle tug. If you feel resistance, it’s a good sign roots are forming. Patience is key here.
- Humidity is Everything: That plastic bag or dome isn’t just for show. It’s creating that vital, muggy environment. If you see a lot of condensation, gently open the bag or dome for an hour or so each day to allow for some air exchange and prevent fungal issues.
Aftercare & Troubleshooting
Once your cuttings have developed a decent root system – usually after 4-8 weeks, depending on conditions – it’s time to start treating them like a young plant.
- Gradual Acclimation: Before removing the plastic, gradually introduce your new plant to drier air. Start by opening the bag a bit more each day for a week. Then, remove the bag entirely.
- Light Watering: Continue to water when the top inch of soil feels dry. Avoid overwatering, which is the number one killer of new propagations.
- Bright, Indirect Light: Find a spot with bright, filtered light.
- Common Issues: The most frequent problem is rot, which usually stems from too much water or poor drainage. If a cutting turns mushy or black, sadly, it’s likely a goner. Prevent this by always using that well-draining mix and letting the soil dry out slightly between waterings. You might also see the leaves of your cutting start to yellow and drop. This can happen if it’s too dry, or if it’s just shedding older leaves as it redirects energy to root growth. Keep an eye on the stem itself – if it’s firm and green, there’s still hope!
Keep Growing!
Propagating Aphelandra longiflora is such a satisfying process. It’s a wonderful way to share your love of plants with friends or simply to fill your home with more of those gorgeous Zebra Plants. Don’t get discouraged if your first attempt isn’t perfect; every gardener learns through trial and error. Just enjoy the process, be patient, and celebrate every little root you coax into existence. Happy propagating!
Resource: