Welcome a Parade of Blooms: Propagating Kalanchoe manginii with Ease!
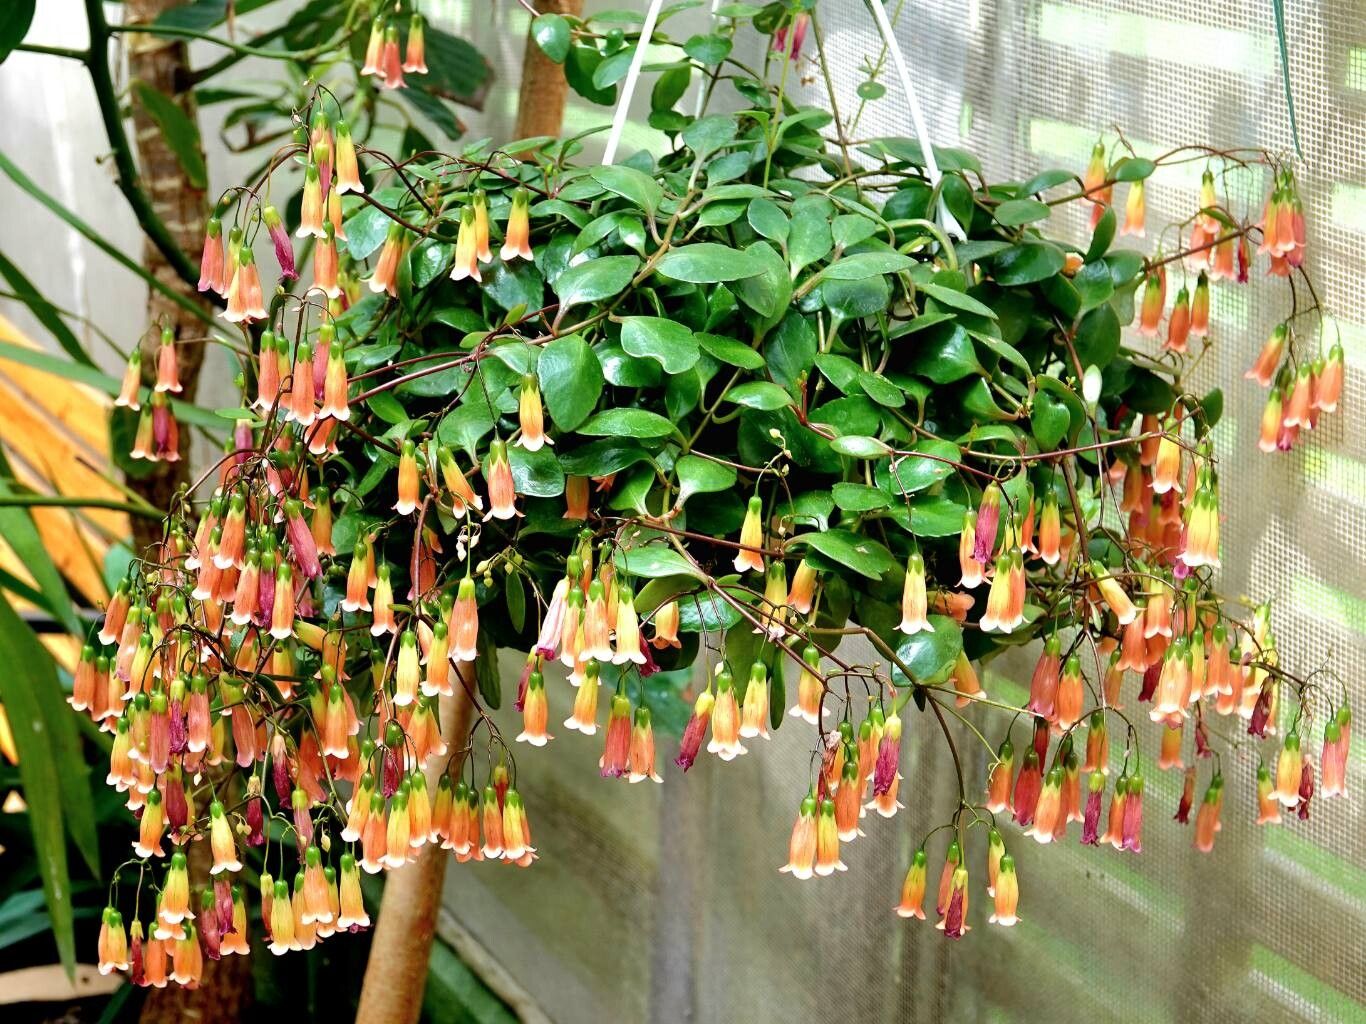
Oh, Kalanchoe manginii! Who can resist those charming, bell-shaped flowers that cascade down in vibrant shades of red, pink, and orange? They truly are a showstopper, whether gracing a sunny windowsill or trailing from a hanging basket. And the wonderful thing is, these beauties are surprisingly generous! Propagating them is a deeply rewarding experience, like nurturing a little piece of your existing plant into its own full-blown glory. The good news for newcomers? You’ll be happy to hear that Kalanchoe manginii is quite forgiving, making it an excellent candidate for your first propagation adventure.
When to Get Your Hands Dirty
The sweet spot for propagating Kalanchoe manginii is generally during its active growing season. This typically falls in the late spring or early summer. You’ll know it’s a good time when your plant is actively putting out new growth – those fresh, tender stems are exactly what we’re looking for. Avoid propagating when the plant is stressed, perhaps from a harsh winter or a dry spell.
Gearing Up for Success: Your Propagation Toolkit
Gathering the right supplies makes all the difference. Here’s what you’ll want to have on hand:
- Sharp Pruning Shears or a Small Knife: Cleanliness is key! Sterilize them with rubbing alcohol before you start to prevent introducing any nasties.
- Well-Draining Potting Mix: A succulent or cactus mix is perfect. You can also make your own by combining equal parts potting soil, perlite, and coarse sand.
- Small Pots or Propagation Trays: Yogurt cups with drainage holes poked in them work in a pinch!
- Rooting Hormone (Optional but Recommended): This little helper can speed up root development and increase your success rate. Look for a powder or gel form.
- Watering Can or Spray Bottle: For gentle watering.
- Labels and a Pen: Trust me, you’ll thank yourself later for keeping track of what’s what!
Bringing New Life to Your Kalanchoe: The Best Methods
Kalanchoe manginii is a champion of propagation, and thankfully, it’s pretty straightforward. We’ll focus on the most reliable methods.
Stem Cuttings: The Classic Approach
This is my go-to method for Kalanchoe manginii.
- Select Your Stems: Look for healthy, non-flowering stems that are at least 3-4 inches long. Ideally, choose stems that have at least two sets of leaves.
- Make the Cut: Using your clean shears or knife, make a clean cut just below a leaf node (where a leaf attaches to the stem). This is where new roots will emerge.
- Prepare the Cutting: Gently remove the lower leaves from the cutting, leaving only the top two or three leaves. This prevents them from rotting in the soil.
- Dip in Rooting Hormone (If Using): If you’re using rooting hormone, lightly dust the cut end of the stem. Tap off any excess.
- Plant Your Cuttings: Fill your small pots with your well-draining potting mix. Make a small hole with your finger or a pencil, and gently insert the cut end of the Kalanchoe stem. Firm the soil around it.
- Water Gently: Give the newly potted cuttings a light watering. You want the soil to be moist but not soggy.
Water Propagation: A Visual Treat
Watching roots emerge in water is always a thrill!
- Follow Steps 1-3 above for selecting and preparing your stem cuttings.
- Place in Water: Fill a small jar or glass with water. Place the cuttings so that the leaf nodes are submerged in the water, but the leaves themselves are not touching the water’s surface.
- Change the Water: Change the water every few days to keep it fresh and prevent bacterial growth.
The “Secret Sauce”: My Insider Tips
Here are a few things I’ve learned over the years that can really give your propagation efforts a boost.
- Let Them Callus Over: Before planting stem cuttings in soil, I often let the cut end dry and callus over for a day or two in a bright, indirect spot. This helps prevent rot when they go into the soil.
- Embrace the Warmth: Kalanchoe roots love a bit of warmth to get going. If you have a heat mat designed for seedlings, placing your pots on top of it can significantly speed up root development. It’s like a cozy little spa treatment for your cuttings!
- Don’t Overcrowd: When planting multiple stem cuttings in one pot, give them a bit of breathing room. Overcrowding can lead to poor air circulation and increase the risk of disease.
Nurturing Your New Sprouts & What to Watch For
Once your cuttings have been in their pots for a few weeks (or you’ve seen roots emerge in water), it’s time to check for rooting. Gently tug on a cutting; if there’s resistance, you’ve got roots!
- Once Rooted: If you propagated in water, carefully transplant your rooted cuttings into small pots with your well-draining succulent mix. If you propagated directly in soil, continue to water sparingly, allowing the soil to dry out slightly between waterings.
- Light and Water: Place your new Kalanchoe babies in a bright, indirect light. Water when the top inch of soil is dry to the touch. They’re still delicate, so don’t get too enthusiastic with the watering can!
- Troubleshooting Rot: The most common issue is rot. If you notice your cuttings becoming mushy or blackening at the base, it’s usually a sign of too much moisture.
- For Soil Cuttings: If rot sets in, you might need to discard the affected cutting. Ensure your soil is draining well and that you’re not overwatering.
- For Water Cuttings: If the stem starts to look black and slimy, unfortunately, it’s likely too far gone. Try taking a fresh cutting and adjusting your water-changing habit.
Happy Propagating!
Don’t be discouraged if not every single cutting takes. Gardening is a journey of learning and, most importantly, patience. Celebrate the successes, learn from the setbacks, and enjoy the process of watching these beautiful Kalanchoe manginii plants multiply. Soon, you’ll have a delightful collection spreading their vibrant cheer. Happy planting!
Resource: