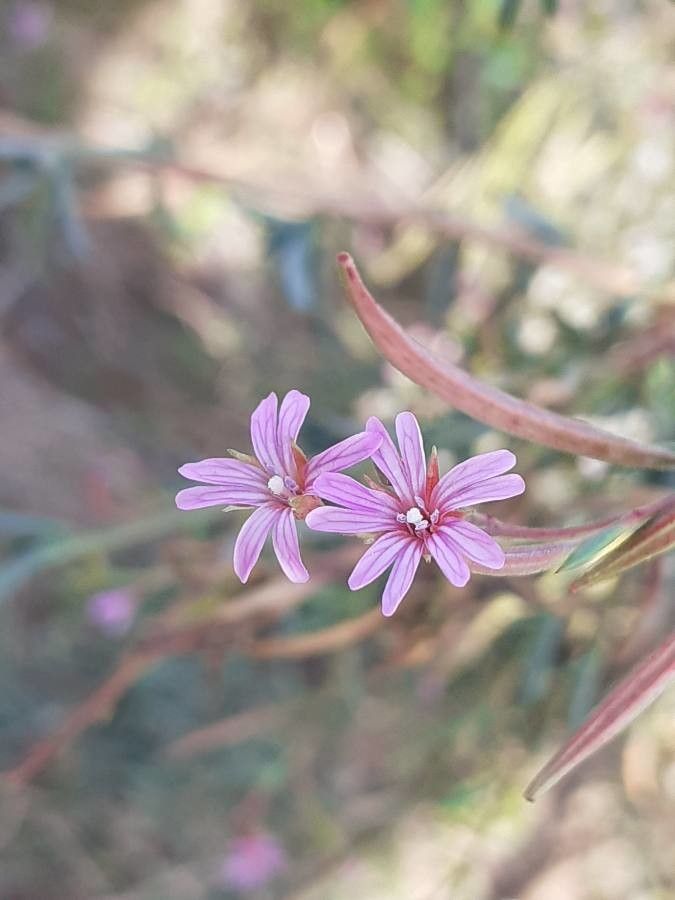
Hello, fellow garden enthusiasts! Today, we’re diving into the wonderful world of propagating Epilobium brachycarpum, commonly known as California fuchsia. If you’re captivated by its vibrant, tubular orange-red flowers that attract hummingbirds from afar, you’re in for a treat. Sharing and expanding your garden with these beauties is incredibly rewarding, and I’m here to guide you through it.
So, is California fuchsia a beginner-friendly plant to propagate?
Generally, yes! Epilobium brachycarpum is quite forgiving. While some plants can be finicky about taking, this one often gives new gardeners a good chance at success, which is always a lovely confidence booster.
The Best Time to Start
The sweet spot for propagating California fuchsia is late spring to early summer, just as the plant is really hitting its stride in growth. You’re looking for fresh, new growth that’s not yet woody. This is when the stems are most vigorous and have the best chance of rooting. You can also have some luck with cuttings taken in early fall, but spring is usually my go-to for the most reliable results.
Supplies You’ll Need
Here’s what you’ll want to have on hand before you get started:
- Sharp pruning shears or a clean knife: For taking clean cuts.
- Small pots or seed trays: Cleanliness is key!
- A well-draining potting mix: I like a mix of equal parts peat moss, perlite, and compost. A good quality seed-starting mix works well too.
- Rooting hormone (optional but recommended): A powder or gel can give your cuttings a little extra encouragement.
- A plastic bag or a propagation dome: To maintain humidity.
- Water: For misting.
- Labels: To keep track of what you’ve propagated!
Propagation Methods
California fuchsia is happily propagated through stem cuttings. It’s straightforward and often yields great results.
- Take the Cuttings: On a mild morning, select healthy, vibrant stems on your parent plant. Look for stems that are about 4-6 inches long and still have some flexibility, not stiff and woody. Using your clean shears, make a clean cut just below a leaf node. A leaf node is that little bump on the stem where leaves emerge. This is where the magic happens in terms of root formation.
- Prepare the Cuttings: Gently remove the leaves from the bottom half of each cutting. You want to expose the nodes where roots will form, and fewer leaves mean less water loss through transpiration. You can leave a couple of leaves at the very top.
- Apply Rooting Hormone (Optional): If you’re using rooting hormone, dip the cut end of each stem into the powder or gel. Tap off any excess.
- Plant the Cuttings: Fill your pots or trays with your prepared potting mix and moisten it thoroughly. Make a small hole in the soil with your finger or a pencil. Insert the cut end of each cutting into the hole, making sure at least one leaf node is buried beneath the soil surface. Gently firm the soil around the stem.
- Create a Humid Environment: Water the soil gently. Then, cover the pots with a clear plastic bag or a propagation dome. This creates a mini-greenhouse effect, keeping humidity high, which is crucial for cuttings to root before they can take up water efficiently. Make sure the plastic bag doesn’t touch the leaves too much.
The “Secret Sauce” (Pro Tips)
Here are a couple of things I’ve learned over the years that often make a big difference:
- Bottom Heat is Your Friend: If you have a seedling heat mat, placing your pots on it can significantly speed up rooting. California fuchsia loves a bit of warmth to encourage those roots to get going.
- Don’t Let Them Drown: While humidity is vital, waterlogged soil is the enemy. Make sure your pots have drainage holes, and check the moisture levels regularly. The soil should be consistently moist but not soggy.
Aftercare & Troubleshooting
Once your cuttings are planted, find a spot that receives bright, indirect light. Avoid direct, harsh sun while they’re trying to establish. Keep that humidity up!
You’ll know your cuttings have rooted when you see new leaf growth or feel a gentle tug when you very lightly pull on the stem. This usually takes anywhere from 3 to 6 weeks, sometimes longer depending on conditions.
The most common problem you’ll encounter is rot. If you see stems turning black and mushy, it’s a sign of too much moisture and not enough air circulation. Unfortunately, rotten cuttings are usually a lost cause. If you notice the leaves wilting and yellowing without any signs of new growth, it might mean they aren’t getting enough light or humidity, or they might have simply failed to root. Don’t be discouraged; just try again!
Once roots have formed and you see healthy new growth, you can gradually acclimate them to less humid conditions by opening the bag or dome a little each day. Eventually, you can remove it altogether. You can then transplant your new California fuchsias into their own individual pots, and once they’re a good size, plant them out into your garden.
A Little Patience Goes a Long Way
Propagating plants is a journey, and sometimes it takes a few tries to get it just right. Don’t get discouraged if not every cutting takes. Celebrate the successes, learn from the challenges, and most importantly, enjoy the process of creating more of these stunning California fuchsias for your garden! Happy propagating!
Resource:
https://identify.plantnet.org/k-world-flora/species/Epilobium%20brachycarpum%20C.Presl/data