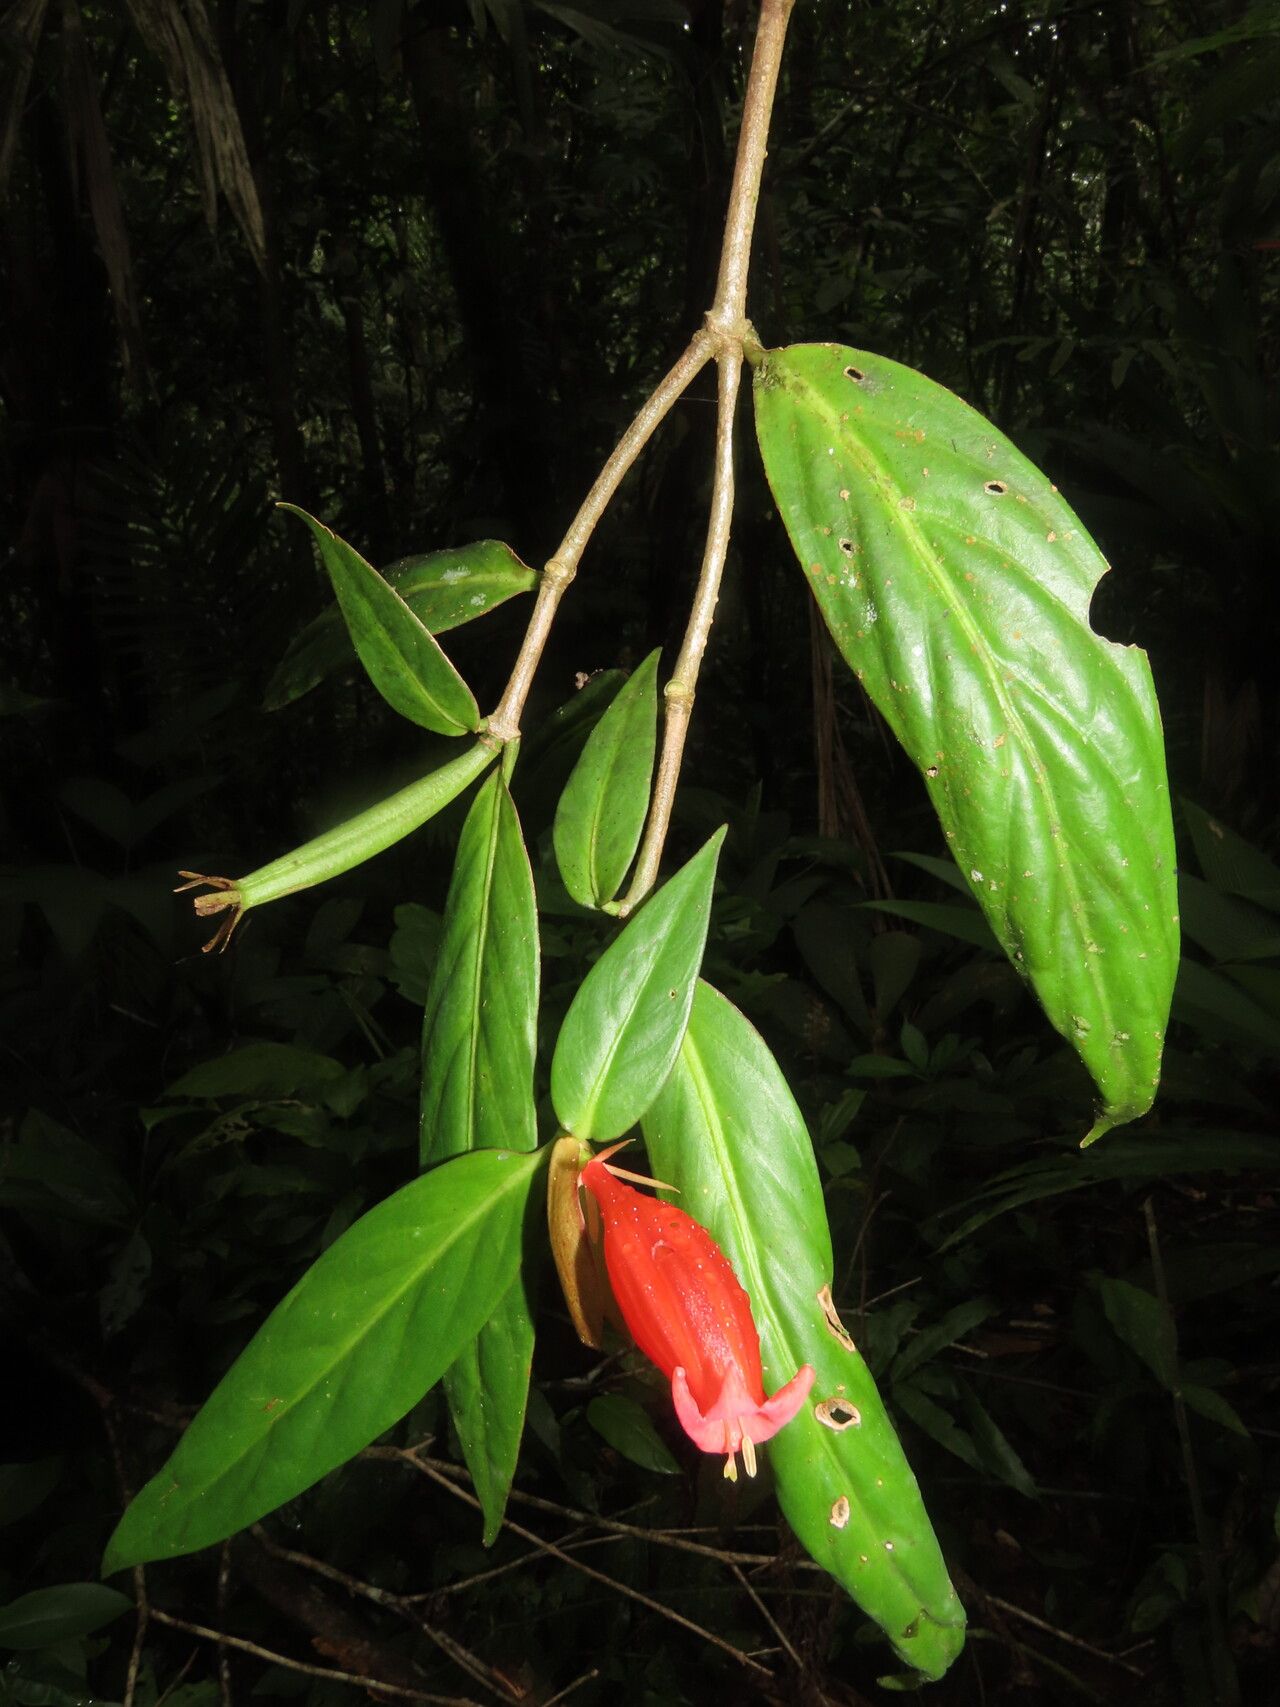
Hello fellow garden lovers! Today, we’re diving into the wonderful world of multiplying one of my personal favorites: Hillia triflora. If you’re drawn to its charming, delicate blooms and lovely scent, you’re in for a treat. Propagating this gem is a truly rewarding experience, and while it might have a slight learning curve, I’m here to guide you every step of the way. It’s not overly difficult, but you do need a bit of patience and a keen eye.
The Best Time to Start
For Hillia triflora, the sweet spot for propagation is during its active growing season, generally late spring through early summer. You want to work with healthy, vigorous new growth. Avoid trying to propagate from woody or dormant stems; you’ll have much better luck with supple, green shoots.
Supplies You’ll Need
Gathering your tools before you begin will make the whole process smoother. Here’s what you’ll want on hand:
- Sharp pruning shears or a clean hobby knife
- Rooting hormone (a powder or gel works well)
- A well-draining potting mix. I personally like a blend of equal parts perlite, peat moss, and coir.
- Small propagation pots or trays with drainage holes
- A clear plastic bag or a propagation dome
- Spritzer bottle filled with water
- If you have it, a heat mat can be a real game-changer.
- Labels for your new plant babies!
Propagation Methods
The most reliable way to propagate Hillia triflora is through stem cuttings. It’s fairly straightforward, and I’ve had great success with this method.
- Take Your Cuttings: Select healthy, semi-hardwood stems that are at least 4-6 inches long. Using your clean shears, make a cut just below a leaf node (where a leaf attaches to the stem). Remove the leaves from the bottom half of the cutting. You can leave a couple of leaves at the top to help with photosynthesis.
- Apply Rooting Hormone: Dip the cut end of the stem into your rooting hormone, ensuring it’s coated well. Tap off any excess.
- Plant Your Cuttings: Fill your propagation pots with your well-draining mix. Make a small hole in the center of the soil with your finger or a pencil. Gently insert the treated cutting into the hole, ensuring the leaf nodes are below the soil surface.
- Firm the Soil: Lightly firm the soil around the base of the cutting to provide support and good contact.
- Water and Cover: Water the soil gently until it’s evenly moist but not soggy. Then, cover the pots with a clear plastic bag or place them under a propagation dome. This creates a humid environment, which is crucial for root development.
The “Secret Sauce” (Pro Tips)
Here are a couple of things I’ve learned over the years that can really boost your success:
- Don’t let the leaves touch the water: If you decide to try water propagation (though I find cuttings in soil more reliable for Hillia triflora), ensure the leaves are above the waterline. Any submerged foliage will rot and can take the whole cutting down with it.
- Bottom heat is your best friend: Hillia triflora loves a bit of warmth from below. Placing your pots on a heat mat set to a consistent temperature (around 70-75°F or 21-24°C) will significantly speed up root formation. You can often see the difference this makes!
- A gentle misting: Instead of heavy watering, I prefer to mist the cuttings and the inside of the plastic bag occasionally. This keeps the humidity high without waterlogging the soil.
Aftercare & Troubleshooting
Once you see new growth emerging from your cuttings – usually after 4-8 weeks, depending on conditions – it’s a good sign that roots are forming. At this point, you can gradually acclimate your new plants to lower humidity by opening the plastic bag or dome for longer periods each day. Start watering as you would a small seedling.
The most common issue you might encounter is rot. This is usually a result of overwatering and poor drainage. If a cutting turns black and mushy, it’s likely lost. The best prevention is using that well-draining mix and ensuring your pots have good drainage holes. If you see signs of fungus gnats, it’s also often a sign of soil that’s staying too wet.
A Encouraging Closing
Propagating plants is a journey, and each cutting is a little experiment. Don’t be discouraged if not every single one takes off. Be patient, observe your cuttings, and celebrate the successes! There’s something truly special about nurturing a tiny piece of a plant into a thriving new specimen. Happy propagating!
Resource:
https://identify.plantnet.org/k-world-flora/species/Hillia%20triflora%20(Oerst.)%20C.M.Taylor/data