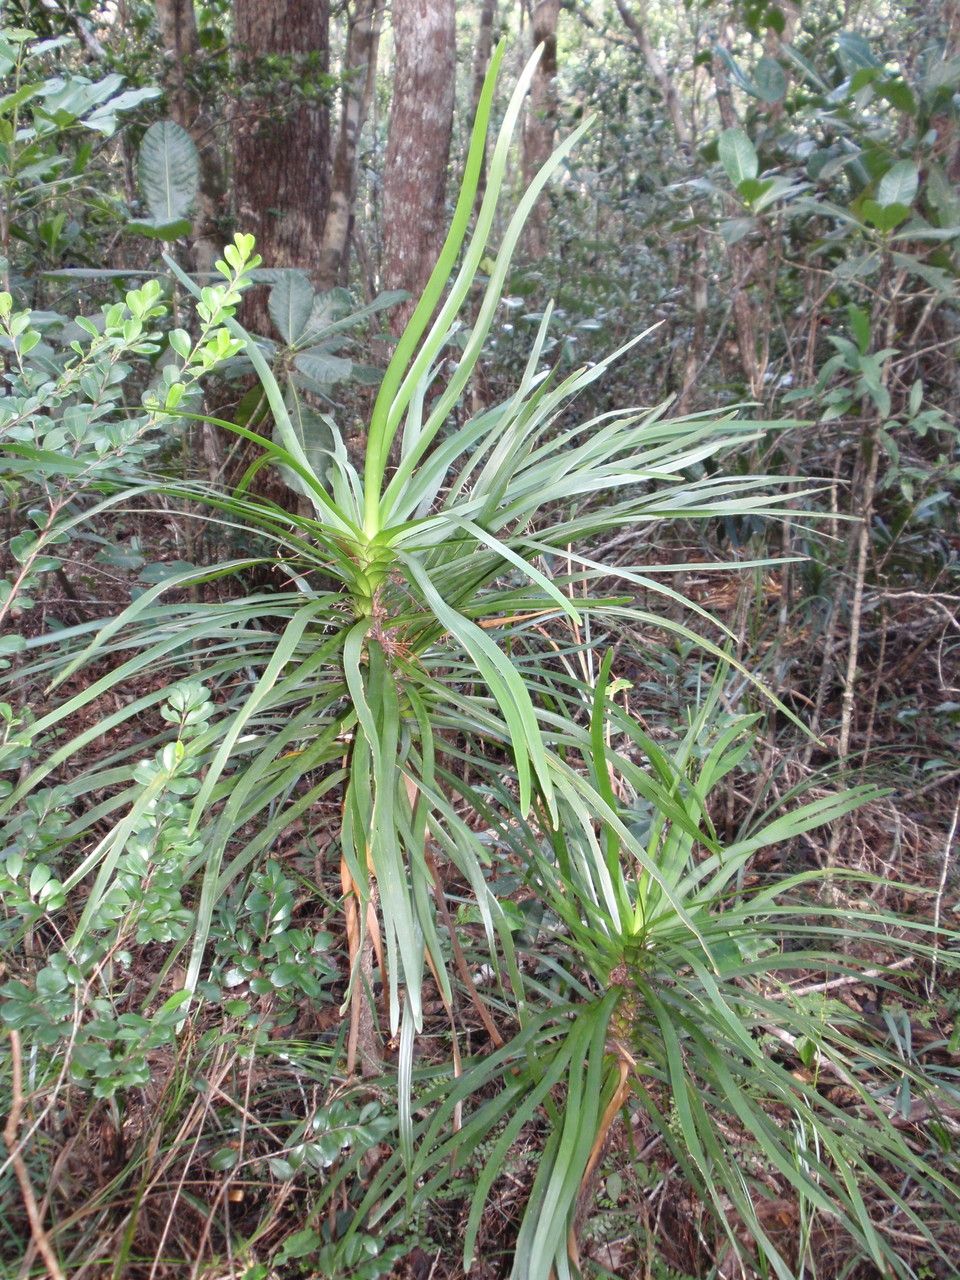
Oh, Lomandra insularis! If you’ve ever admired those graceful, arching leaves that sway so beautifully in the breeze, you’re not alone. This Australian native is just a delight to have in the garden. It’s tough, drought-tolerant once established, and brings such a lovely, natural texture. And the best part? Propagating it is surprisingly rewarding, and I’m happy to report, it’s a fantastic option for even those of you just dipping your toes into the wonderful world of plant propagation. You can totally do this!
The Best Time to Start
For Lomandra insularis, spring is really your golden ticket. As the weather starts to warm up and your plants are putting on new growth, they’re just bursting with energy. This makes them much more receptive to taking cuttings or dividing. Aim for a time when the days are getting longer and you’ve had a few weeks of consistent, mild temperatures.
Supplies You’ll Need
Here are the bits and bobs you’ll want to gather before you get started:
- Sharp, clean pruning shears or a sharp knife: Cleanliness is key to preventing disease!
- Potting mix: A good quality, well-draining potting mix is essential. I often add a bit of perlite or coarse sand to my usual mix for extra aeration.
- Small pots or trays: Whatever you have on hand will work, as long as they have drainage holes.
- Rooting hormone (optional but recommended): This little helper can significantly boost your success rate, especially with slightly trickier propagation.
- Watering can with a fine rose or spray bottle: Gentle watering is crucial.
- Labels and a permanent marker: Don’t forget to label your creations!
Propagation Methods
Lomandra insularis is most commonly and successfully propagated through division. It’s the most straightforward method and gives you the best chance of getting a good-sized plant relatively quickly.
Division Method:
- Dig it up: In spring, carefully dig up your established Lomandra plant. You’ll want to get as much of the root ball as possible.
- Clean the roots: Gently brush away as much of the soil as you can from the roots. This will help you see where the plant naturally wants to divide.
- Divide the clumps: Look for natural divisions in the plant. You’ll see where new shoots are emerging from the main root ball. You can use your hands to gently pull the plant apart, or if it’s a bit stubborn, use your clean pruning shears or knife to cut through the root ball and separate the sections. Aim for sections that have a good amount of roots and at least one healthy shoot.
- Pot them up: Plant each divided section into its own pot filled with your well-draining potting mix. Make sure the top of the root ball is level with the soil surface.
- Water thoroughly: Give them a good, gentle soak to settle the soil around the roots.
While division is the star here, if you manage to get a piece with a small basal shoot and root attached, you could try treating it like a cutting in a pot, but I find division far more reliable for Lomandra.
The “Secret Sauce” (Pro Tips)
- Don’t over-pot: Resist the urge to put your divisions into huge pots right away. Sometimes, starting them in slightly smaller containers can encourage better root development before they’re ready for a larger pot or the ground.
- Think about airflow: When your divisions are freshly potted, don’t pack them too tightly together if you’re using a tray. Good air circulation around the base of the leaves helps prevent any moisture from lingering and causing rot.
- A touch of warmth helps: If you have a greenhouse or a sunny windowsill that gets a bit of gentle warmth, placing your newly potted divisions there can really speed things up. Bottom heat isn’t strictly necessary, but it can give them a lovely boost.
Aftercare & Troubleshooting
Once your divided Lomandras are potted, place them in a bright, but not scorching hot, location. Water them regularly, ensuring the soil stays consistently moist but never waterlogged. You’ll know they’re happy when you see new leaf growth emerging.
The most common issue you might encounter is rot. If a division starts to look yellow and mushy at the base, or if it just refuses to perk up after a few weeks, it’s likely not going to make it. This often happens if the soil stays too wet or if the division didn’t have enough healthy root material to begin with. Don’t be disheartened if a few don’t take – that’s just part of the gardening adventure!
A Encouraging Closing
So there you have it! Propagating Lomandra insularis through division is a wonderfully satisfying way to multiply your plant collection. Be patient with your new babies, give them a bit of love and care, and you’ll soon be enjoying more of that beautiful, grassy texture in your garden. Happy planting!
Resource:
https://identify.plantnet.org/k-world-flora/species/Lomandra%20insularis%20Schltr./data