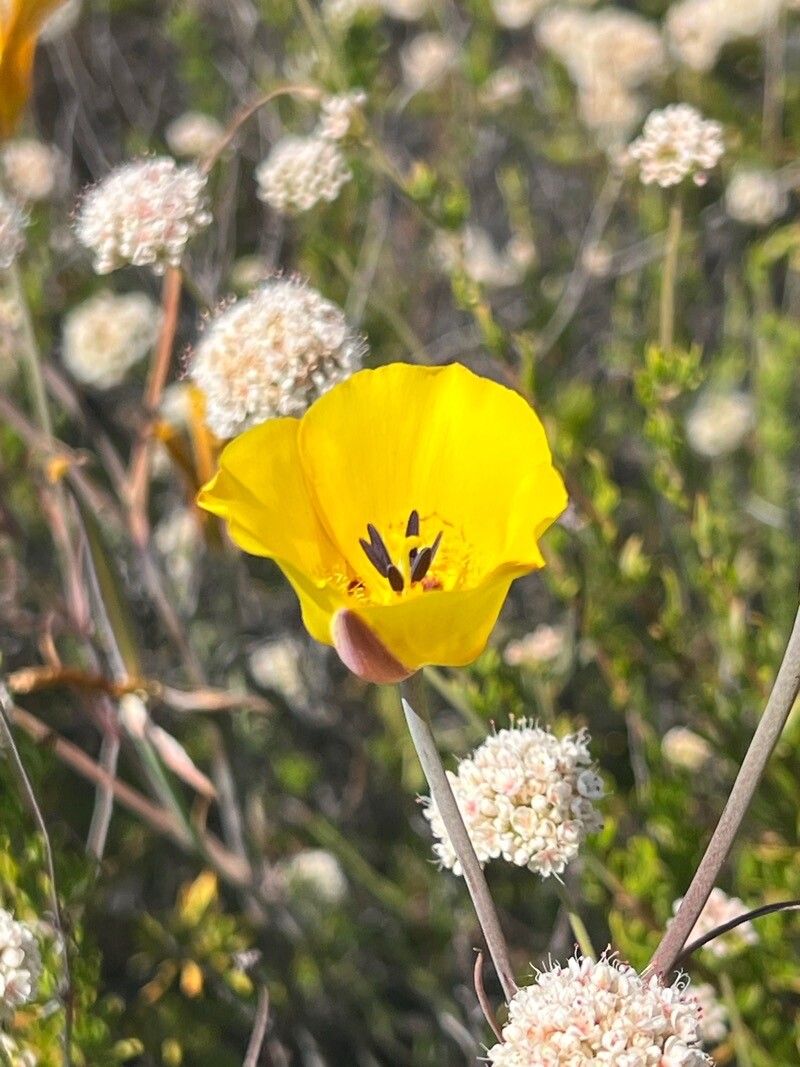
Oh, Calochortus clavatus! Isn’t she a beauty? With those delicate, bell-shaped flowers, often a lovely shade of yellow or cream with subtle markings, they really bring a touch of wild elegance to the garden. They remind me of sunshine captured in a bloom. And the best part? Getting more of them from the ones you already cherish is incredibly satisfying. Now, I’ll be honest, Calochortus clavatus can be a bit of a diva to propagate, particularly for absolute beginners. She likes specific conditions. But with a little patience and attention to detail, you can absolutely succeed.
The Best Time to Start
For Calochortus clavatus, your best bet is to start in late summer or early autumn. This is when the parent plants are typically going dormant or have recently finished flowering. You want to work with them when they’re resting, not actively putting out a lot of new, tender growth. That dormant period is crucial for them to settle in and prepare for their next growing season.
Supplies You’ll Need
To give your Calochortus clavatus cuttings the best chance, having the right tools makes all the difference:
- Well-draining potting mix: Aim for a mix that’s airy. I like to use about a 50/50 blend of seed starting mix and perlite or coarse sand. Avoid heavy, moisture-retentive soils.
- Small pots or trays: Yogurt cups with drainage holes poked in the bottom work wonders!
- Sharp, clean pruning shears or a knife: Sterilize them between cuts to prevent disease.
- Rooting hormone (optional but helpful): A powdered or liquid rooting hormone can give your cuttings a little boost.
- Watering can with a fine rose: Gentle watering is key.
- Mist bottle: For keeping humidity levels up.
- Labels: Don’t forget to label your efforts!
Propagation Methods
I find the division of bulbs to be the most reliable method for Calochortus clavatus. While stem cuttings are possible for some Calochortus species, clavatus is more challenging to get to root from those.
Division of Bulbs:
- Gently excavate: In late summer or early autumn, when the soil is dry, carefully dig around the base of your Calochortus clavatus plant. You want to expose the root ball and any offset bulbs.
- Identify offsets: Look for smaller bulbs that have formed around the base of the main bulb. These are your potential new plants!
- Carefully separate: Using your fingers or a small, clean knife, gently separate the offset bulbs from the parent bulb. Try to keep as many of the original roots attached to the offsets as possible. If there are no obvious offsets, sometimes you can find tiny bulblets closer to the main bulb.
- Let them air dry (briefly): Once separated, let the bulbs sit out for a few hours in a dry, shaded spot to allow any cut surfaces to callous over slightly. This helps prevent rot.
- Replant: Plant your separated bulbs in your prepared well-draining mix. Plant them at the same depth they were growing, or just slightly deeper. Ensure they have good air circulation.
The “Secret Sauce” (Pro Tips)
Here are a couple of things I’ve learned over the years that really make a difference:
- Don’t overwater the dormant bulbs: This is a big one! While they’re resting, they are extremely susceptible to rot. Water only when the soil feels dry to the touch, and even then, water sparingly.
- Provide gentle warmth (if possible): In cooler climates, placing your pots on a heated propagator mat set to a low temperature can encourage root development. Not too hot, just a gentle warmth from below.
Aftercare & Troubleshooting
Once your bulbs are planted, be patient. You might not see much activity for a while, and that’s okay.
Caring for New Plants:
- Watering: Water sparingly. Allow the soil to dry out completely between waterings. You’re aiming to mimic their native dry summer conditions.
- Light: Provide bright, indirect light. Once you see new growth emerging, you can gradually introduce them to more direct sun, but protect them from harsh midday heat initially.
- Fertilizing: I generally don’t fertilize Calochortus, especially when they’re young. They are adapted to lean soils and too much feeding can harm them.
Common Signs of Failure:
- Rotting bulb: This is the most common issue. It usually looks like a mushy, discolored bulb. This is almost always due to overwatering or poor drainage. If you see this, gently dig up the bulb, discard it, and check the moisture level of your soil.
- No growth: Sometimes, a bulb just doesn’t have enough energy to grow, or it needs a longer rest period. Don’t give up immediately! Keep the soil appropriately dry and give it another season.
A Encouraging Closing
Propagating Calochortus clavatus is a journey, not a race. There will be times you wonder if it’s working, and moments of pure delight when you see that first tiny shoot emerge. Gardening is all about learning, observing, and enjoying the process. So, get your hands dirty, be kind to these special bulbs, and celebrate every bit of new life. You’ve got this!
Resource:
https://identify.plantnet.org/k-world-flora/species/Calochortus%20clavatus%20S.Watson/data