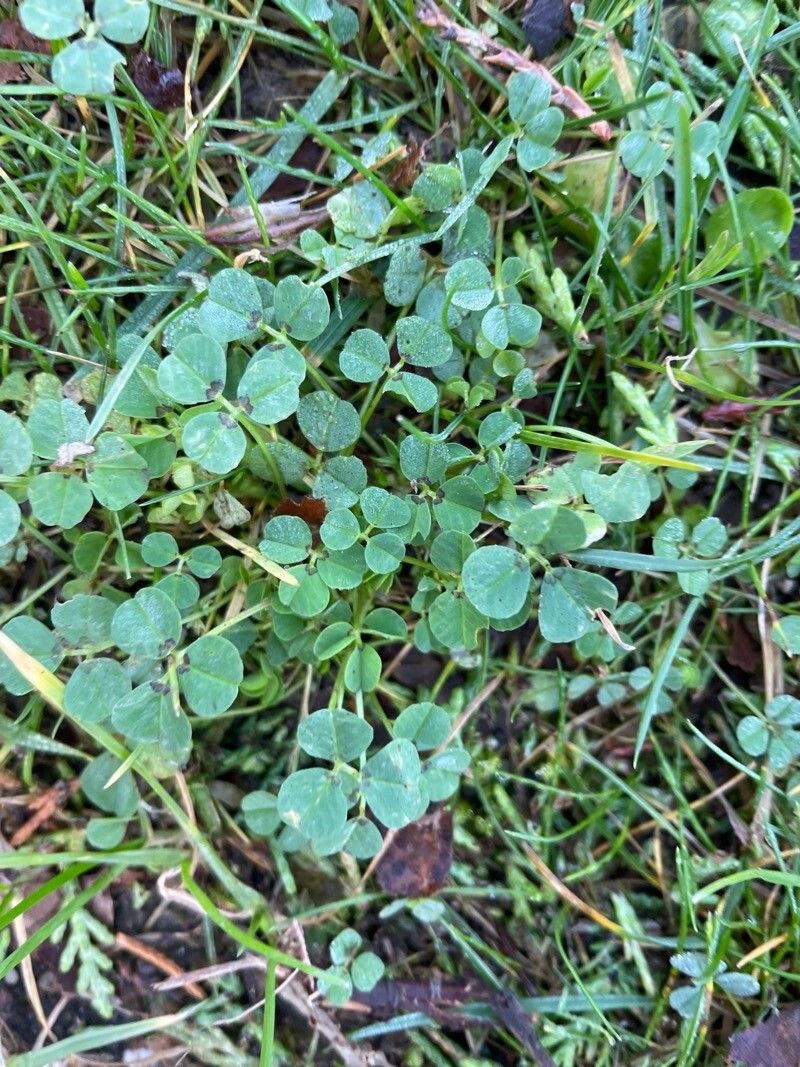
Hey there, fellow garden lovers! I’m so excited to chat with you today about a plant that’s really captured my heart over the years: Medicago hybrida. You might know it by its common name, alfalfa, though there are many hybrid varieties with gorgeous, often vibrant, flower spikes that draw in pollinators like no other. Growing them from scratch is incredibly rewarding, a little like watching a tiny miracle unfold. For beginners, I’d say propagating Medicago hybrida is moderately easy. It’s not as foolproof as a succulent, but with a little know-how, you’ll be well on your way to a garden full of these beauties.
The Best Time to Start
My personal favorite time to get my hands dirty with Medicago hybrida propagation is in late spring or early summer. That’s when the plant is in full swing, bursting with energy. The days are getting longer and warmer, providing that much-needed sunshine and heat for root development. I find I get the most robust growth and highest success rate when I start around May or June, but early July can still work wonderfully.
Supplies You’ll Need
Before we dive in, let’s gather our tools. Having everything ready makes the whole process smoother and more enjoyable.
- Sharp Pruning Shears or a Knife: For clean cuts is key to preventing disease.
- Rooting Hormone (Optional but Recommended): This gives your cuttings a real boost. Look for one specifically for herbaceous cuttings.
- Well-Draining Potting Mix: A good blend of peat moss, perlite, and a bit of compost works wonders. You can also find specific seed-starting mixes.
- Small Pots or Seed Trays: For starting your new plants. Make sure they have drainage holes.
- Plastic Bags or a Propagation Dome: To create a humid environment for your cuttings.
- Watering Can or Spray Bottle: For gentle watering.
- Labels: So you don’t forget what you’ve planted where!
Propagation Methods
Medicago hybrida can be propagated through a couple of common methods, but I’ve found the most success with stem cuttings.
Stem Cuttings
This is my go-to method for Medicago hybrida.
- Take Your Cuttings: In late spring or early summer, select healthy, non-flowering stems from a mature plant. Look for stems that are about 4-6 inches long. Using your sharp pruning shears or knife, make a clean cut just below a leaf node (where a leaf joins the stem). Remove the lower leaves from the cutting, leaving just a few at the top. This prevents them from rotting in the soil.
- Apply Rooting Hormone (If Using): Dip the cut end of the stem into your rooting hormone powder or gel. Tap off any excess.
- Plant Your Cuttings: Fill your small pots or seed trays with your prepared potting mix. Make a small hole with your finger or a pencil. Gently insert the cut end of the stem into the hole, ensuring the rooting hormone stays on contact with the soil. Firm the soil gently around the cutting.
- Mist and Cover: Lightly mist the soil and the cuttings. Then, cover the pots or trays with a plastic bag or propagation dome. This will trap moisture and create a mini-greenhouse effect.
The “Secret Sauce” (Pro Tips)
Here are a couple of little tricks I’ve learned over the years that can really make a difference:
- Don’t Let Leaves Touch the Soil: When you’re preparing your cuttings, make absolutely sure that no leaves are buried in the soil. This is a recipe for rot! If a leaf is too close to the cut end, trim it off entirely.
- Bottom Heat is Your Friend: If you have a heat mat designed for seedlings, use it! Medicago hybrida cuttings absolutely love a little warmth coming from below. It significantly speeds up the rooting process. Just place your pots on the mat and keep the conditions moist.
Aftercare & Troubleshooting
Once your cuttings are planted, the waiting game begins!
Keep the soil consistently moist but not waterlogged. This is where that misting spray bottle is your best friend. Check the moisture level by gently touching the soil. If it feels dry, give it a light mist.
You should start to see new growth, or feel a gentle resistance when you lightly tug on the cutting, within 3-6 weeks. That’s your cue that roots have formed!
Troubleshooting: The most common issue you’ll encounter is rot. If your cuttings turn mushy, black, or start to fall apart, it’s usually a sign of too much moisture and not enough air circulation. Make sure your pots are draining well and consider removing the plastic cover for a few hours a day if things seem overly damp. Another sign of failure is if the cutting just dries out completely – this means the humidity wasn’t high enough or the soil dried out too quickly.
A Gentle Encouragement
Propagating plants is a journey, and sometimes there are a few bumps along the way. Don’t get discouraged if a cutting doesn’t take. Every gardener has had their share of failures – I certainly have! The important thing is to keep learning, observe your plants, and enjoy the process. Soon enough, you’ll have a whole new generation of beautiful Medicago hybrida to share with the world, and that’s a truly wonderful feeling. Happy growing!
Resource:
https://identify.plantnet.org/k-world-flora/species/Medicago%20hybrida%20(Pourr.)%20Trautv./data