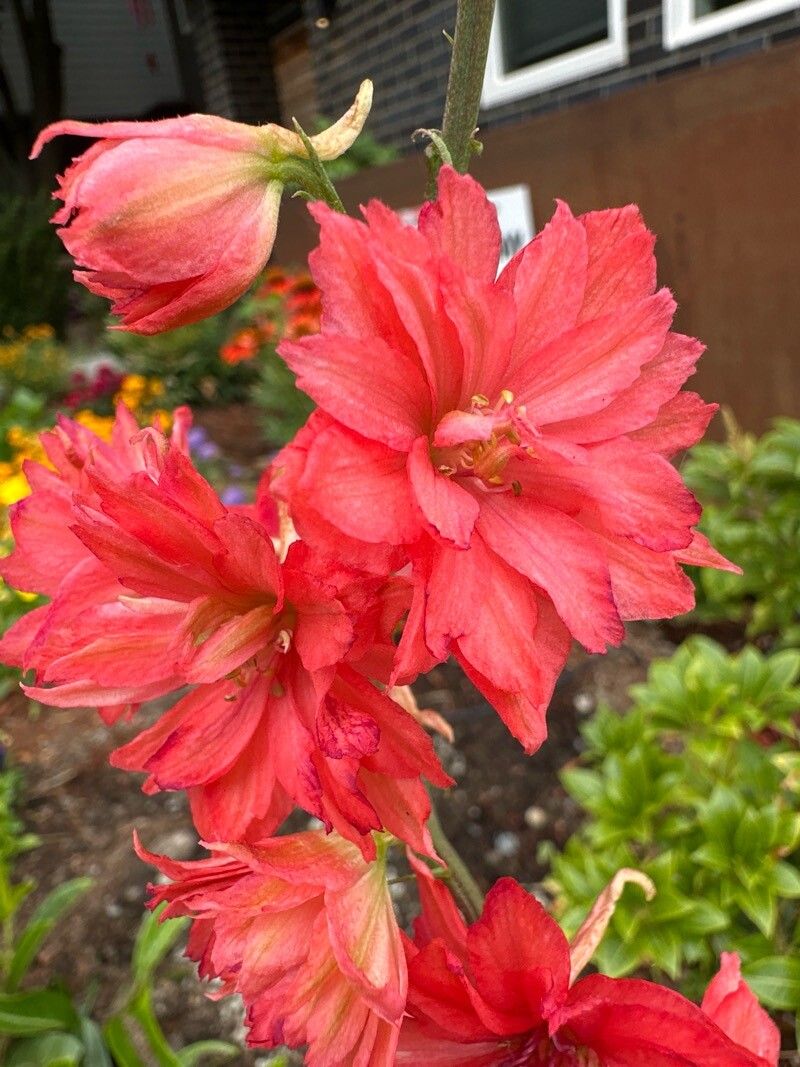
Oh, hello there! Pull up a chair and let’s chat about Sidalcea nelsoniana. If you haven’t met this beauty yet, you’re in for a treat. Also known as Nelson’s checkerbloom, it’s a woodland native that offers such lovely spikes of rosy-pink flowers. They bloom reliably through the summer, attracting all sorts of buzzing friends to the garden. And the best part? It’s not overly demanding. In fact, propagating it is quite rewarding, and I’d say it’s a moderately easy plant for beginners to try their hand at. You’ll feel a real sense of accomplishment seeing your own little checkerblooms take root.
The Best Time to Start
For Sidalcea nelsoniana, I’ve found the late spring to early summer is your sweet spot for propagation. This is when the plant is actively growing, and you can get nice, healthy cuttings or tackle divisions when the plant is vigorous. Waiting until after the initial flush of flowering is also a good time for division – the plant has proven itself and is ready to share its energy.
Supplies You’ll Need
Here’s what you’ll want to have on hand:
- Sharp pruning shears or a clean knife: For making nice, clean cuts.
- Rooting hormone (optional but recommended): A powdered or liquid form helps speed things up.
- Well-draining potting mix: I like a blend of equal parts peat moss, perlite, and compost for cuttings. For divisions, your usual garden soil with some added compost works well.
- Small pots or seed trays: Clean ones are a must to prevent disease.
- Watering can with a gentle spray: To avoid disturbing your new cuttings.
- Labels and a marker: So you don’t forget what you’ve planted!
- Plastic bags or a propagator: To create a humid environment for cuttings.
Propagation Methods
Let’s get our hands dirty!
1. Stem Cuttings:
This is my go-to for Sidalcea nelsoniana.
- Take your cuttings: In late spring or early summer, select non-flowering shoots from healthy plants. Look for stems that are about 4-6 inches long. Make a clean cut just below a leaf node (where a leaf attaches to the stem).
- Prepare the cuttings: Gently remove the lower leaves, leaving only a couple at the top. This prevents them from rotting in the soil. If you’re using rooting hormone, dip the cut end into it now, tapping off any excess.
- Potting up: Fill your small pots with the well-draining potting mix. Make a hole with your finger or a pencil in the center of each pot.
- Insert the cuttings: Carefully place the cut end of each stem into the hole. Gently firm the soil around the base of the cutting to ensure good contact.
- Water and cover: Water thoroughly until you see water draining from the bottom. Place a plastic bag over the pot, securing it with a rubber band, or put the pot inside a propagator. This creates a mini-greenhouse.
2. Division:
This is a fantastic way to rejuvenate older clumps and get more plants.
- Dig up the clump: In spring or fall, when the plant is dormant or just finishing flowering, carefully dig up the entire plant. You want to get as much of the root system as possible.
- Clean the roots: Gently shake off excess soil or rinse the roots to get a clear view.
- Separate the divisions: Look for natural breaks in the clump. You can often gently pull sections apart with your hands. If they’re stubborn, use your trowel or a knife to cut through the root ball. Aim for sections that have at least a few healthy shoots and a good root system.
- Replant immediately: You can replant the divisions directly back into your garden bed, spacing them out appropriately, or pot them up into individual containers. Water them in well.
The “Secret Sauce” (Pro Tips)
Now for a couple of little tricks I’ve learned over the years:
- Don’t let the leaves touch the water in a cutting setup. If you’re doing water propagation (which is less common for Sidalcea but possible), only the bottom inch or so of the stem should be submerged. Any leaves in the water will just rot and can infect the whole cutting. For soil cuttings, this means making sure your inserted stem is long enough so that the remaining leaves are above the soil line.
- Bottom heat is your friend for cuttings. While not strictly necessary, placing your pots on a heat mat designed for seedlings can significantly speed up root development. It mimics the warmth of spring soil and gives those roots a real encouraging boost. Just keep an eye on moisture levels if you use heat!
Aftercare & Troubleshooting
Once you see tiny new leaf growth on your cuttings, that’s a great sign roots are forming! Remove the plastic bag or open the propagator vents for a few hours each day to help them acclimatize. Gradually increase the time they are exposed to the open air over a week or two.
For divisions, water them regularly, especially during dry spells. You’ll want to keep the soil consistently moist, but not waterlogged.
The main thing to watch out for, especially with cuttings, is rot. If your cuttings turn black and mushy, it’s a sign of too much moisture and not enough air circulation, or perhaps a fungal issue. Sadly, these are usually lost. If your divisions look wilted, ensure they are getting enough water and aren’t suffering from transplant shock.
A Little Patience, A Lot of Joy
Propagating plants is such a wonderful way to connect with nature and multiply your garden’s beauty. Be patient with your Sidalcea nelsoniana cuttings; they can take a few weeks to show signs of life. Enjoy the process, the learning, and soon you’ll have even more of these charming checkerblooms to share and enjoy. Happy gardening!
Resource:
https://identify.plantnet.org/k-world-flora/species/Sidalcea%20nelsoniana%20Piper/data