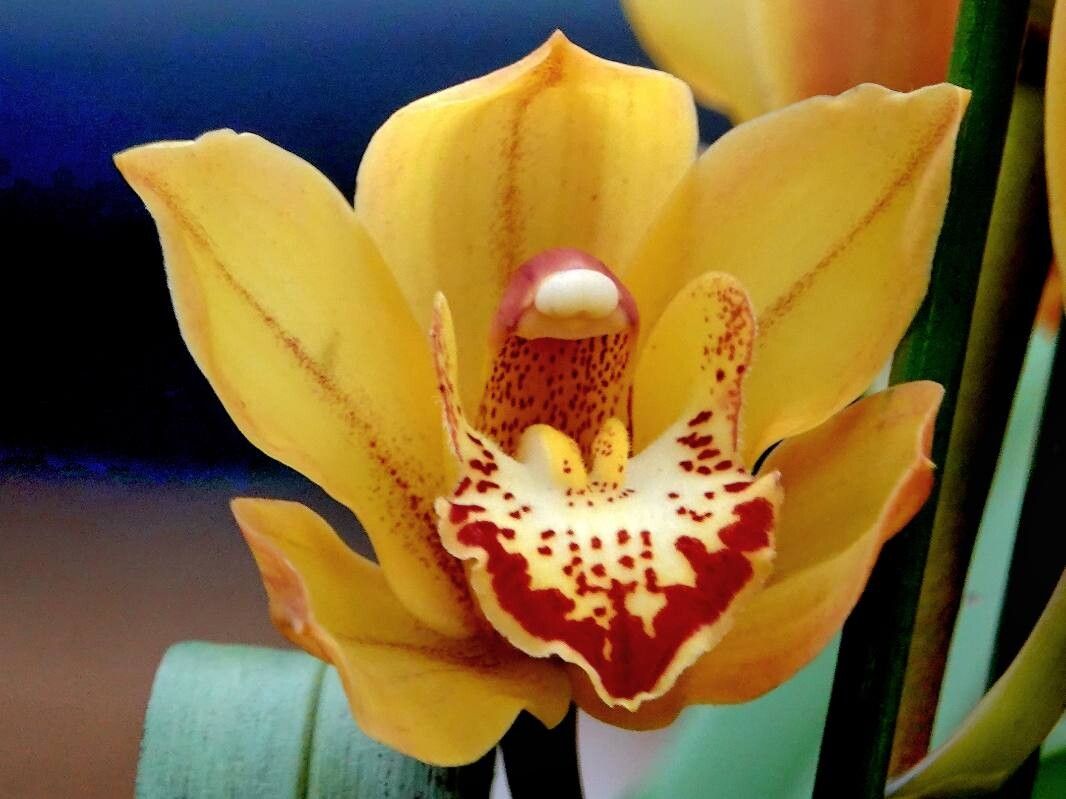
Hello, fellow plant lovers! Today, we’re diving into the wonderful world of Cymbidium devonianum. If you’ve ever marveled at its delicate, bell-shaped blooms, you know how special this orchid is. Propagating it yourself can be incredibly rewarding, like nurturing a little piece of its magic into being. Now, I’ll be honest, Cymbidium devonianum can be a little on the persnickety side, so it might not be your absolute first foray into orchid propagation, but with a little patience and this guide, I’m confident you can succeed.
The Best Time to Start
Timing is everything, as they say! For Cymbidium devonianum, the best time to think about propagation is after it has finished blooming, typically in late spring or early summer. This is when the plant is ready to put its energy into active growth, making it more receptive to division or taking cuttings. You want to catch it in its vigorous growing phase.
Supplies You’ll Need
Gathering your tools beforehand makes the whole process much smoother. Here’s what you’ll likely need:
- Sharp, sterile pruning shears or a clean knife: For making precise cuts. Sterilize with rubbing alcohol or a flame.
- Cymbidium-specific orchid mix: A well-draining blend is crucial. Look for mixes with bark, perlite, and charcoal.
- Small pots or seedling trays: With good drainage holes, of course.
- Orchid fertilizer: A balanced formula diluted to half strength.
- Rooting hormone (optional but recommended): Especially helpful for cuttings.
- Sphagnum moss: A handy tool for some propagation methods.
- Clean water: Rainwater or distilled water is best.
Propagation Methods
Let’s explore how we can coax new Cymbidium devonianum plants into existence.
Division
This is the most common and generally successful method for Cymbidium devonianum. It’s essentially splitting a mature, healthy plant into smaller sections.
- Gently remove the plant from its pot. Be careful not to damage the roots.
- Inspect the root ball. You’re looking for natural breaks where you can divide the rhizomes. A rhizome is the underground stem that connects the pseudobulbs. You want each new division to have at least two to three healthy pseudobulbs and a good amount of roots.
- Use your sterile shears or knife to carefully cut through the rhizome. If the rhizomes are tough, you might need to gently tease them apart with your fingers, but clean cuts are generally preferred to minimize damage.
- Inspect the cut surfaces. If there’s any sign of rot or damage, trim it away. You can dust the cut ends with cinnamon or a fungicide if you’re concerned.
- Pot up each division. Plant them in your fresh orchid mix, ensuring the base of the pseudobulbs is at the surface of the mix. They should be snug but not too crowded.
- Water lightly. Don’t drench them, just moisten the mix.
Stem Cuttings (Less Common for this species, but possible with mature growths)
While division is king for Cymbidium devonianum, you might be able to take cuttings from very mature flower spikes or healthy back bulbs if you have a particularly robust plant.
- Identify a mature, healthy pseudobulb with at least one node. If you’re trying from a flower spike, ensure it’s mature and hardened off.
- Carefully cut the pseudobulb or spike section, ensuring you have a node attached. Make a clean cut.
- If using rooting hormone, dip the cut end into the powder.
- Pot the cutting. You can pot it directly into a small container with orchid mix, burying the base just slightly. Another method is to lay it on top of moist sphagnum moss in a covered container.
- Keep it humid and warm. This method takes longer and has a lower success rate than division, so patience is key.
The “Secret Sauce” (Pro Tips)
Here are a few things I’ve learned over the years that can make a real difference:
- Don’t let the crown sit in standing water. This is a recipe for rot. Ensure good drainage and water thoroughly only when the mix starts to dry out.
- Bottom heat can be a game-changer. Placing your new divisions or cuttings on a seed-starting mat set to a gentle temperature (around 70-75°F or 21-24°C) encourages root development. It’s like a cozy warm bed for your new plant babies.
- Resist the urge to repot too soon. Once you’ve divided and potted your plant, let it settle in for at least a few months before considering another repotting. Disturbing it too much early on can be stressful.
Aftercare & Troubleshooting
Once your new Cymbidium devonianum is tucked into its new home, it’s time for gentle nurturing.
- Watering: Water when the top inch of the potting mix feels dry. It’s better to water thoroughly and let it drain than to keep it constantly soggy.
- Light: Place your new divisions in bright, indirect light. Avoid direct sun, which can scorch their tender new growth.
- Fertilizing: Once you see signs of new growth (a new pseudobulb or leaf), you can start feeding with a half-strength orchid fertilizer every two to four weeks during the growing season.
- Rot: The biggest enemy is rot. If you see mushy, dark brown or black tissue, especially at the base of the pseudobulbs, it’s a sign of overwatering or poor drainage. Immediately remove the affected part with your sterile tool and repot in fresh, dry mix. You might need to let it air dry for a day or two before repotting.
- No growth: If after several months there’s no sign of new growth, ensure it’s getting adequate light, warmth, and humidity. Sometimes, it just takes a little longer for a division to adjust.
A Little Patience Goes a Long Way
Propagating orchids is a journey, not a race. There will be moments of excitement as you see roots forming or a new leaf emerge, and days where you might wonder if it’s going to work out. That’s all part of the process! Embrace the learning, celebrate the small victories, and remember that each successful new plant is a testament to your care and dedication. Happy growing!
Resource:
https://identify.plantnet.org/k-world-flora/species/Cymbidium%20devonianum%20Paxton/data