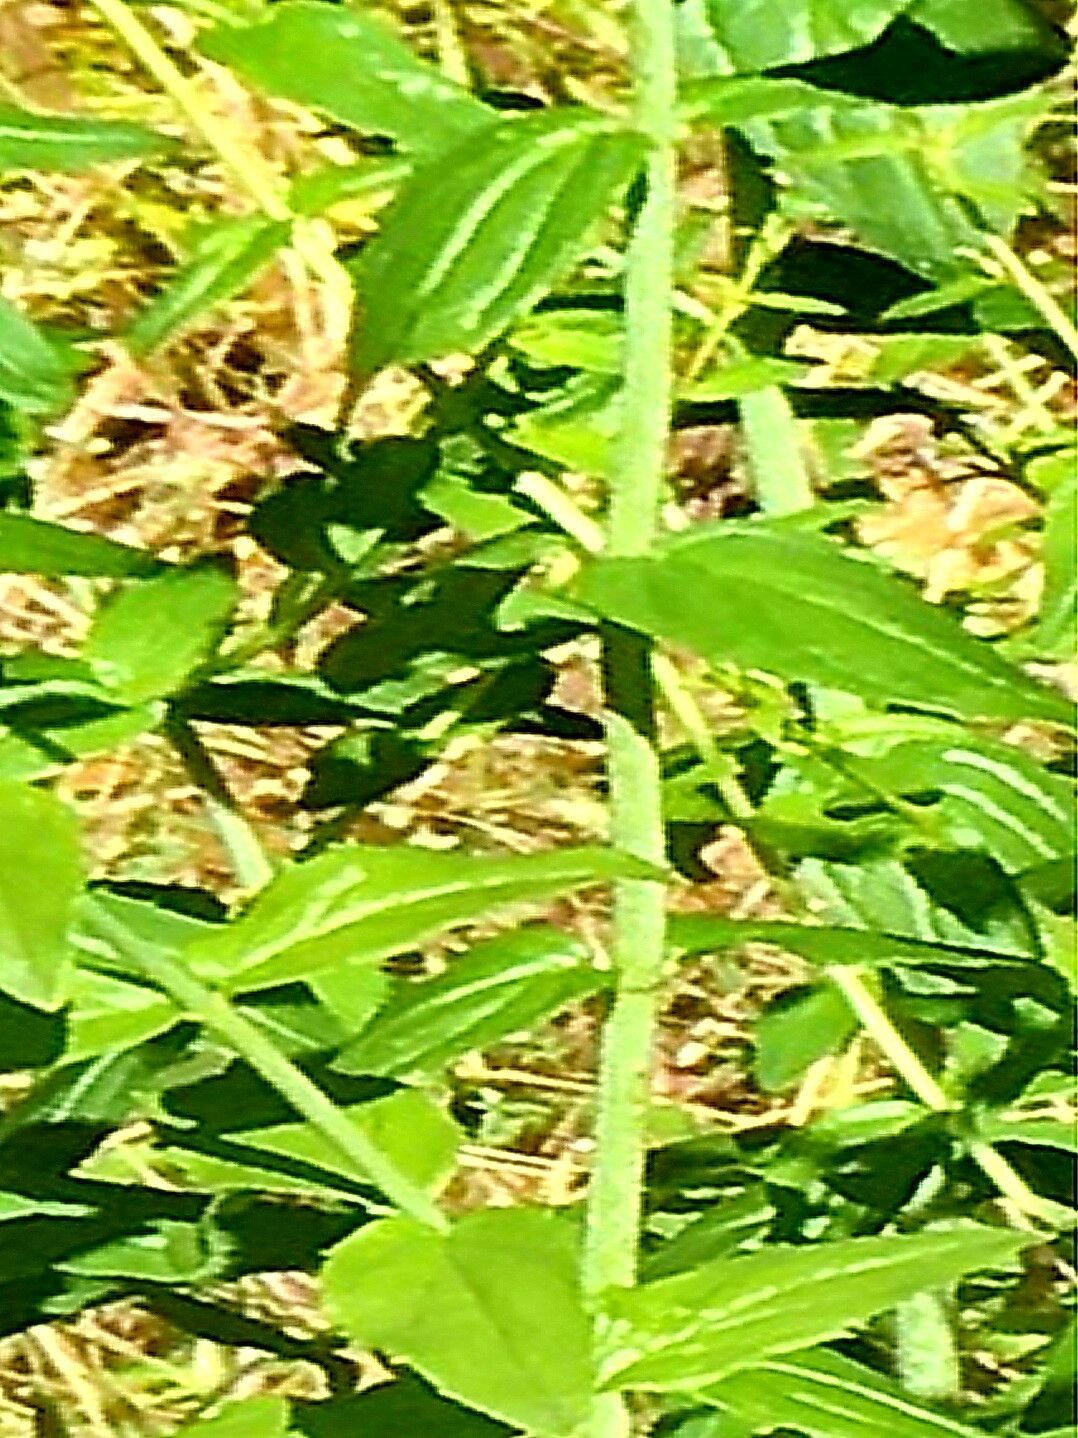
Hello, fellow plant enthusiasts! Today, I want to chat about a gem of a plant that brings so much joy to my garden: Keckiella lemmonii, or as some of us affectionately call it, Lemmon’s Keckiella. This California native shrub is just delightful, with its tubular, coral-pink to orange flowers that are a magnet for hummingbirds. Plus, it’s wonderfully drought-tolerant once established, making it a smart choice for gardens aiming for sustainability.
Propagating Keckiella lemmonii is a truly rewarding experience. It’s like giving the gift of a new plant, and this one is actually quite forgiving. If you’re just dipping your toes into propagating shrubs, you’ll find this little project to be a friendly introduction.
The Best Time to Start
For the absolute best success with Keckiella lemmonii, I always reach for my pruning shears in late spring to early summer. This is when the plant is actively growing, producing lovely new, semi-hardwood stems that have the best chance of rooting. You want stems that are flexible but not the very soft, brand-new growth. Think of them as bendable but not snap-able.
Supplies You’ll Need
Here’s a rundown of what you’ll want to have on hand:
- Sharp Pruning Shears or Hobby Knife: Clean cuts are essential for preventing disease.
- Rooting Hormone: A good quality rooting hormone powder or gel will significantly boost your success rate.
- Propagation Potting Mix: A light, well-draining mix is crucial. I like a blend of equal parts perlite, peat moss, and coarse sand.
- Small Pots or Trays: Clean pots (even repurposed ones!) are perfect.
- Plastic Bag or Humidity Dome: This will create the greenhouse effect your cuttings need.
- Watering Can with a Fine Rose: Gentle watering is key.
- Gloves: Always a good idea!
Propagation Methods: Stem Cuttings
This is my go-to method for Keckiella lemmonii because it’s so effective.
- Gather Your Cuttings: Select healthy, vigorous branches from your parent plant. Using your sharp pruning shears, take cuttings that are about 4 to 6 inches long. Remove any lower leaves that might fall below where you’ll place the cutting in the soil.
- Prepare the Cuttings: At the bottom of each cutting, carefully make a fresh cut just below a leaf node (where a leaf meets the stem). This is where the magic of root formation begins. If the leaves are very large, you can trim them in half to reduce water loss.
- Dip in Rooting Hormone: Dip the cut end of each prepared stem into your rooting hormone. Make sure it’s well-coated. Tap off any excess.
- Plant Your Cuttings: Fill your clean pots with your propagation mix. Make a small hole in the center of the mix with your finger or a pencil. Gently insert the heeled end of your cutting into the hole, ensuring the rooting hormone stays on. Firm the soil gently around the base of the cutting to ensure good contact.
- Water Gently: Using your watering can with the fine rose, water the soil thoroughly until it’s moist but not waterlogged.
- Create a Humid Environment: Cover your pots with a clear plastic bag that’s supported by stakes or chopsticks so it doesn’t touch the leaves, or use a humidity dome. This traps moisture. Place the pots in a bright location, but out of direct sunlight.
The “Secret Sauce” (Pro Tips)
Here are a few things I’ve learned over the years that really make a difference:
- Don’t Let Leaves Touch the Water: If you opt for water propagation (which can work for Keckiella given enough patience!), make sure no leaves are submerged. They will rot and you’ll lose your cutting before it even has a chance to root.
- Consider Bottom Heat: If you have a heat mat designed for seedlings, it can be a game-changer for stem cuttings. Adding gentle bottom heat (around 70-75°F) encourages root development from below, significantly speeding up the process.
- Cleanliness is Next to Godliness (for Plants!): I can’t stress enough how important sterilized tools and pots are. Even a tiny bit of bacteria or fungus can be enough to derail your efforts. A quick wipe with rubbing alcohol goes a long way.
Aftercare & Troubleshooting
Once your cuttings have developed a good root system – you’ll know by gently tugging on the stem and feeling resistance, or by seeing roots emerging from the drainage holes – it’s time to transplant them into their own small pots. Continue to keep them in bright, indirect light and water them as needed, letting the soil dry slightly between waterings.
The most common sign of failure is rot. If your cuttings start to wilt and turn mushy, or develop dark, soft spots, it’s usually a sign of too much moisture and poor air circulation. Sadly, these are usually beyond saving. Yellowing leaves could indicate a few things, but often it’s about too much direct sun or not enough water. Don’t be discouraged if you lose a few; it’s part of the learning process!
A Little Patience Goes a Long Way
Propagating plants, especially new and exciting ones, is such a joy. It connects you even more deeply to your garden and the natural world. Be patient with your little Keckiella lemmonii cuttings. Give them time, the right conditions, and your loving attention, and soon you’ll have a whole new cluster of these lovely shrubs to enjoy, or to share with friends! Happy growing!
Resource:
https://identify.plantnet.org/k-world-flora/species/Keckiella%20lemmonii%20(A.Gray)%20Straw/data