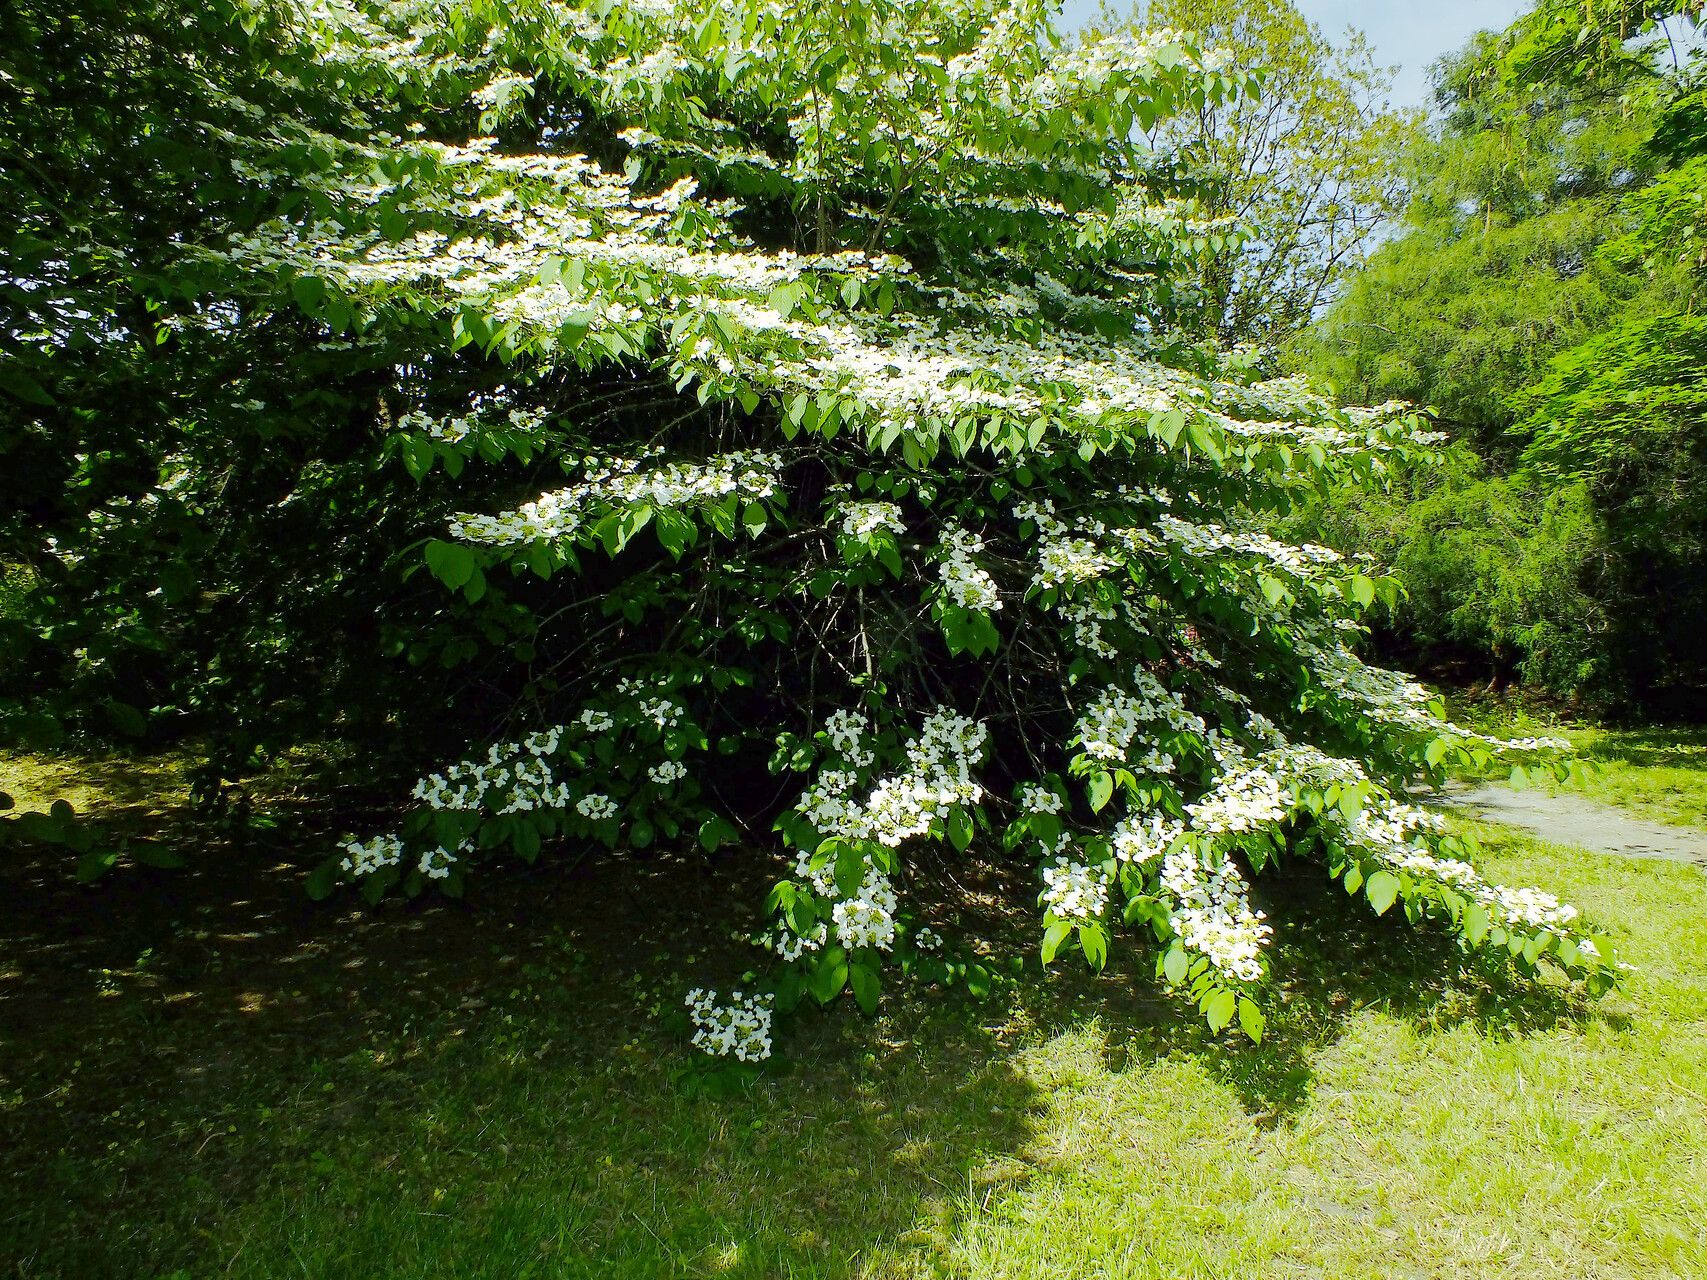
Oh, Viburnum plicatum! You know, the ones with those stunning, tiered branches and those delicate white lacecap flowers in spring? They’re truly showstoppers in any garden. I’ve had them for years, and they never fail to brighten my landscape. And the best part? They’re surprisingly easy to share! Propagating them has always been a joy for me, and I think you’ll find it incredibly rewarding too. For beginners, I’d say this is a pretty accessible plant to get started with.
The Best Time to Start
When it comes to getting those new viburnums going, late spring to early summer is generally your golden ticket. This is when the plant is actively growing, and you’ll be taking what we call softwood cuttings. They’re still flexible and have a great ability to root. Waiting until the stems have firmed up a bit, but aren’t woody yet, is key.
Supplies You’ll Need
Here’s a little checklist to have handy before you start snipping:
- Sharp Pruning Shears or a Knife: Clean cuts are crucial for preventing disease.
- Rooting Hormone: This is a powdered or liquid substance that encourages root development.
- Small Pots or Seedling Trays: Make sure they have drainage holes!
- A Well-Draining Potting Mix: I often use a 50/50 blend of perlite and peat moss, or a good quality seedling mix.
- Plastic Bags or a Small Greenhouse/Cloche: This helps maintain humidity.
- Watering Can with a Fine Rose: Gentle watering is important.
- Optional: Bottom Heat Mat: This can really speed things up!
Propagation Methods
Let’s get our hands dirty! I usually stick to stem cuttings for Viburnum plicatum. It’s the most reliable and gives you the most babies.
- Take Your Cuttings: On a mild morning, select a healthy, non-flowering shoot from your viburnum. Look for a stem that’s about six inches long and bends slightly when you try to snap it – not too stiff, not too floppy. Make a clean cut just below a leaf node (where a leaf attaches to the stem).
- Prepare the Cuttings: Gently remove the lower leaves. You want to keep at least one or two sets of leaves at the top. If the remaining leaves are very large, I’ll often cut them in half horizontally to reduce water loss through transpiration without sacrificing all the crucial green parts. If you’re not using softwood cuttings, you might need to take hardwood cuttings in the fall, but for ease, let’s stick to the spring/summer approach!
- Apply Rooting Hormone: Dip the cut end of the stem into your rooting hormone, giving it a good coat. Tap off any excess.
- Plant Your Cuttings: Fill your small pots or trays with your prepared potting mix. Make a small hole in the center of each pot with your finger or a pencil. Carefully insert the prepared cutting into the hole, ensuring the rooting hormone-coated end is in contact with the soil. Gently firm the soil around the cutting.
- Water Gently: Water thoroughly, but be careful not to dislodge the cuttings. You want the soil to be moist, not waterlogged.
- Create a Humid Environment: Cover the pots with a clear plastic bag, supported by stakes so it doesn’t touch the leaves, or place them in a small propagator. This creates a mini-greenhouse effect, keeping humidity high, which is vital for cuttings that haven’t developed roots yet.
The “Secret Sauce” (Pro Tips)
Here are a few things I’ve learned over the years that make a big difference:
- Cleanliness is Paramount: Always use sterilized tools and pots. This is the biggest defense against fungal diseases that can quickly take out a batch of cuttings.
- Bottom Heat is a Game Changer: If you can, placing your pots on a bottom heat mat set to around 70-75°F (21-24°C) will significantly speed up root formation. It mimics the warmth of spring soil and really gives them a boost.
- Patience with the Water: If you ever try water propagation (though it’s less common for Viburnum), make sure no leaves are touching the water. They will rot quickly and take the stem with them.
Aftercare & Troubleshooting
Once your cuttings are potted, keep them in a bright, indirect light location. Avoid direct sun, which can scorch those tender leaves. Keep the soil consistently moist, but again, not soggy. You can gently tug on a cutting after a few weeks. If you feel resistance, that’s a good sign you’re starting to see roots!
The most common problem you’ll see is rot. If a cutting starts to look yellow, mushy, or black, it’s usually a sign of too much moisture and not enough air circulation. Don’t be discouraged! Remove the infected cutting immediately to prevent it from spreading. You might also see none at all – and that’s okay too. Not every cutting will take, and that comes with the territory.
A Encouraging Closing
Propagating your own Viburnum plicatum is such a rewarding way to expand your garden or share a piece of your beauty with friends. It takes a little patience and a watchful eye, but seeing those first tiny roots emerge is a thrill. So, grab your shears, get your soil ready, and give it a try. Happy gardening, and enjoy watching your new viburnums grow!
Resource:
https://identify.plantnet.org/k-world-flora/species/Viburnum%20plicatum%20Thunb./data