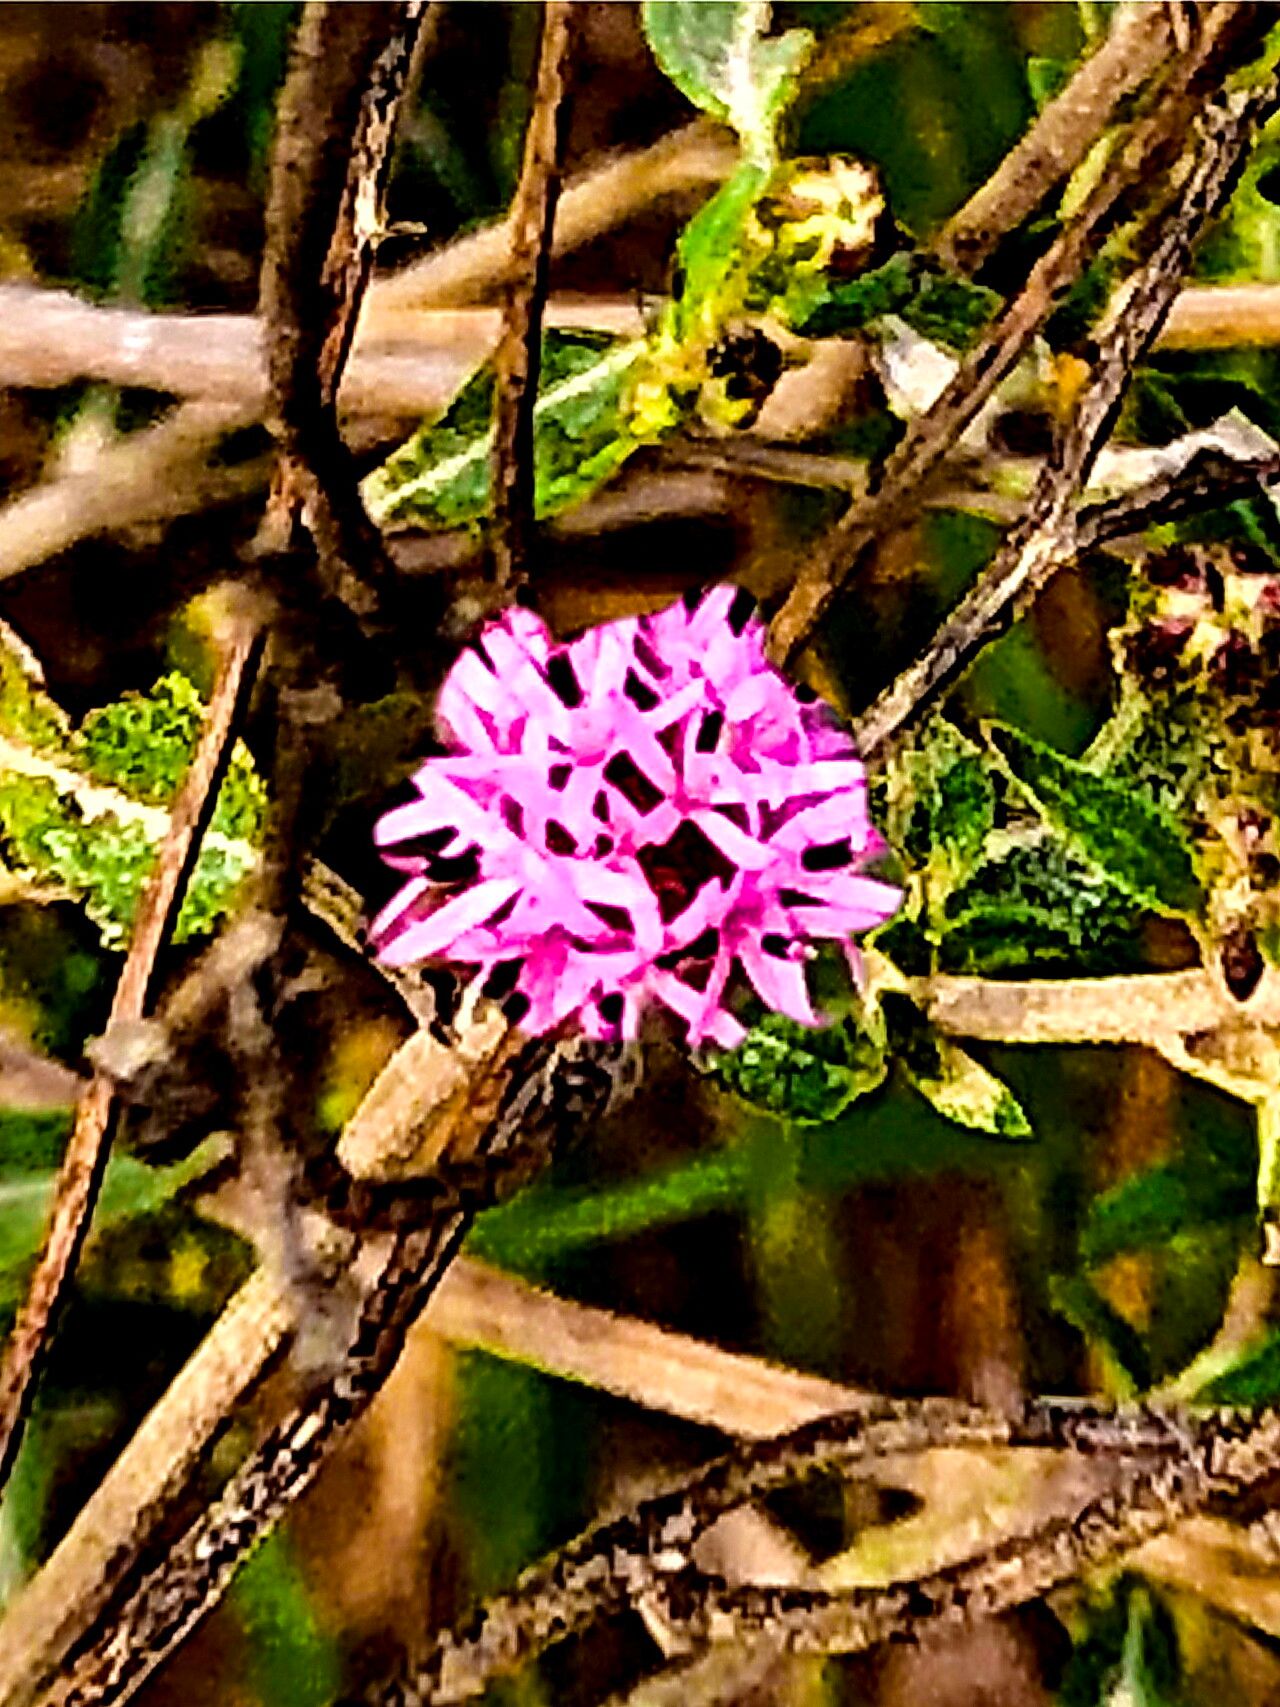
Oh, hello there! Come on in, pull up a chair. I’ve got my trusty trowel right here, and I’m just itching to chat about a plant that’s been stealing my heart lately: Palafoxia texana.
Let’s Get Growing: Propagating Palafoxia texana
There’s something truly magical about coaxing new life from a beloved plant, isn’t there? And Palafoxia texana, with its delicate, often fragrant blossoms and cheerful presence, is a wonderful candidate for this green magic. I find it to be a pretty forgiving plant, so even if you’re just starting out on your propagation journey, you’ll likely have good luck with this one. Seeing little roots emerge from a simple cutting is incredibly rewarding. It’s like a tiny victory!
The Best Time to Start
For Palafoxia texana, the sweetest spot for propagation is usually late spring to early summer. This is when the plant is actively growing, making it more vigorous and ready to send out those new roots. You’re essentially catching it at its peak energy, which gives your cuttings a real boost.
Supplies You’ll Need
Don’t worry, it’s not a complicated list! Just a few essentials to give your little plant babies the best start:
- Sharp, clean pruning shears or a sharp knife: Cleanliness is key to preventing disease.
- A well-draining potting mix: I like to use a mix of equal parts seed-starting mix and perlite or coarse sand for great aeration.
- Small pots or propagation trays: Yogurt cups with drainage holes work in a pinch too!
- Rooting hormone (optional but recommended): This can really speed things up and improve success rates. Look for a powder or gel.
- A watering can with a fine rose or a spray bottle: Gentle watering is crucial.
- Plastic bags or a propagation dome (optional): To create a humid microclimate.
Propagation Methods: Let’s Get Our Hands Dirty!
I find stem cuttings to be the most reliable and straightforward method for Palafoxia texana. Here’s how I do it:
Stem Cuttings:
- Take Your Cuttings: First, find a healthy, non-flowering stem on your Palafoxia texana. Using your clean shears, make a cut just below a leaf node (that little bump where a leaf grows from the stem). You want cuttings that are about 4-6 inches long.
- Prepare the Cuttings: Gently remove the lower leaves from your cutting, leaving just a few at the top. This prevents them from rotting when they’re in the soil.
- Dip in Rooting Hormone (Optional): If you’re using it, dip the cut end of the stem into the rooting hormone, tapping off any excess.
- Plant Your Cuttings: Fill your small pots or trays with your well-draining potting mix. Make a small hole in the center with your finger or a pencil, and then insert the cutting, pressing the soil gently around it.
- Water Gently: Give your cuttings a light watering to settle the soil. You want the soil to be moist, not waterlogged.
The “Secret Sauce” (Pro Tips)
Over the years, I’ve learned a few little tricks that make a big difference.
- Bottom Heat is Your Friend: Setting your pots on a heated propagation mat can dramatically speed up rooting, especially if your home is a bit on the cooler side. It mimics the warmth of spring soil and really encourages root development.
- Don’t Let Leaves Touch the Water: If you decide to try water propagation (though I find soil easier for Palafoxia texana), remember to only submerge the stem, not any of the leaves. Leaves sitting in water will rot before roots can form.
- Humidity is Key (But Not Too Much): I often tent a plastic bag over my cuttings to create a mini-greenhouse. It keeps the humidity up, which is crucial for preventing them from drying out. Just make sure to open the bag for a few minutes each day to allow for air circulation and prevent mold.
Aftercare & Troubleshooting
Once your cuttings are in their pots, place them in a bright spot out of direct, harsh sunlight. Keep the soil consistently moist but not soggy. You want to avoid letting them dry out completely.
What to Watch For:
- Rooting: You’ll know your cuttings have rooted when you see new growth appearing at the top and they feel a little resistant if you gently tug on them. This can take anywhere from 2-6 weeks.
- Wilting is Normal (at first): Don’t panic if your cuttings look a bit droopy initially. This is common as they adjust. The humidity tent usually helps with this.
- Rot: The biggest issue you’ll likely encounter is rot, which usually shows up as a black, mushy stem at the soil line. This is a sign of too much moisture and not enough air circulation. If you see this, unfortunately, that cutting is probably a goner. Remove it immediately to prevent it from spreading.
Keep Growing!
Propagating Palafoxia texana is a journey, and like any good gardening adventure, it’s about patience and observation. Don’t get discouraged if not every cutting takes. Just keep trying, learn from each experience, and before you know it, you’ll have a whole new patch of these lovely blooms to enjoy. Happy planting!
Resource:
https://identify.plantnet.org/k-world-flora/species/Palafoxia%20texana%20DC./data