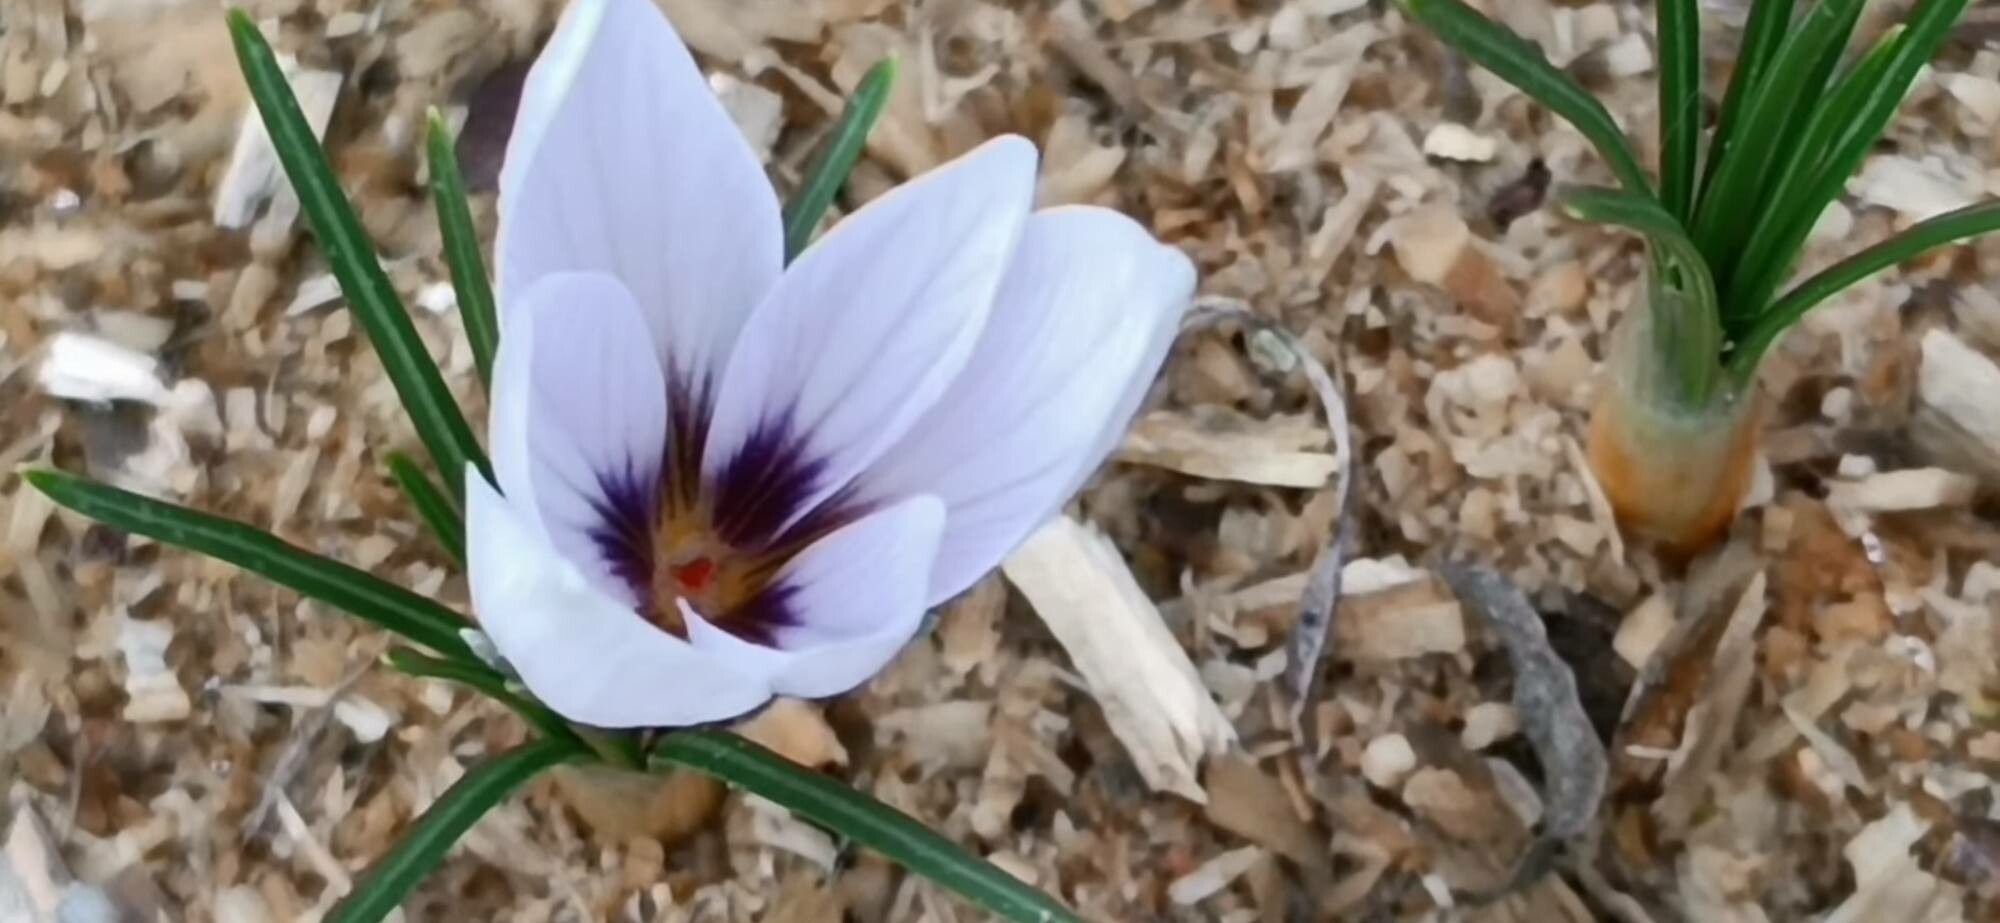
Hello there, fellow garden enthusiasts! It’s me, your seasoned green thumb friend, ready to chat about one of my absolute favorite spring bloomers: the magnificent Crocus sativus, the saffron crocus! Those delicate, vibrant purple blossoms appearing just as the air starts to crisp are such a welcome sight. And the bonus? Harvesting your own saffron for culinary adventures!
Propagating these beauties is a truly rewarding endeavor. While they aren’t the absolute easiest for complete beginners, with a little patience and care, you’ll be well on your way to a larger crocus patch. I promise, it’s an achievable and delightful process.
The Best Time to Start
For saffron crocuses, timing is everything. The best time to think about propagating them is in late summer or early fall, typically from August through September. This is just before they begin their active growing and blooming period. You want to get your new corms (that’s what their underground storage organs are called, not bulbs!) nice and settled before the cold really sets in.
Supplies You’ll Need
Alright, let’s gather our tools for this exciting propagation journey!
- Healthy Saffron Crocus Corms: Look for firm, plump corms that show no signs of disease or damage. Older, established patches are a great place to find these.
- Small Trowel or Dibber: For carefully lifting and replanting corms.
- Sharp Pruning Shears or Knife: To carefully divide corms if necessary. Make sure they are clean!
- Well-Draining Potting Mix: A good quality mix formulated for bulbs or perennials works wonderfully. You could also mix your own with compost and some grit.
- Small Pots or Seed Trays: For nurturing your newly propagated corms.
- Watering Can with a Fine Rose: To water gently without disturbing the soil.
- Optional: Rooting Hormone Powder: This can give your corms an extra boost, though saffron crocuses are pretty good at establishing themselves on their own.
Propagation Methods
The most straightforward and successful way to propagate saffron crocuses is through corm division. It’s wonderfully simple, much like giving your existing plants a little breathing room and encouraging growth.
-
Gently Excavate: In late summer or early fall, carefully dig up your existing saffron crocus patch. Use your trowel to loosen the soil around them and gently lift the clumps. Try not to nick the corms.
-
Identify the Corms: You’ll notice that what looks like a single crocus at the surface is often a cluster of corms underground. The main, mature corm will likely have smaller cormels (baby corms!) attached to its sides. These cormels are your new plants!
-
Dismantle with Care: Gently break apart the larger corms. You want to ensure each new corm you select has a healthy-looking basal plate – that’s the bottom part where the roots will emerge. If you have a particularly large clump, you might separate them into individual corms or small clusters of 2-3 cormels. Use a clean knife to make a clean cut if needed, especially if they are tightly bound.
-
Discard the Old: If a corm feels soft, mushy, or shows any signs of rot, it’s best to discard it to prevent spreading any issues. Healthy corms are firm to the touch.
-
Optional: Rooting Hormone: If you’re using rooting hormone, dip the basal plate of each corm into the powder. This step isn’t strictly necessary for saffron crocuses, as they are quite vigorous, but it can help encourage faster root development.
-
Plant Your New Corms: Fill your pots or seed trays with your well-draining potting mix. Plant each corm about 3-4 inches deep, with the pointed end facing upwards. Give them a little space – about 3-4 inches apart.
-
Water Gently: Water the soil thoroughly but gently. You want it to be moist but not soggy.
The “Secret Sauce” (Pro Tips)
Over the years, I’ve picked up a few little tricks that seem to make all the difference.
- Let Them Dry Slightly: After you’ve dug up your corms, and before replanting, it’s actually beneficial to let them air dry for a day or two in a cool, well-ventilated spot. This helps prevent fungal issues during the replanting process. Just make sure they don’t dry out completely and shrivel.
- Patience with Dormancy: If some of your cormels seem very small, don’t be discouraged! They might need a season to mature before they produce a flower. They’re busy building up energy underground.
- “Planting the Foliage” Trick: If you’re dividing in fall and find that some of the corms have already started to sprout a little green shoot, don’t worry about it. Go ahead and plant them as usual. The plant knows what it’s doing and will continue its growth cycle.
Aftercare & Troubleshooting
Once your corms are settled into their new pots, keep them in a place that’s cool and protected for the first few weeks. Water them whenever the top inch of soil feels dry. You’ll likely see signs of growth within a few weeks, especially if you planted them in early fall. Keep them watered through their growing and blooming season.
The most common issue you might encounter is rot. This usually happens if the soil is too wet and doesn’t drain well. Watch out for mushy corms or a sweet, unpleasant smell. If you see this, you might need to unpot the affected corms, trim away any rotted parts with a clean knife, and replant them in fresh, dry soil. Sometimes, if the rot is advanced, it’s best to just discard the corm.
A Encouraging Closing
So there you have it! Propagating saffron crocuses is an accessible and incredibly satisfying gardening project. Don’t be afraid to get your hands in the soil. Be patient with your new plants, and celebrate every tiny sprout. Enjoy the process, and soon you’ll be rewarded with a bounty of beautiful blooms and, of course, delicious saffron. Happy gardening!
Resource:
https://identify.plantnet.org/k-world-flora/species/Crocus%20sativus%20L./data