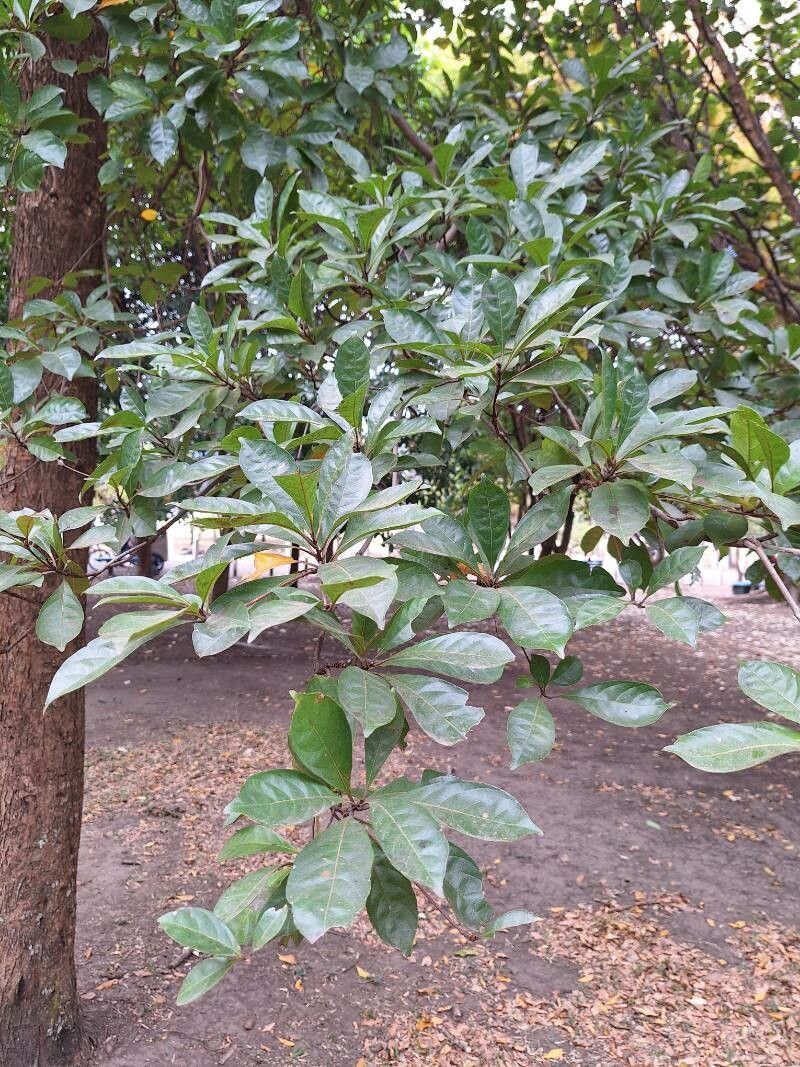
Oh, hello there! Pull up a chair and let’s chat about a truly spectacular tree: Terminalia amazonia. You know, the one with that incredible buttressed trunk and those glossy, dark green leaves? It’s a stunner, for sure. I’ve been coaxing these beauties along for years, and I’ll tell you, there’s a special kind of joy in growing one from a tiny cutting. It’s not the absolute easiest plant to start from scratch, I won’t lie, but with a little patience and the right approach, it’s wonderfully rewarding. Think of it as a rewarding challenge, like mastering a new recipe!
The Best Time to Start
When is the magic hour for Terminalia amazonia propagation? I find the sweet spot to be during its active growing season, which in most climates means late spring through summer. You’re looking for new, healthy growth – stems that are firm but not woody. Avoid anything that looks stressed or has just finished flowering. This is when the plant has the most energy to put into root development.
Supplies You’ll Need
Ready to get your hands dirty? Here’s what you’ll want to have on hand:
- Sharp, clean pruning shears or a sharp knife: Cleanliness is key to preventing disease.
- Rooting hormone: This is a real booster for woody cuttings. Look for one containing IBA.
- Well-draining potting mix: A good blend of peat moss or coco coir, perlite, and a bit of compost works wonders. You want it to hold moisture but not get waterlogged.
- Small pots or propagation trays: Clean ones, of course!
- Plastic bags or a clear propagation dome: This creates a humid environment, which is crucial.
- A watering can with a fine rose: For gentle watering.
- Optional: Bottom heat mat: This can significantly speed up rooting, especially in cooler conditions.
Propagation Methods
My favorite way to propagate Terminalia amazonia is through stem cuttings. It’s reliable and gives you a good chance of success.
- Taking the Cuttings: Select healthy, semi-hardwood stems from your mature plant. Look for branches that have grown this year but are starting to firm up. You want cuttings that are about 4-6 inches long. Make your cut just below a leaf node – that little bump where the leaf meets the stem. This is where the magic happens for root formation.
- Preparing the Cuttings: Gently remove the lower leaves from the cutting. You want to leave just a few at the very top. If the remaining leaves are very large, I often cut them in half horizontally. This reduces water loss through transpiration while still allowing for some photosynthesis.
- Applying Rooting Hormone: Dip the cut end of the stem into your rooting hormone, tapping off any excess. This is your little encouragement for new roots to sprout.
- Planting the Cuttings: Make a hole in your prepared potting mix with a pencil or your finger. Gently insert the cutting, ensuring the rooting hormone stays on the cut end. Firm the soil gently around the stem.
- Creating the Humid Environment: Water the soil thoroughly but gently. Then, place the pot in a plastic bag or cover it with a propagation dome. Make sure the leaves don’t directly touch the plastic. If using a bag, you might need to support it with stakes. Then, find a bright spot, but avoid direct, harsh sunlight. It can scorch your delicate cuttings!
The “Secret Sauce”
Now, for a couple of little tricks I’ve learned over the years:
- The “Sniff Test” for Moisture: Instead of just poking your finger into the soil, gently press the soil surface. If it springs back quickly and feels firm, it’s likely moist enough. If it feels mushy or compacted, you might be overwatering.
- Embrace the Bottom Heat: Seriously, a little bottom warmth can make a world of difference. It mimics the conditions a mother plant naturally provides, encouraging roots to form much faster and reducing the chance of rot. Your Terminalia amazonia cuttings will thank you!
Aftercare & Troubleshooting
Once your cuttings are happily planted, the waiting game begins. Keep the soil consistently moist but not soggy. The humidity created by your cover is crucial here. Check it every few days.
How do you know your cutting is taking off? After several weeks to a couple of months, you should start to see new leaf growth. You can also give a very gentle tug – if there’s resistance, roots are forming! At this point, you can start to gradually acclimatize your new plant to normal humidity by opening the bag or dome a little bit each day over a week.
What if things go wrong? The most common culprit is rot. If you see your cutting turning black and mushy at the base, it’s usually a sign of too much moisture and not enough air circulation. Don’t be discouraged! Sometimes, even with the best intentions, a cutting won’t make it. Just clean up the pot and try again.
A Little Patience, A Lot of Joy
Growing plants from cuttings is such a beautiful dance between you and nature. It takes time, observation, and a good dose of patience. Don’t be afraid to experiment, and most importantly, enjoy the process of nurturing these new lives. Happy propagating!
Resource:
https://identify.plantnet.org/k-world-flora/species/Terminalia%20amazonia%20(J.F.Gmel.)%20Exell/data