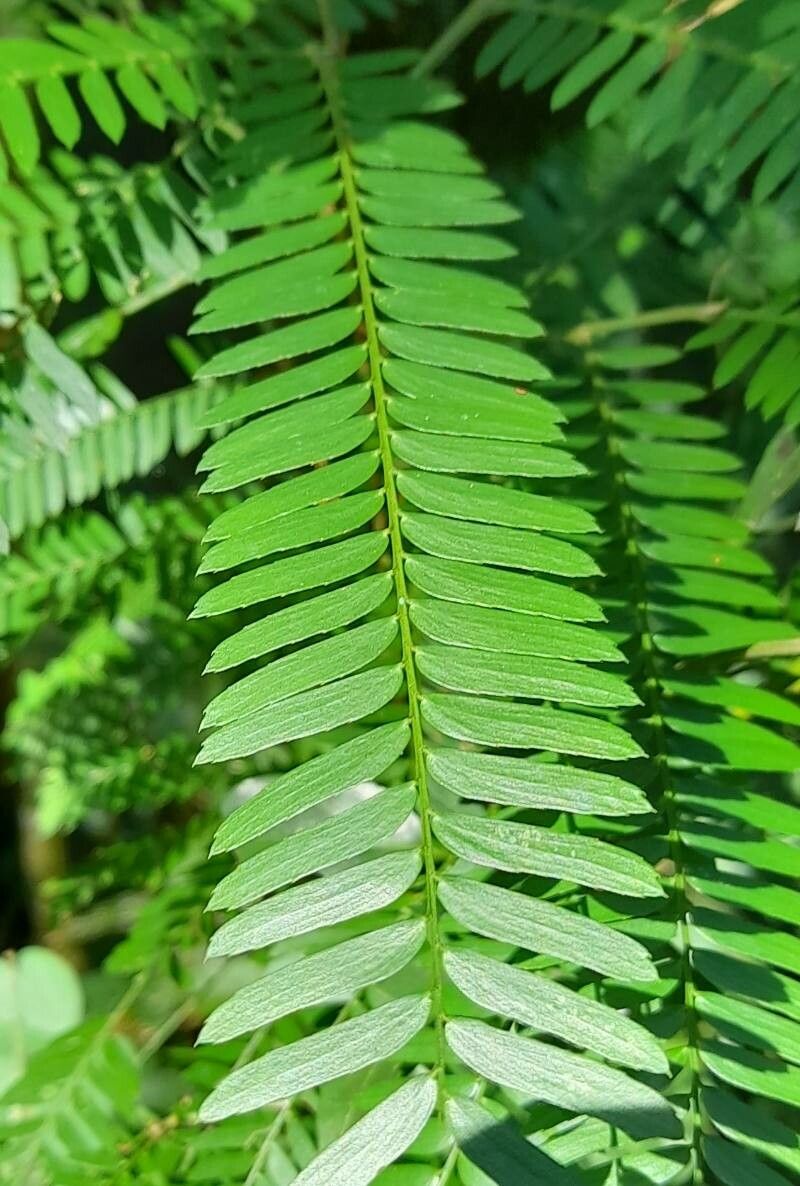
Well hello there, fellow plant enthusiasts! It’s me, your garden pal with a few decades of dirt under my fingernails. Today, we’re diving into something truly special: Holocalyx balansae. If you’ve ever had the pleasure of seeing this beauty, you’ll know why it’s so captivating. Its unique foliage and graceful habit make it a real showstopper in the garden or on your patio. And the best part? You can have more of these stunners! Propagating plants like Holocalyx balansae is one of my absolute favorite ways to feel connected to the garden’s life cycle, and it’s incredibly rewarding to watch a tiny cutting transform into a thriving plant. Now, I’ll be honest, Holocalyx balansae can be a little fussy for absolute beginners, but with a bit of patience and these tips, you’ll be well on your way!
The Best Time to Start
When it comes to boosting your success rate with Holocalyx balansae propagation, timing is key! I find the late spring to early summer, just as the plant is hitting its vigorous growth spurt, to be absolutely perfect. You want to be working with healthy, actively growing stems. Avoid trying to propagate from a plant that’s stressed or has just flowered. Think of it like this: you’re borrowing energy from a strong, healthy parent plant.
Supplies You’ll Need
Gathering your tools beforehand makes the whole process so much smoother. Here’s what I always have on hand:
- Sharp, clean pruning shears or a sharp knife: Crucial for making clean cuts.
- Rooting hormone (optional but helpful): A powder or gel that encourages root development.
- Well-draining potting mix: A good quality blend specifically for cuttings, or a mix of equal parts peat moss and perlite.
- Small pots or containers: Make sure they have drainage holes!
- Plastic bags or a propagation dome: To create a humid microclimate.
- Watering can or spray bottle: For gentle watering.
- Labels and a marker: To keep track of your projects!
Propagation Methods
While there are a few ways to go about it, I’ve found the most reliable method for Holocalyx balansae is through stem cuttings.
Stem Cuttings
This is where the magic really begins!
- Select your cutting: Look for a healthy, non-flowering stem that’s about 4-6 inches long. You want to take it from a part of the plant that’s actively growing, not too woody and not too soft.
- Make the cut: Using your clean shears or knife, make a clean cut just below a leaf node (that’s the point where a leaf attaches to the stem). This is where new roots are most likely to form.
- Prepare the cutting: Gently remove the lower leaves from the stem, leaving just a few at the top. If the remaining leaves are very large, you can carefully trim them in half to reduce water loss.
- Apply rooting hormone (optional): Dip the cut end of the stem into your rooting hormone. Tap off any excess.
- Plant your cutting: Fill your small pots with your well-draining potting mix. Make a small hole in the center and insert the cut end of your stem. Gently firm the soil around it.
- Water lightly: Water your cuttings gently so the soil is evenly moist but not waterlogged.
- Create humidity: This is a big one! Cover the pot with a plastic bag, securing it with a rubber band around the rim. Alternatively, use a propagation dome. You want to create a mini greenhouse effect to keep the humidity high.
The “Secret Sauce” (Pro Tips)
Here are a couple of things I’ve learned over the years that really make a difference, especially with plants that can be a bit particular.
- Don’t let the leaves touch the soil: When preparing your cuttings, make sure none of the remaining leaves are dipping into the potting mix. Rot can set in very quickly if they’re constantly damp.
- Bottom heat is your friend: If you can, place your pots on a heat mat designed for propagation. This gentle warmth from below encourages root development significantly. It’s like giving those little roots a warm hug and telling them it’s time to grow!
Aftercare & Troubleshooting
Once your cuttings are planted and cozy, keep them in a bright spot but out of direct, harsh sunlight. Misting the leaves occasionally can help keep them hydrated if you don’t have a propagation dome.
The real sign you’re succeeding is when you gently tug on the cutting and feel a little bit of resistance. This indicates roots have formed! Once you see new leaf growth, you know they’ve truly taken. You can then carefully transplant them into slightly larger pots.
Now, for the not-so-fun part: troubleshooting. The most common issue you’ll face is rot. If your cutting looks black and mushy, it’s likely rotted. This usually means it was too wet, didn’t have enough air circulation, or the cutting was from a weak stem to begin with. If you see mold, try to remove affected parts and ensure better air flow. Sometimes, it’s just a matter of trying again with a fresher cutting.
A Encouraging Closing
Propagating plants is a journey, not a race. There will be times when things don’t go as planned, and that’s perfectly okay! Every attempt is a learning experience. Be patient with your Holocalyx balansae cuttings, give them the care they need, and most importantly, enjoy the process of nurturing new life. Happy growing!
Resource:
https://identify.plantnet.org/k-world-flora/species/Holocalyx%20balansae%20Micheli/data