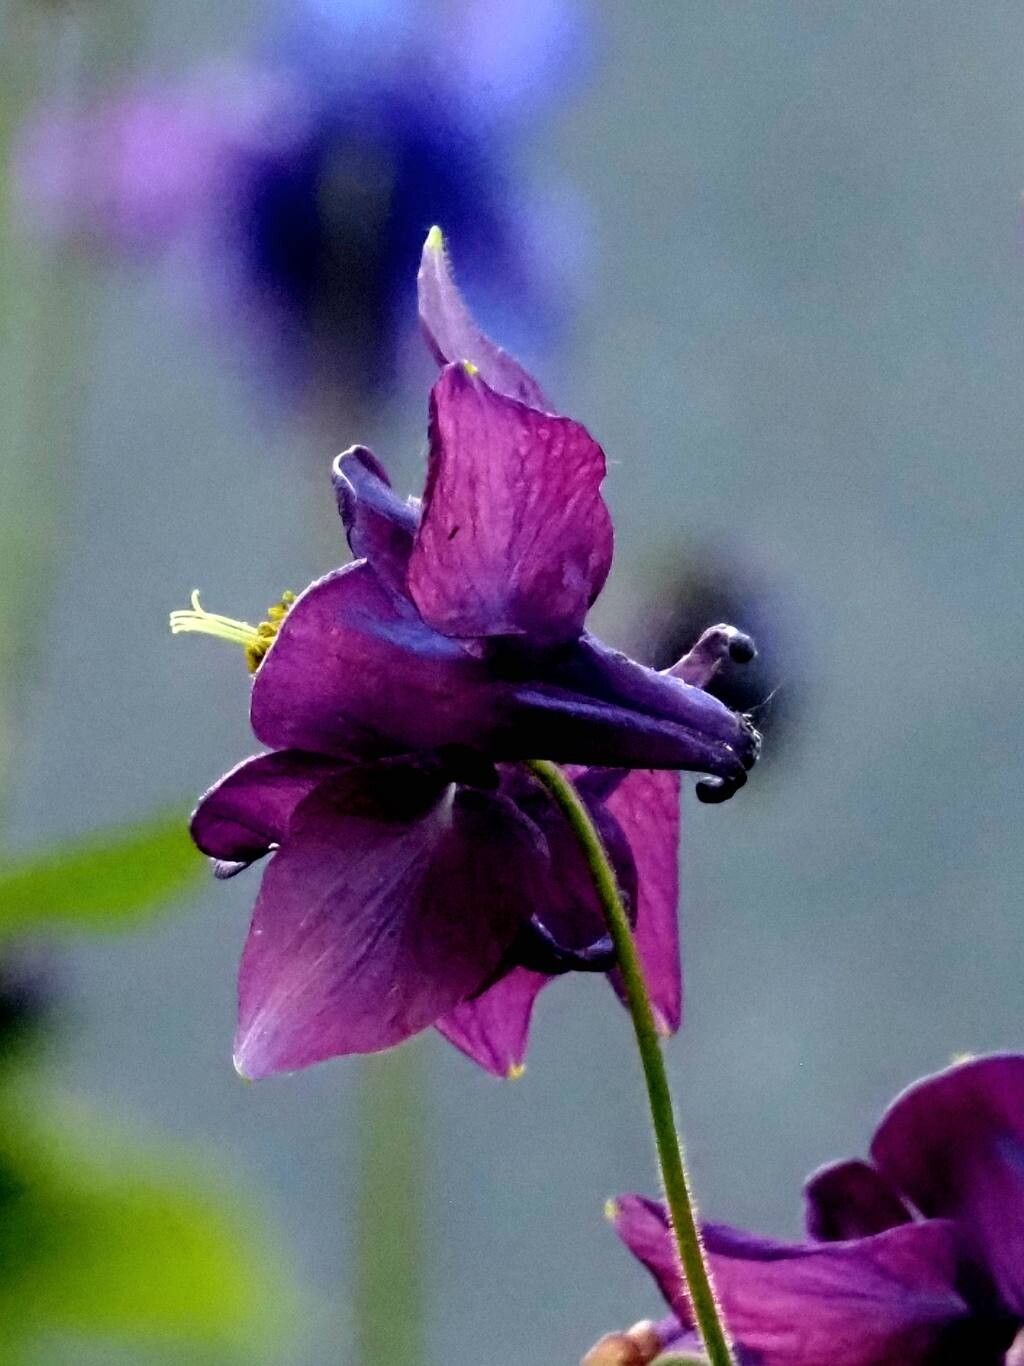
Hello there, fellow garden enthusiasts! Today, I want to chat about one of my absolute favorite woodland beauties: Aquilegia atrata, or the Dark Columbine. Its deep, velvety petals and graceful nodding heads bring such a touch of moody elegance to any shady corner. And the best part? It’s surprisingly rewarding to get more of these charmers for yourself! If you’re new to the gardening world, don’t fret. Propagating Aquilegia atrata is generally quite forgiving, making it a lovely project for beginners looking to expand their plant collection.
The Best Time to Start
For the happiest results with your Aquilegia atrata, I find that late spring to early summer is your golden window. This is when the plant is actively growing and has plenty of energy to spare for making new babies. You’re looking for healthy, non-flowering shoots at this stage. Waiting until after the initial flush of bloom has passed also works beautifully.
Supplies You’ll Need
Gathering your tools beforehand makes the whole process much smoother. Here’s what I always have on hand:
- Sharp pruning shears or a clean, sharp knife: For taking cuttings with precision.
- Seedling or propagation mix: Something light and airy to promote root development. I often mix equal parts peat-free compost and perlite.
- Small pots or trays: Clean ones are a must to prevent any lingering diseases.
- Clear plastic bags or a propagator lid: To maintain humidity.
- Watering can with a fine rose: For gentle watering.
- (Optional) Rooting hormone: While not always essential for Aquilegia, it can give cuttings a nice boost.
Propagation Methods
While you can grow Columbines from seed, I’ve found propagation from cuttings to be quite successful and a little more hands-on fun. Division is also an option for established plants, but let’s focus on cuttings first.
Method: Stem Cuttings (The Most Reliable)
- Select your cuttings: Look for young, non-flowering stems that are about 4-6 inches long. Snip them cleanly just below a leaf node (where a leaf attaches to the stem).
- Prepare the cuttings: Gently remove the lower leaves, leaving just a couple at the very top. If you’re using rooting hormone, dip the cut end into it now, tapping off any excess.
- Pot them up: Fill your small pots with your propagation mix. Make a small hole with your finger or a pencil and insert the cutting, ensuring the leaf nodes are buried. Gently firm the soil around the stem.
- Water gently: Water thoroughly, but give the excess a chance to drain away.
- Create a mini-greenhouse: Place the pots into a clear plastic bag, tying it loosely or fitting a propagator lid over them. This traps humidity, which is crucial for cuttings to root.
- Find a bright spot: Place your propagating pots in a bright location out of direct sunlight. A bright windowsill is perfect.
The “Secret Sauce” (Pro Tips)
Here are a few little tricks I’ve learned over the years that can really make a difference:
- Don’t let those leaves touch the water! If any leaves are below the soil line, they’re just going to rot. Prune them off cleanly before potting.
- Give them bottom heat, if you can. A heated propagator mat can significantly speed up the rooting process. It mimics the warmth of spring soil and gives those little root cells a nudge to get going. Don’t scorch them, though! Moderate warmth is key.
- Be patient with the watering inside the bag. You want the soil to be consistently moist, but not waterlogged. If you see condensation building up heavily, open the bag for a few hours to let it air out a bit.
Aftercare & Troubleshooting
Once your cuttings have started to show signs of rooting – you might see new leaf growth or resistance when you gently tug on the stem – it’s time to introduce them to the wider world, slowly.
- Harden them off: Gradually get them used to drier air by opening the plastic bag a little more each day over a week or so. Remove the bag entirely once they seem robust.
- Water with care: Continue to keep the soil consistently moist, but never soggy. Overwatering is the quickest way to invite trouble.
- Watch for rot: The dreaded sign of failure is usually a mushy, brown stem base or yellowing leaves that aren’t getting better. This often points to too much moisture and poor air circulation. If you see this, sadly, that cutting is likely lost. Don’t be discouraged, just try again!
Wrap Up
Propagating Aquilegia atrata is a wonderful way to feel connected to your garden and multiply these special plants. It takes a little patience, a watchful eye, and perhaps a few attempts, but the satisfaction of seeing those first tiny roots emerge is simply unmatched. So grab your shears, get your hands in the soil, and enjoy the journey of growing more beauty! Happy gardening!
Resource:
https://identify.plantnet.org/k-world-flora/species/Aquilegia%20atrata%20W.D.J.Koch/data