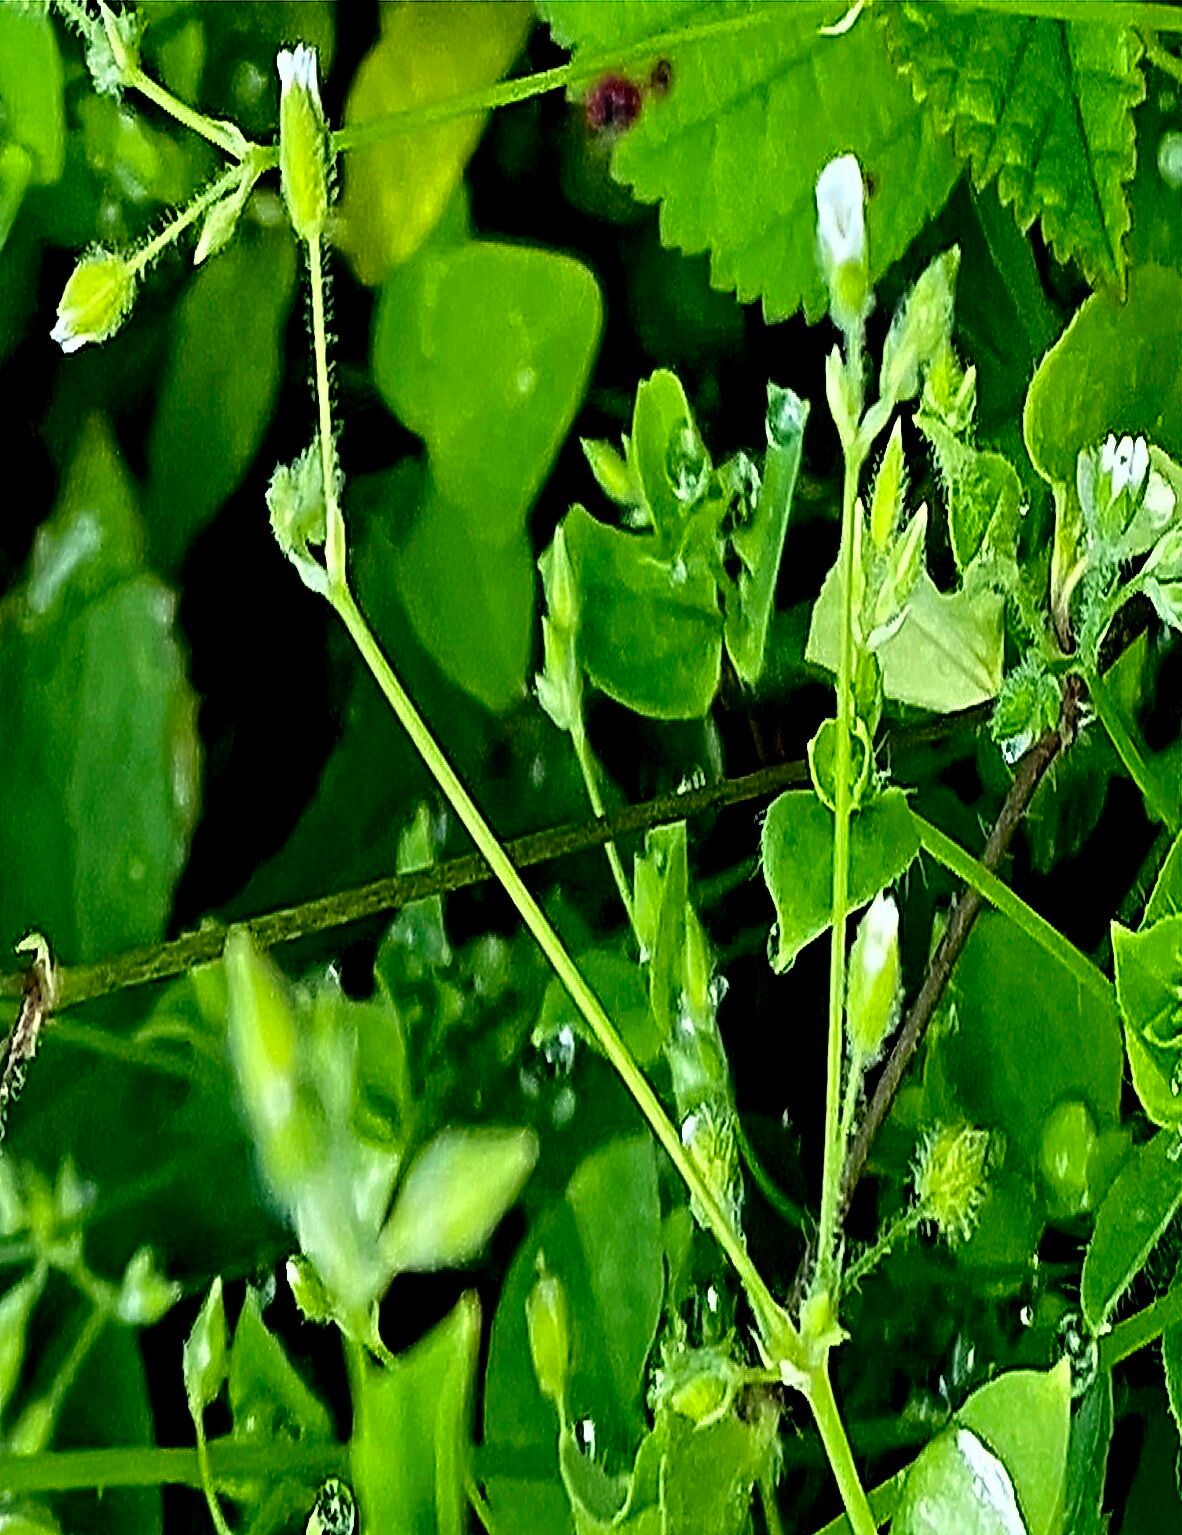
Oh, Drymaria villosa! What a charming little plant. I remember the first time I saw it tucked away in a shady corner, its fuzzy leaves catching the dappled sunlight. It’s got this delicate, almost whimsical quality, and when it blooms with those tiny white stars, it’s just pure magic. Propagating it is a lovely way to share that magic, and honestly, it’s not too tricky once you get the hang of it. Even if you’re just starting out, I think you’ll find this little one quite forgiving.
The Best Time to Start
For the happiest results, I like to start propagating Drymaria villosa in the late spring or early summer. This is when the plant is actively growing and has plenty of energy to put into developing new roots. You want to work with healthy, vigorous stems that aren’t flowering.
Supplies You’ll Need
Here’s what I usually gather before I get started:
- Clean, sharp pruning shears or scissors.
- A rooting hormone powder or gel. This isn’t always strictly necessary, but it gives the cuttings a nice boost.
- A well-draining potting mix. I often use a mix of equal parts perlite, coco coir, and a good quality potting soil. For this particular plant, a bit lighter is better.
- Small pots or propagation trays. Make sure they have drainage holes.
- A clear plastic bag or a propagator lid. This helps create a humid environment.
- A watering can with a fine rose.
Propagation Methods
Let’s dive into the easiest way to get more of these beauties!
Stem Cuttings: My Go-To Method
This is my favorite way to propagate Drymaria villosa. It’s straightforward and usually yields great results.
- Take a cutting: Look for a healthy, non-flowering stem. Using your clean shears, cut a section that’s about 3-4 inches long. Try to make the cut just below a leaf node – that’s the little bump where a leaf attaches to the stem.
- Prepare the cutting: Gently remove the lower leaves from the cutting, leaving just a few at the very top. This prevents them from rotting once you plant the cutting.
- Apply rooting hormone: Dip the cut end of the stem into your rooting hormone powder or gel. Tap off any excess.
- Plant the cutting: Make a small hole in your prepared potting mix with a pencil or your finger. Insert the cutting into the hole, ensuring the leaf nodes that were removed are buried in the soil. Gently firm the soil around the stem.
- Water gently: Water the pot thoroughly until you see water draining from the bottom.
- Create humidity: Cover the pot with a clear plastic bag or a propagator lid. This creates a mini greenhouse effect, keeping the humidity high, which is crucial for cuttings.
Water Propagation (A Fun Alternative)
If you like to see the roots grow, try this!
- Take and prepare your cutting just like you would for stem cuttings (steps 1 and 2 above).
- Place the cutting in a clean jar or glass of water. Make sure the leaf nodes are submerged, but the remaining leaves are above the water line.
- Find a bright spot: Place the jar in indirect light.
- Change the water regularly: Every few days, change out the water to keep it fresh and prevent algae growth.
- Wait for roots: You should see little white roots starting to form within a few weeks. Once the roots are about an inch long, you can pot them into your well-draining soil mix.
The “Secret Sauce” (Pro Tips!)
Here are a couple of things I’ve learned over the years that really seem to help these little guys thrive:
- When doing water propagation, don’t let the leaves touch the water. They’ll quickly turn mushy and rot, which can then infect the stem.
- If you’re using stem cuttings and have a heat mat, a little bottom warmth can work wonders. It’s not essential, but it can really speed up root development, especially if your home is a bit cooler. Just place your pots on top of it.
Aftercare & Troubleshooting
Once your cuttings have developed a good root system – you’ll know because you’ll see new growth and if you gently tug on the cutting, there will be some resistance – it’s time to start treating them like small plants.
Keep the soil consistently moist but not soggy. Reduce the humidity gradually. If you’ve been using a plastic bag, start opening it for a few hours each day before removing it completely.
Watch out for signs of rot. This usually looks like a mushy, dark stem at the soil line. If you see this, it’s often a sign of too much moisture and poor air circulation. Unfortunately, if rot sets in, it’s hard to save the cutting, so prevention is key! Yellowing leaves can sometimes mean too much direct sun or inconsistent watering.
A Encouraging Closing
There you have it! Propagating Drymaria villosa is a journey, and like all good things in the garden, it rewards patience. Don’t be discouraged if a few don’t make it – that’s part of the learning process. Just keep observing your cuttings, adjust your care as needed, and enjoy the satisfaction of watching something new grow from a tiny piece of hope. Happy propagating!
Resource:
https://identify.plantnet.org/k-world-flora/species/Drymaria%20villosa%20Schltdl.%20&%20Cham./data