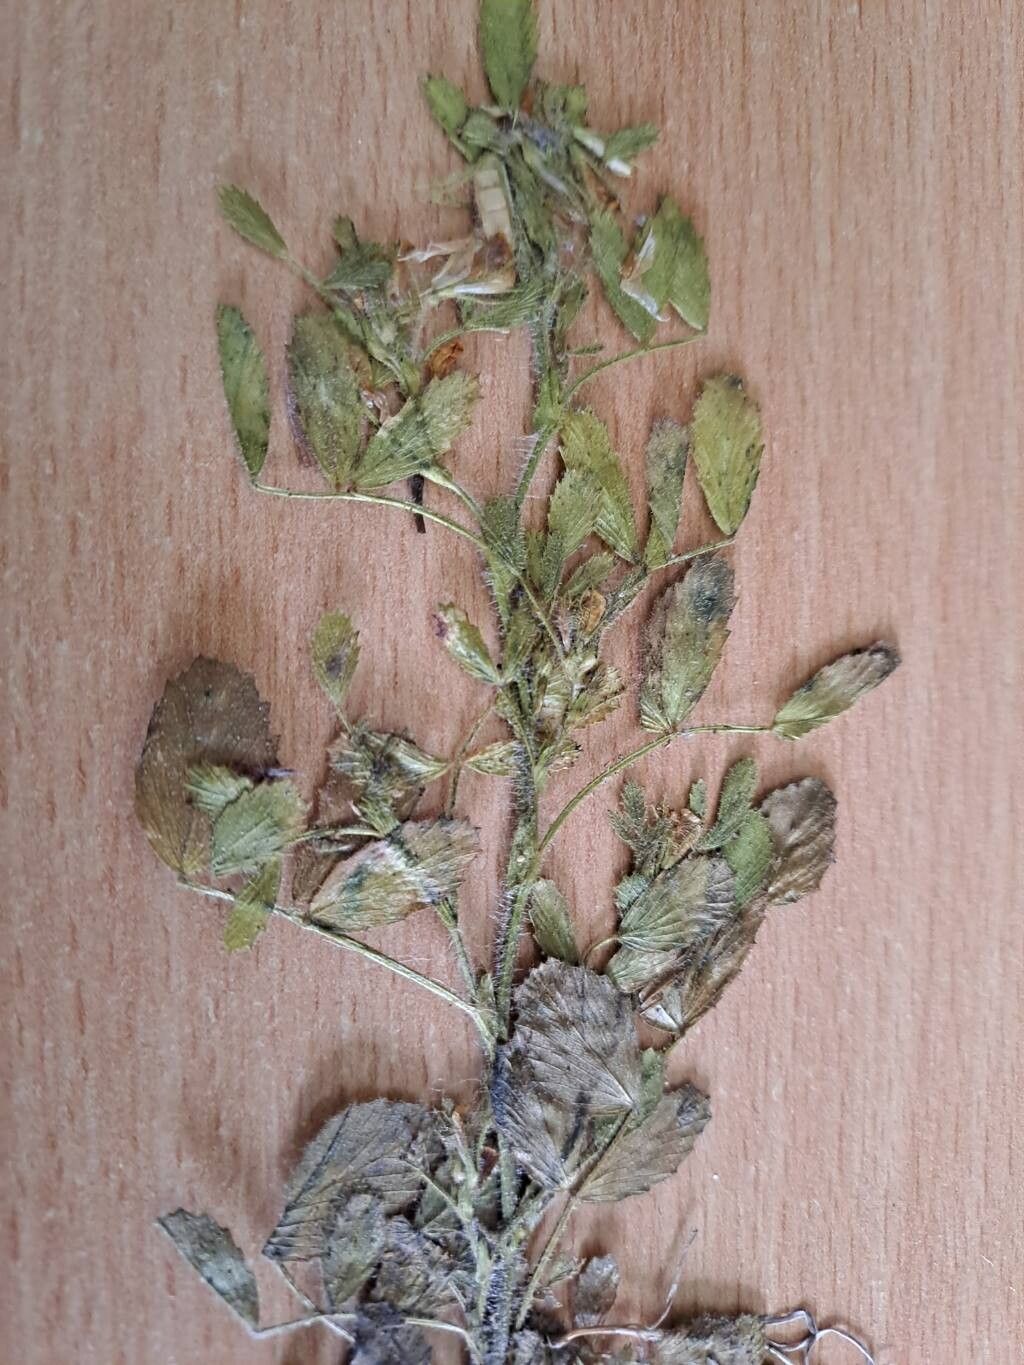
Hello, fellow green thumbs! Have you ever admired those charming little clusters of Ononis ornithopodioides, with their delightful pea-like flowers and delicate foliage? I know I have! This little gem, often called ‘Bird’s-foot Restharrow,’ brings such a lovely texture and a splash of soft color to garden borders and rockeries. And the best part? Propagating it yourself is incredibly rewarding, giving you more of this beauty for free! Don’t worry, it’s quite manageable, even if you’re just starting out on your propagation journey.
The Best Time to Start
For the highest success rate with Ononis ornithopodioides, I find that late spring to early summer is absolutely perfect. This is when the plant is actively growing, and you can take cuttings from healthy, non-flowering shoots. You’re essentially catching it at its most vigorous and resilient.
Supplies You’ll Need
Before we get our hands dirty, let’s gather our tools:
- Sharp, clean pruning shears or a hobby knife: For taking neat cuttings.
- Rooting hormone (optional but recommended): A little boost can make a big difference.
- Well-draining potting mix: I like a blend of equal parts peat moss or coco coir and perlite or coarse sand.
- Small pots or seedling trays: Clean and with drainage holes, of course!
- Watering can with a fine rose: For gentle watering.
- A plastic bag or propagation dome: To create a humid environment.
- Labels: To keep track of what you’ve planted!
Propagation Methods
The most reliable way I’ve found to propagate Ononis ornithopodioides is through stem cuttings. It’s straightforward and yields great results.
Stem Cuttings:
- Select Your Cuttings: Look for healthy, vigorous stems that are about 4-6 inches long. Make sure they are not flowering.
- Make the Cut: Using your clean shears, make a cut just below a leaf node. This is where roots will most readily form.
- Prepare the Cuttings: Gently remove the lower leaves from the bottom half of the cutting. This prevents them from rotting in the soil. If you have a bit of stem exposed, that’s fine.
- Apply Rooting Hormone (Optional): Dip the cut end of the stem into rooting hormone powder, tapping off any excess.
- Plant Your Cuttings: Fill your pots with your well-draining potting mix. Make a small hole with your finger or a pencil, and insert the cutting. Gently firm the soil around the base.
- Water Gently: Water thoroughly but gently, ensuring the soil is moist but not waterlogged.
- Create a Humid Environment: Cover the pots with a plastic bag or a propagation dome. This will trap humidity, which is crucial for the cuttings to root. You can prop up the bag with a few skewers if it touches the leaves.
The “Secret Sauce” (Pro Tips)
Here are a couple of things I’ve learned over the years that really push the success rate for these little guys:
- The ‘Heel’ Trick: When taking cuttings from woody stems (which can happen with older Ononis), try to take a cutting that includes a tiny sliver of the older stem attached – sometimes called taking it with a ‘heel.’ It’s like giving the cutting a little head start.
- Bottom Heat: If you have a heated propagator or can place your pots on a gentle heat mat, you’ll find that bottom heat really encourages root development. Just make sure the heat isn’t too intense; lukewarm is ideal.
Aftercare & Troubleshooting
Once your cuttings are potted, place them in a bright spot out of direct sunlight. Keep the soil consistently moist but never soggy. You can gently tug on a cutting after a few weeks; if there’s resistance, you’ve got roots! Once roots have formed and you see new growth, start to gradually acclimatize them to drier air by removing the plastic bag for increasing periods each day. Eventually, you can remove it entirely.
The most common issue you might encounter is rot. This is usually due to overwatering or poor drainage. If you see cuttings wilting and turning mushy, it’s a sign of rot. Remove affected cuttings immediately and ensure your soil mix is very free-draining. Also, keep an eye out for damping off, a fungal disease that can cause seedlings and cuttings to collapse at the soil line – good air circulation helps prevent this.
A Encouraging Closing
Propagating Ononis ornithopodioides is a wonderful way to expand your collection and share these charming plants. Be patient with your cuttings; sometimes it takes a little while for those roots to take hold. Enjoy the process of nurturing these tiny beginnings, and soon you’ll have plenty of Bird’s-foot Restharrow to brighten your garden! Happy growing!
Resource:
https://identify.plantnet.org/k-world-flora/species/Ononis%20ornithopodioides%20L./data