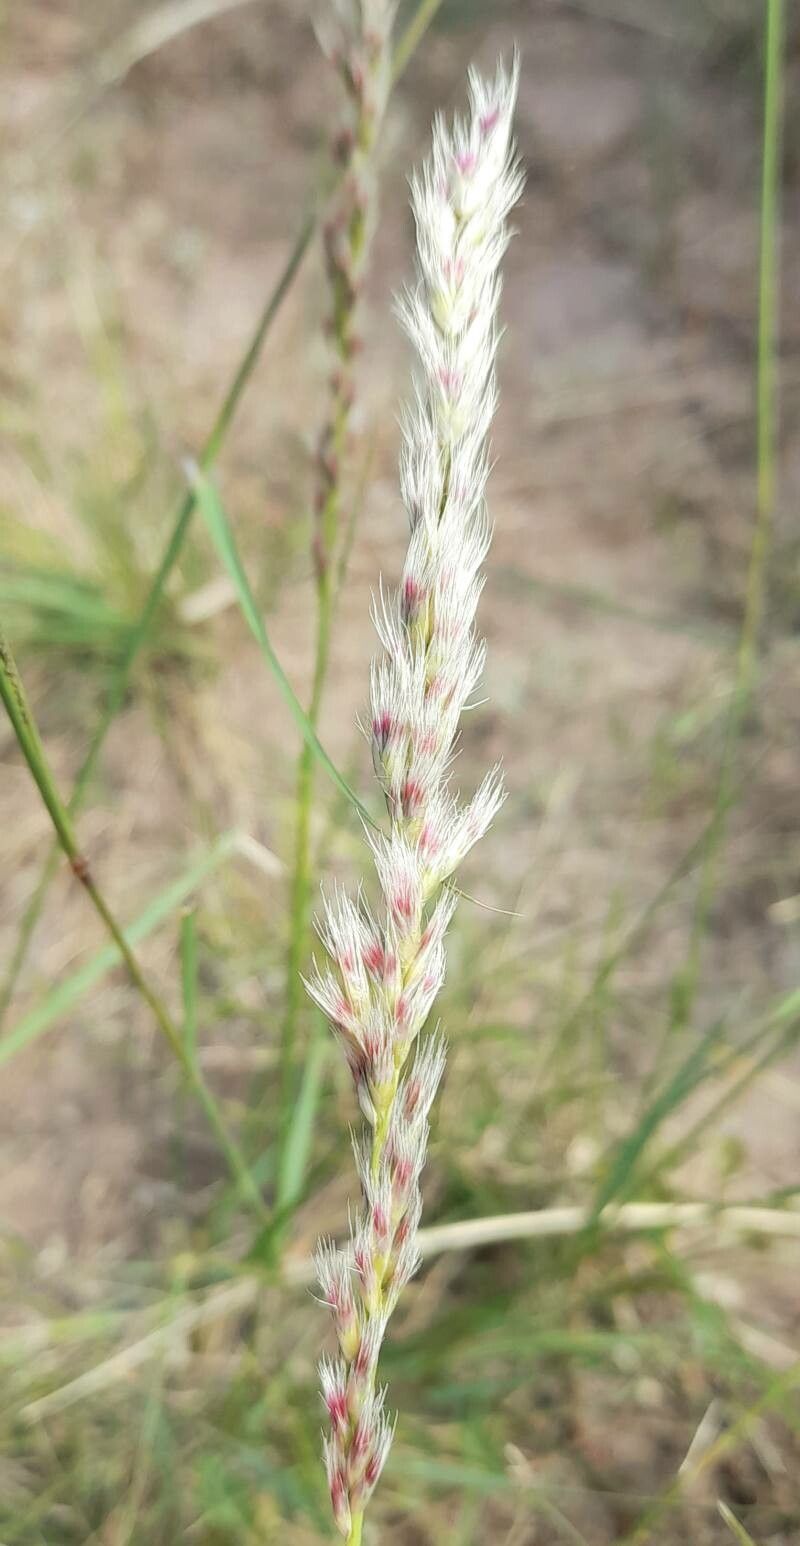
Hello there, fellow plant enthusiasts! Today, I want to chat about a grass that has truly captured my heart: Pappophorum mucronulatum. You might know it by its common name, Frosty Curls, and for good reason! Its delicate, silvery-blue foliage, often topped with charming, wispy flower heads, brings a touch of ethereal beauty to any garden or container. It’s not overly fussy, and the satisfaction of watching a tiny clipping transform into a lush new plant is just chef’s kiss. For beginners, I’d say it’s moderately easy – a few simple steps, and you’ll be well on your way.
The Best Time to Start
My favorite time to get started with propagating Pappophorum mucronulatum is in the late spring to early summer. The plant is actively growing, and cuttings taken now have ample time to establish themselves before the cooler weather sets in. You’re looking for healthy, vigorous stems that aren’t flowering heavily.
Supplies You’ll Need
Here’s a little kit to set you up for success:
- A good quality potting mix – I like a blend that’s well-draining. A mix of potting soil, perlite, and a bit of coarse sand works wonders.
- Sharp, clean pruning shears or a sharp knife. This is crucial for making clean cuts.
- Small pots or seedling trays. New plants don’t need much space to start.
- Rooting hormone (optional, but helpful). A powdered or liquid hormone can give your cuttings an extra boost.
- A spray bottle for misting.
- Small labels or markers to keep track of your projects!
Propagation Methods
I primarily use two methods for propagating Frosty Curls, and both are quite effective.
1. Stem Cuttings (My Go-To)
This is my preferred method because it’s so efficient.
- First, select a healthy stem from your mature Pappophorum mucronulatum. Look for a stem that’s at least 4-6 inches long and has a few sets of leaves.
- Using your clean shears or knife, make a clean cut just below a leaf node. A leaf node is where a leaf joins the stem. This is where the magic happens!
- Gently remove the lower leaves from the bottom half of the cutting. You want to expose the part of the stem that will go into the soil.
- If you’re using rooting hormone, dip the cut end into it, tapping off any excess.
- Now, make a hole in your potting mix with a pencil or your finger, deep enough for the un-leaved part of the stem.
- Carefully insert the cutting into the hole and gently firm the soil around it.
- Water gently until the soil is evenly moist. If you’re worried about disturbing the cutting, use your spray bottle to moisten the surface.
- Place the pot in a bright, indirect light location. Avoid direct sun, which can scorch young cuttings.
- Keep the soil consistently moist, but not soggy. That spray bottle will be your best friend here for maintaining humidity.
2. Division
If your Pappophorum mucronulatum is already a nice clump, division is a super easy way to get more plants.
- Gently remove the entire plant from its pot. If it’s in the ground, carefully dig around the root ball.
- Gently tease apart the root ball with your fingers or a trowel. You’re looking to separate the plant into sections, each with its own roots and shoots. Don’t be afraid to get in there!
- Once you have your divisions, you can plant them directly into new pots filled with your well-draining potting mix.
- Water well and treat them as you would established plants. They might look a little shocked for a few days, but they’ll bounce back!
The “Secret Sauce” (Pro Tips)
Over the years, I’ve picked up a few little tricks that seem to make a big difference:
- When you’re taking stem cuttings, don’t be tempted to use flower stalks. You want leafy stems that are putting their energy into growing, not blooming.
- For stem cuttings, I always recommend covering the pot with a clear plastic bag or placing it in a propagator. This creates a mini-greenhouse effect, keeping the humidity high. Just make sure the leaves don’t touch the sides of the bag too much, or you might encourage fungal issues.
- Bottom heat can really speed things up. If you’re propagating in a cooler environment, placing your pots on a gentle seedling heat mat can encourage root development much faster. You don’t need it blazing hot, just a touch of warmth.
Aftercare & Troubleshooting
Once you start to see new growth or feel a gentle tug when you very lightly pull on the cutting, you know your Pappophorum mucronulatum has rooted! Hooray!
- You can now gradually acclimate it to less humid conditions. If it was in a bag, start leaving it open for longer periods.
- Continue to water regularly, letting the soil dry out slightly between waterings.
- Avoid fertilizing for at least a month or two. The new roots need time to get established before they can take up nutrients.
Now, about troubleshooting. The most common issue you’ll encounter is rot. If your cutting turns mushy and black, it’s usually a sign that it’s getting too wet and not enough air circulation. In this case, unfortunately, it’s best to discard it and start fresh. If you see wilting without any signs of rot, it could be that the soil is too dry, or the plant isn’t getting enough light. Just adjust your care accordingly.
A Little Patience, A Lot of Reward
Trust me, the wait is worth it! Propagating plants, especially beauties like Pappophorum mucronulatum, is such a rewarding part of gardening. Be patient with your little ones, give them a bit of TLC, and soon you’ll have a whole collection to share (or keep all to yourself – I won’t tell!). Happy propagating!
Resource:
https://identify.plantnet.org/k-world-flora/species/Pappophorum%20mucronulatum%20Nees/data