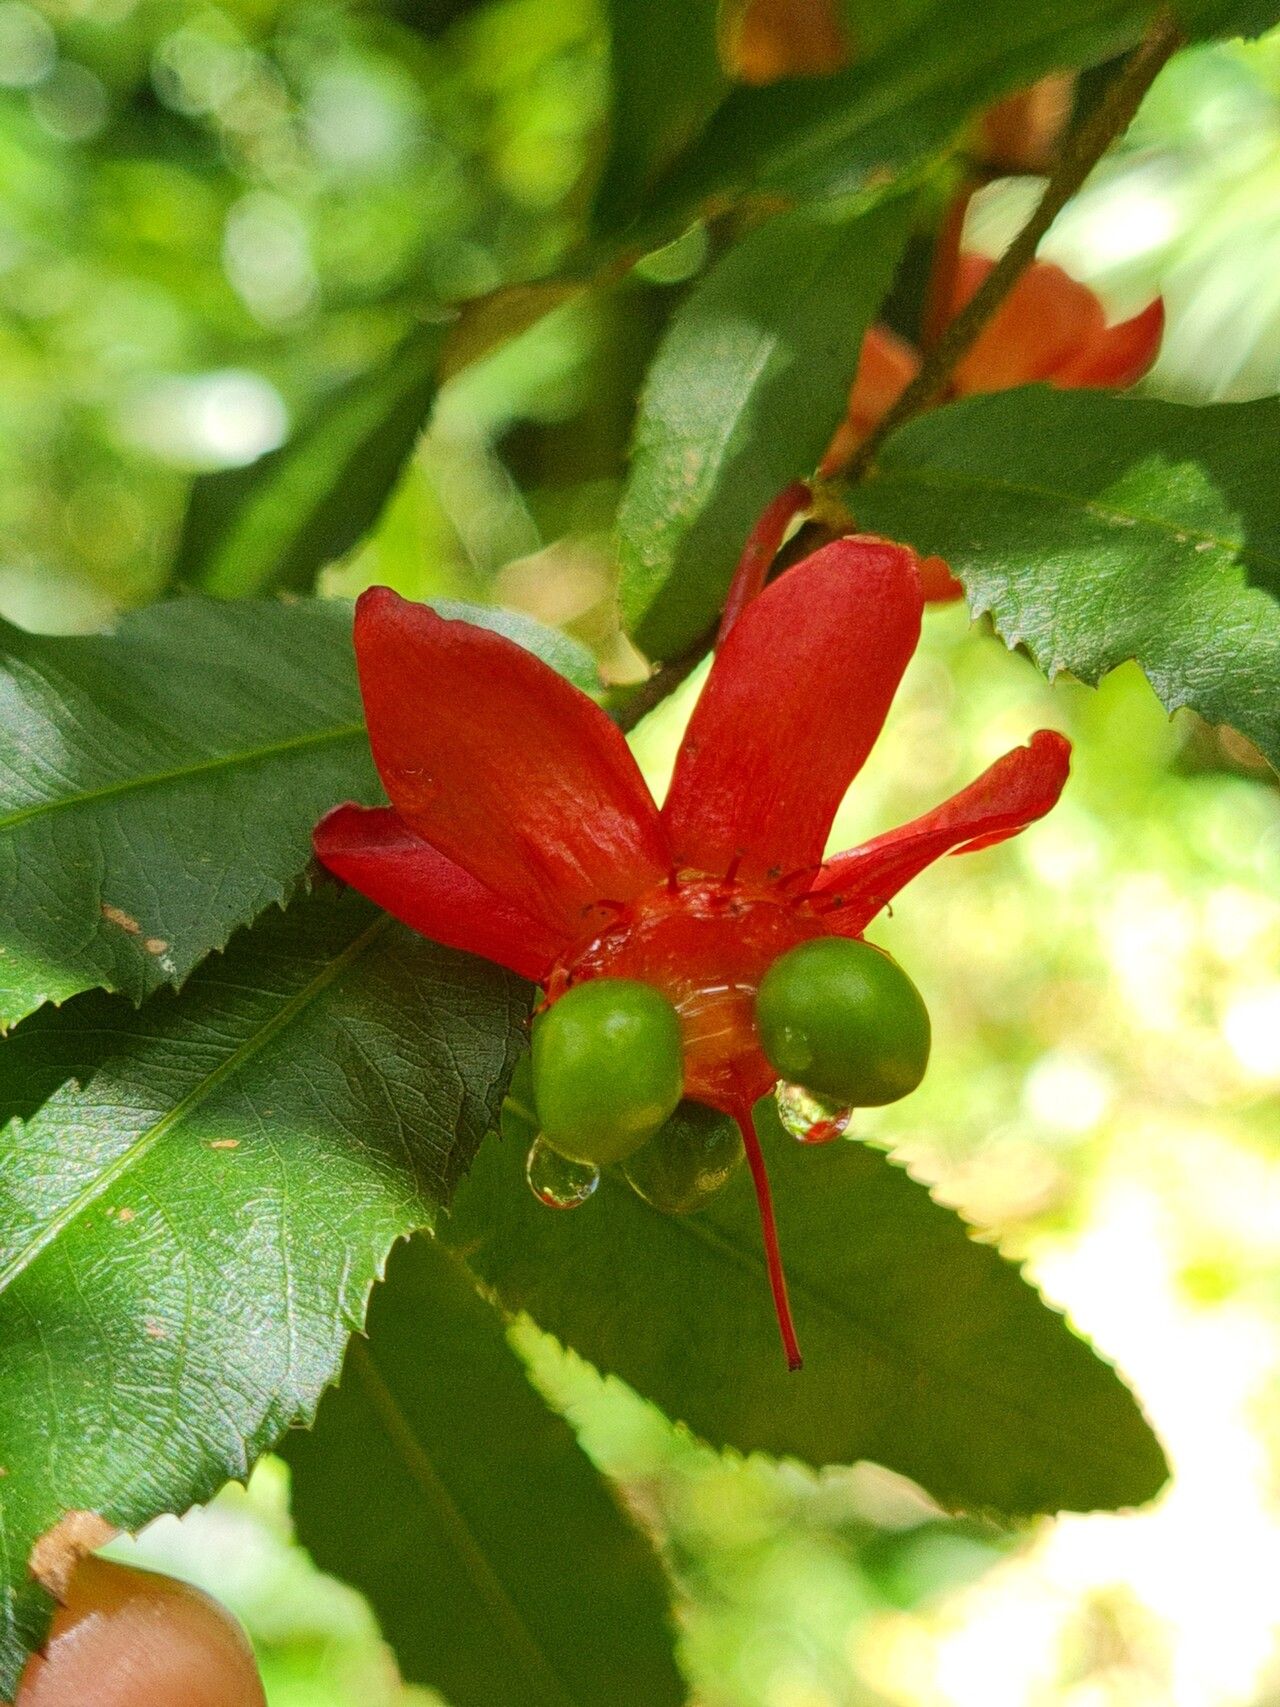
Ah, Ochna multiflora! What a joy it is to introduce this lovely plant to more gardens. Known for its cheerful yellow flowers that cascade in abundance, followed by those fascinating red calyces that look like little smiling faces, it’s a real showstopper. For me, the real magic comes from coaxing new life from an existing plant. It’s incredibly satisfying, and honestly, not nearly as daunting as some might think. If you’re a beginner, you might find it a tad challenging, but with a little patience, you’ll be celebrating your own Ochna success story.
The Best Time to Start
For Ochna multiflora, the sweet spot for propagation is definitely late spring or early summer. This is when the plant is in its active growth phase, meaning its energy is directed towards producing new shoots and leaves. That vibrant energy translates into a higher chance of rooting success. You’ll want to look for semi-hardwood cuttings – these are the newer, more flexible stems that have started to firm up a bit, but aren’t completely woody and stiff.
Supplies You’ll Need
To give your Ochna cuttings the best start, gather these essentials:
- Clean, sharp pruning shears or a sharp knife: A clean cut minimizes the risk of disease.
- Rooting hormone powder: This is your trusty assistant in encouraging root development. I like to use one specifically for semi-hardwood cuttings.
- Small pots or propagation trays: Ensure they have drainage holes!
- A well-draining potting mix: A good blend for me is equal parts perlite, coarse sand, and peat moss or coco coir. This ensures good aeration and prevents sogginess. You can also buy a specific seed starting or succulent mix.
- Plastic bags or a propagator: To create a humid environment, which is crucial.
- Watering can with a fine rose or a spray bottle: For gentle watering.
- Labels and a marker: So you don’t forget what you planted!
Propagation Methods
I find stem cuttings to be the most reliable and rewarding method for Ochna multiflora. Here’s how I do it:
- Take Your Cuttings: In late spring or early summer, select healthy, non-flowering stems. Using your clean pruning shears, take cuttings that are about 4-6 inches long. Make your cut just below a leaf node (where a leaf attaches to the stem).
- Prepare the Cuttings: Gently remove the leaves from the bottom half of the cutting. If the remaining leaves are very large, you can cut them in half horizontally. This reduces water loss through transpiration.
- Apply Rooting Hormone: Dip the cut end of each cutting into rooting hormone powder. Tap off any excess.
- Plant Your Cuttings: Fill your pots or trays with your chosen potting mix. Make a small hole in the center of the mix with your finger or a pencil. Insert the prepared cutting into the hole, ensuring the nodes are buried. Gently firm the mix around the base of the cutting.
- Create a Humid Environment: Water the mix gently. Then, cover the pots with a clear plastic bag or place them in a propagator. Make sure the plastic doesn’t touch the leaves too much. If using a bag, you might need to secure it loosely around the pot.
- Place in Bright, Indirect Light: Find a warm spot for your cuttings that receives bright, but not direct, sunlight. Avoid placing them in a scorching hot window.
The “Secret Sauce” (Pro Tips)
After years of playing with plants, I’ve learned a few tricks that really boost my success rates. Here are a couple for Ochna:
- Bottom Heat is Your Friend: Ochna cuttings love a bit of warmth from below. If you have a heat mat designed for seedlings, place your pots on it. This encourages root development from the bottom up, significantly improving your chances. You’ll often see propagation trays with a built-in heat source, which is fantastic.
- Don’t Go Crazy with Watering: It’s a fine balance. You want the potting mix to be consistently moist, but never waterlogged. Overwatering is a quick way to invite rot, which is the bane of cuttings. I often give mine a gentle water when the top inch of soil feels dry, and aim to keep the humidity high with misting or the plastic cover.
Aftercare & Troubleshooting
Be patient! It can take anywhere from 4 to 8 weeks for your Ochna cuttings to develop roots. You can gently tug on a cutting after a few weeks – if you feel resistance, that’s a good sign that roots are forming. Once roots have developed, you’ll want to gradually acclimate your new plants to normal humidity levels by slowly opening the plastic bag over a week or so. Continue to keep them in bright, indirect light and water when the top inch of soil is dry.
The most common issue you’ll face is rot. If a cutting turns black and mushy, it’s a sign of too much moisture and poor air circulation. Unfortunately, if this happens, the cutting is likely lost. Preventative measures – like using a well-draining mix, not overwatering, and ensuring good airflow – are key. Also, sticky, brown leaves can indicate it’s too dry, while yellowing leaves could be a sign of too much or too little water.
A Encouraging Closing
So there you have it! Propagating Ochna multiflora is a wonderfully fulfilling process. Don’t be discouraged if your first attempt doesn’t yield a forest of new plants. Every plant is a learning opportunity. Enjoy the journey, celebrate the small victories, and soon you’ll be sharing your beautiful Ochnas with friends and family. Happy propagating!
Resource:
https://identify.plantnet.org/k-world-flora/species/Ochna%20multiflora%20DC./data