Bringing More Purple Beauty into Your Garden: A Guide to Propagating Aristida purpurea
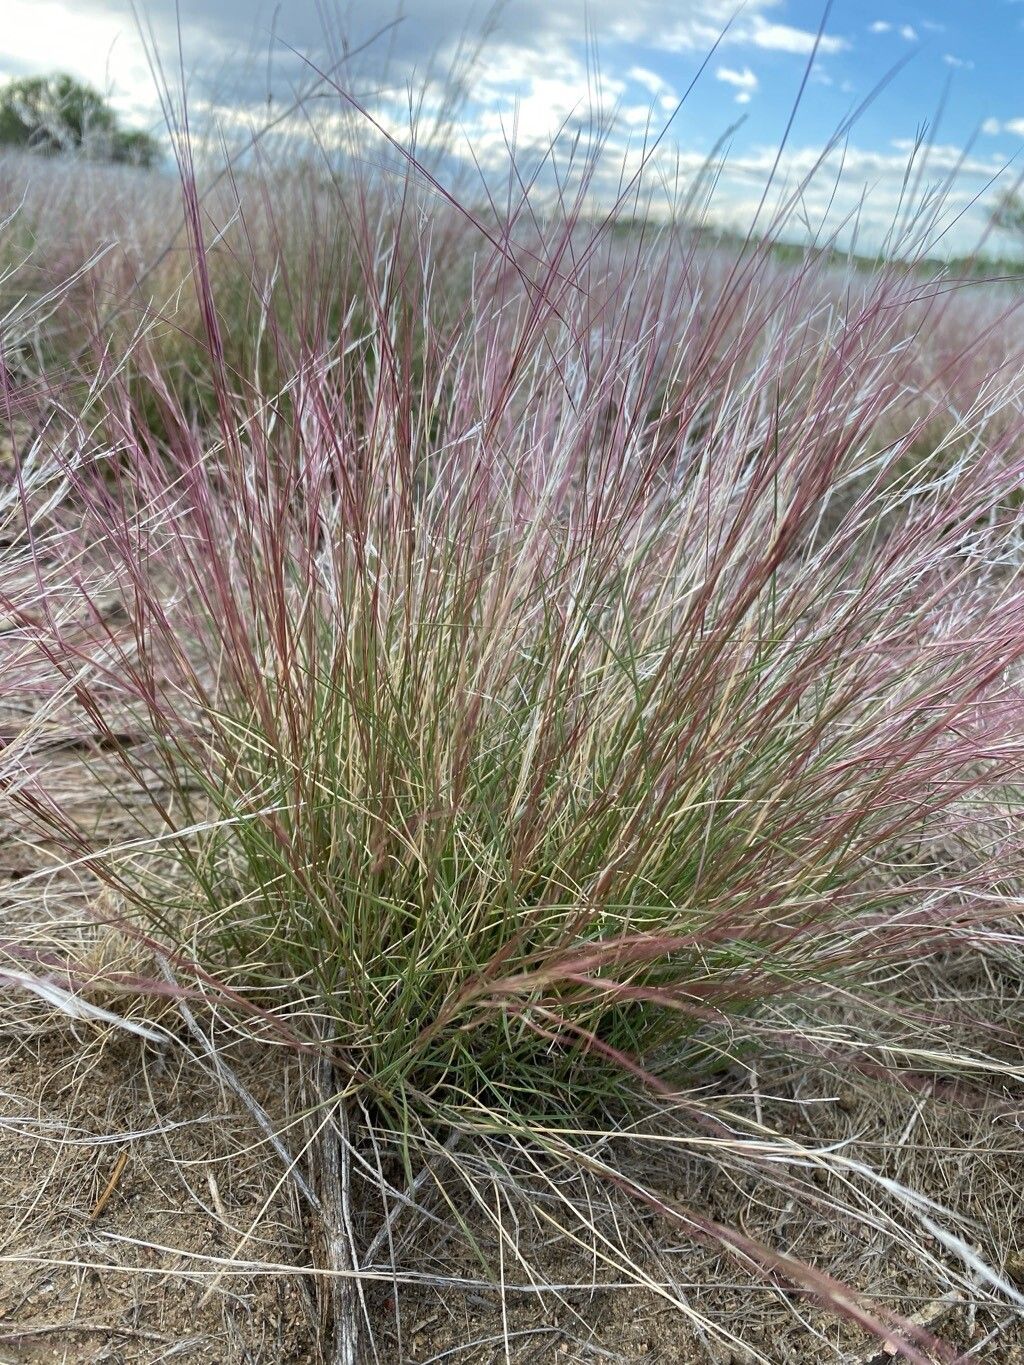
Oh, Aristida purpurea! Isn’t she a stunner? With those wispy, purplish flower stalks that catch the breeze just so, it’s no wonder this native prairie grass has captured so many hearts. I’ve been growing it for years, and every time those delicate seed heads emerge, I feel a little thrill. Propagating it yourself is incredibly satisfying. You get to extend that beauty, share it with friends, or simply fill those empty spots in your landscape. If you’re new to propagation, you might find Aristida purpurea a tad more challenging than, say, a pothos, but with a little patience and these tips, you’ll be well on your way.
When is the Sweet Spot for Starting?
For Aristida purpurea, the best time to start propagating is from seeds. You want to collect those seeds when they are fully mature and dry, usually in late summer or early fall. If you’re thinking about division, that’s generally best done in early spring, just as the plant is waking up from its winter slumber.
What You’ll Need to Get Growing
You don’t need a whole greenhouse for this, just a few essentials:
- Small pots or seed trays: Clean ones are key to preventing disease.
- A well-draining potting mix: I like a blend of compost, coarse sand, and perlite. For seeds, a finer mix is good, but always ensure it drains well.
- Watering can with a fine rose nozzle: Gentle watering prevents disturbing tiny seeds or delicate root systems.
- Labels: Trust me, you’ll forget what you planted and when!
- Patience: This is the most important tool.
Let’s Get Our Hands Dirty: Propagation Methods
For Aristida purpurea, seed propagation is usually the most reliable and rewarding.
Seed Starting: The Prairie Way
- Collect Your Treasure: Wait until the seed heads are golden brown and feel dry to the touch. Gently rub them between your fingers or snip them off and let them dry further in a paper bag for a week or two. You’ll see the little seeds (awns and all!) detach.
- Sow Your Seeds: Fill your pots or trays with your well-draining potting mix. Lightly moisten the soil.
- Scatter and Cover: Sprinkle the seeds evenly over the surface. You don’t need to bury them deep; a very light dusting of soil, almost like a tiny sprinkle, is enough. Aristida seeds need light to germinate.
- Water Gently: Use your fine-rose watering can to water gently. You want the soil to be moist but not waterlogged.
- Find the Right Spot: Place your pots in a bright location, but out of direct, harsh sunlight. A sunny windowsill is often perfect.
- Wait and Watch: Germination can be a bit slow and erratic. It might take anywhere from a few weeks to a couple of months. Keep the soil consistently moist.
Division: A Spring Refresh
If you have an established clump that’s getting a little large, division is a good option in early spring.
- Dig Carefully: In early spring, before growth really takes off, carefully dig around the clump. You want to lift the entire root ball.
- Separate Gently: You can often pull the root ball apart with your hands. If it’s stubborn, a clean trowel can help you tease apart sections. Ensure each division has a good amount of roots and some top growth.
- Replant Immediately: Prepare new planting spots or pots with your well-draining mix. Plant your divisions, water them in well, and keep them consistently watered for the first few weeks.
The “Secret Sauce” You Won’t Find Everywhere
Here are a few things I’ve learned over the years that really make a difference:
- Embrace Imperfection with Seeds: Don’t worry if your Aristida seeds have those long, feathery awnings attached. They are part of the seed and can actually help with dispersal in nature. Just sow them as they are!
- Stratification (the Fancy Word for Cold Treatment): Sometimes, Aristida seeds benefit from a period of cold. After sowing them, you can pop the trays into a plastic bag and place them in the refrigerator for 3-4 weeks. Then, bring them out to a warm spot for germination. This mimics winter conditions.
- Don’t Overwater! This is the cardinal sin for many propagations. While you want to keep seeds moist, soggy soil is a fast track to rot. If you see water pooling, you’ve gone too far.
Aftercare and When Things Go Sideways
Once your tiny Aristida sprouts emerge (hooray!), continue to water gently and consistently. As they grow a bit larger, you can start giving them a little more light. If you’re starting from division, water them as you would any transplanted perennial – regularly until they are established.
The most common problem you might encounter is damping off, which is a fungal disease that causes young seedlings to rot at the soil line. This is usually due to too much moisture and poor air circulation. If you see this happening, the best thing to do is discard the affected seedlings and try to improve drainage and air movement for the remaining ones. Don’t be discouraged if you lose a few; it’s part of learning.
The Joy of Growth
Propagating Aristida purpurea is a wonderful way to connect with nature and bring more of its unique beauty into your life. Be patient, observe your plants, and celebrate every little sprout and new root. You’ve got this! Happy gardening!
Resource:
https://identify.plantnet.org/k-world-flora/species/Aristida%20purpurea%20Nutt./data