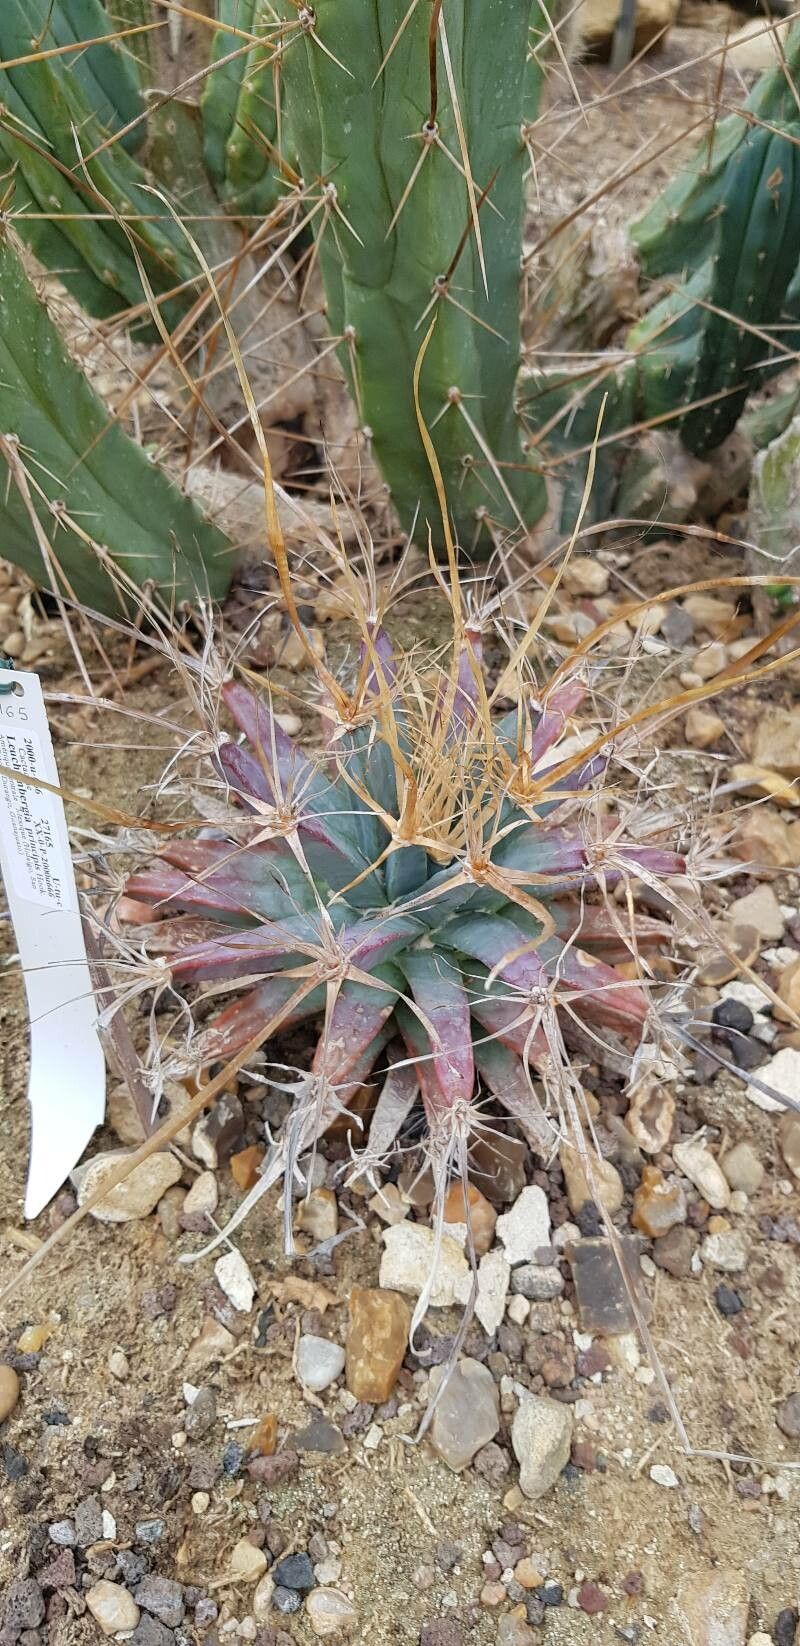
Hello there, fellow plant lovers! Today, we’re diving into the wonderful world of propagating Leuchtenbergia principis, or as it’s affectionately known, the Agave Cactus. This unique succulent, with its striking, pineapple-like appearance and striking, waxy leaves, is a real showstopper in any collection. The satisfaction of creating a new plant from a piece of an old one is just… well, it’s magic, isn’t it? Don’t be intimidated by its slightly unusual look; while it requires a bit of finesse, propagating Leuchtenbergia is absolutely achievable, and wonderfully rewarding.
The Best Time to Start
For the best success, I always recommend propagating Leuchtenbergia principis in the spring or early summer. This is when the plant is actively growing and has the most energy reserves. You’ll find that cuttings taken during this period root much faster and are less prone to rot. Wait until your mature plant is showing vigorous new growth.
Supplies You’ll Need
Gathering your tools beforehand makes the whole process smoother. Here’s what I keep on hand:
- Well-draining potting mix: A cactus or succulent blend is perfect. You can also make your own by mixing equal parts perlite, coarse sand, and a good quality potting soil.
- Clean, sharp pruning shears or a knife: Sterility is key to preventing disease.
- Rooting hormone (optional but recommended): This can give your cuttings a helpful boost. Look for one specifically formulated for succulents.
- Small pots or trays: Clean and with drainage holes!
- Labels: To keep track of what you’ve propagated and when.
- Watering can or spray bottle: For gentle watering.
- Bottom heat mat (optional): This can significantly speed up root development.
Propagation Methods
Leuchtenbergia can be propagated reliably through stem cuttings or by utilizing offsets if your plant produces them.
Stem Cuttings: The Most Common Approach
- Select a healthy stem: Look for a mature stem that looks plump and firm. Avoid any that appear soft or discolored.
- Take the cutting: Using your sterilized pruning shears or knife, make a clean cut. Aim for a section that’s at least 3-4 inches long.
- Allow to callus: This is a crucial step! Place the cutting in a dry, well-ventilated spot out of direct sunlight for several days to a week. You want the cut end to dry and form a hard, callus-like surface. This prevents rot when you plant it.
- Apply rooting hormone (optional): Once callused, lightly dip the cut end into rooting hormone, tapping off any excess.
- Plant the cutting: Fill your small pots with your chosen well-draining soil mix. Make a small hole in the center and insert the callused end of the cutting about an inch deep. Gently firm the soil around it.
- Water sparingly: Do not water immediately. Wait a day or two after planting, then water very lightly. The goal is to keep the soil just barely moist, not wet.
Offsets (Pups)
If your Leuchtenbergia has produced offsets (small baby plants growing from the base), these are even easier.
- Gently detach the offset: Carefully separate the offset from the parent plant. You might need to use a clean knife if it’s firmly attached. Try to get a bit of its own root system if possible.
- Allow to callus: Just like stem cuttings, let the offset air dry for a few days until the cut end calluses over.
- Pot it up: Plant in well-draining soil, as described above.
- Water sparingly: Wait a day or two before a very light watering.
The “Secret Sauce” (Pro Tips)
Here are a couple of things I’ve learned over the years that make a real difference:
- Airflow is your friend: After planting your cuttings or offsets, ensure there’s good air circulation around them. Overcrowding and stagnant air are a recipe for fungal issues. I often leave my pots uncovered for the first few weeks.
- Patience is paramount with watering: This is probably the biggest mistake new propagators make. Leuchtenbergia is a succulent, meaning it stores water. It doesn’t need much when it’s trying to root. Err on the side of underwatering. When you do water, water thoroughly but allow the soil to dry out completely between waterings.
- Consider bottom heat: If you have a heat mat, pop your pots on it. This gentle warmth encourages root formation without drying out the soil too quickly. It’s a game changer, especially in cooler months or for slower-rooting species.
Aftercare & Troubleshooting
Once you start to see new growth or feel resistance when gently tugging on the cutting, you know roots are forming!
- Gradually introduce more water: As roots develop, you can begin to water a bit more frequently, but always allow the soil to dry out between waterings.
- Move to brighter light: Once your new plant is established and showing good growth, you can gradually introduce it to brighter light, mirroring the conditions of your mature plant.
- Watch for rot: The most common problem is rot, signaled by the cutting turning mushy, dark, and smelling unpleasant. This usually means it’s gotten too much water. Unfortunately, if rot sets in deeply, it’s often impossible to save. Prevention through proper watering and allowing cuttings to callus is key.
- Shriveling: If your cutting shrivels dramatically, it might be too dry, or it simply hasn’t rooted yet and is using up its internal reserves. Don’t give up immediately; sometimes they just need more time.
A Little Encouragement
Propagating plants is a journey, and Leuchtenbergia principis is a beautiful one to embark on. There will be successes, and perhaps a few learning opportunities along the way. Embrace the process, celebrate the tiny roots you coax into existence, and enjoy the satisfaction of bringing more of these magnificent plants into your home and the world. Happy propagating!
Resource: