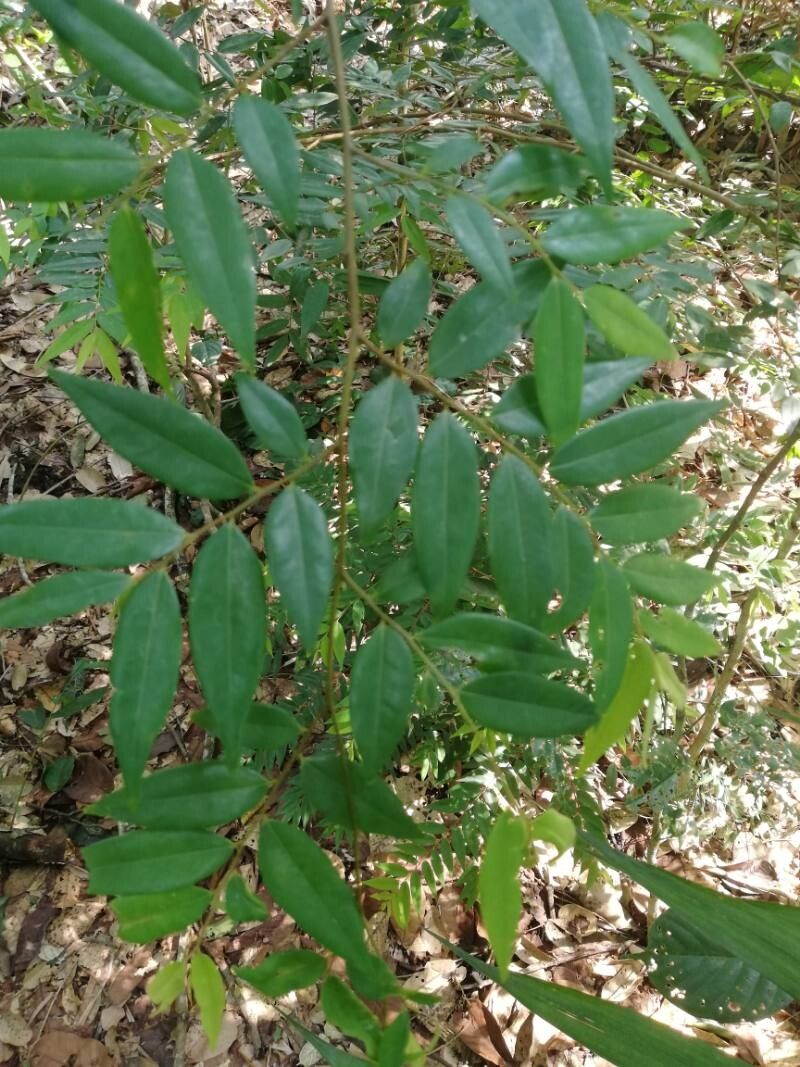
Hello, fellow plant lovers! I’ve got a real treat for you today. We’re diving into the world of Xylopia hypolampra, also known as the “velvet apple” or “black plum” for its beautiful, velvety fruit and deep, alluring foliage. It’s a stunner, isn’t it? And the satisfaction of growing these from scratch? Pure gardening joy. Now, I’ll be honest, Xylopia hypolampra can be a little fussy, so it’s not quite a beginner’s first step into propagation. But with a little patience and these tips, you’ll be well on your way!
The Best Time to Start
For the best chance of success with your Xylopia hypolampra cuttings, I always aim for late spring to early summer. This is when the plant is actively growing, or in that vigorous phase after blooming. You want to take cuttings from healthy, non-flowering stems that are semi-hardwood – not brand new and floppy, but not old and woody either. Think of them as being in that “just about ready” stage.
Supplies You’ll Need
To get your propagation station set up, here’s what you’ll want to have on hand:
- Sharp pruning shears or a clean, sharp knife: For making clean cuts.
- Rooting hormone (optional, but recommended): A powder or gel specifically for woody cuttings.
- Well-draining potting mix: A blend of perlite, peat moss, and a bit of coarse sand works wonderfully. You can also buy specialized succulent or cactus mixes.
- Small pots or seed trays: Clean ones are crucial!
- Plastic bags or a propagation dome: To create a humid environment.
- Water: For misting.
- Labels and a marker: To keep track of what’s what.
Propagation Methods
We’ll focus on stem cuttings, as this is generally the most successful method for woody plants like Xylopia hypolampra.
- Select Your Mother Plant: Find a healthy, mature Xylopia hypolampra and choose a stem that fits our “semi-hardwood” description.
- Take Your Cuttings: Using your clean shears or knife, take cuttings about 4-6 inches long. Make a clean cut just below a leaf node (where a leaf attaches to the stem).
- Prepare the Cuttings: Gently remove the lower leaves from the cutting, leaving only the top 2-3 leaves. If the remaining leaves are very large, I’ll often cut them in half horizontally to reduce water loss.
- Apply Rooting Hormone (Optional): Dip the cut end of the stem into the rooting hormone, tapping off any excess. This encourages faster root development.
- Plant Your Cuttings: Fill your pots or trays with your well-draining potting mix. Make a hole with a pencil or your finger, and gently insert the cutting, ensuring the leaf nodes are below the soil surface. Firm the soil gently around the stem.
- Create a Humid Environment: Water the soil lightly, then cover the pots with a plastic bag (tenting it up so it doesn’t touch the leaves) or place them in a propagation dome. This traps humidity, which is vital for cuttings to root before they dry out.
The “Secret Sauce” (Pro Tips)
Here are a couple of things I’ve learned over the years that really make a difference:
- Bottom Heat is Your Best Friend: If you can swing it, placing your pots on a heating mat designed for propagators can dramatically speed up root formation. That gentle warmth from below encourages those roots to stretch out eagerly.
- Don’t Overwater, But Don’t Let It Dry Out: This is a fine balance. You want the soil to be consistently moist but never soggy. I like to mist the leaves of the cuttings every day or two, especially in the early stages, to keep them turgid. If the soil feels dry when you poke your finger in an inch or so, give it a gentle watering.
Aftercare & Troubleshooting
Once your cuttings have developed roots (you can gently tug on them to feel for resistance, or peek into the drainage holes if your pots allow), it’s time to transition them.
- Gradual Acclimation: Slowly remove the plastic cover or open vents over a week or two. This allows the new plant to adjust to normal humidity levels.
- Potting Up: Once they look robust and have actively growing leaves, you can carefully pot them up into slightly larger individual pots with fresh, well-draining potting mix.
- Watch for Rot: The most common culprit for failure is root rot. If your cuttings turn black and mushy, especially at the base, this is a sign of overwatering and poor drainage. Don’t be discouraged; sometimes it’s just a matter of trial and error. Make sure your soil mix is airy and your pots have drainage holes!
Propagating Xylopia hypolampra is a journey, and like any good journey, it requires patience. Don’t be disheartened if not every cutting takes. Celebrate the successes, learn from the less successful ones, and most importantly, enjoy the magic of coaxing a new life from a simple stem. Happy propagating!
Resource:
https://identify.plantnet.org/k-world-flora/species/Xylopia%20hypolampra%20Mildbr./data